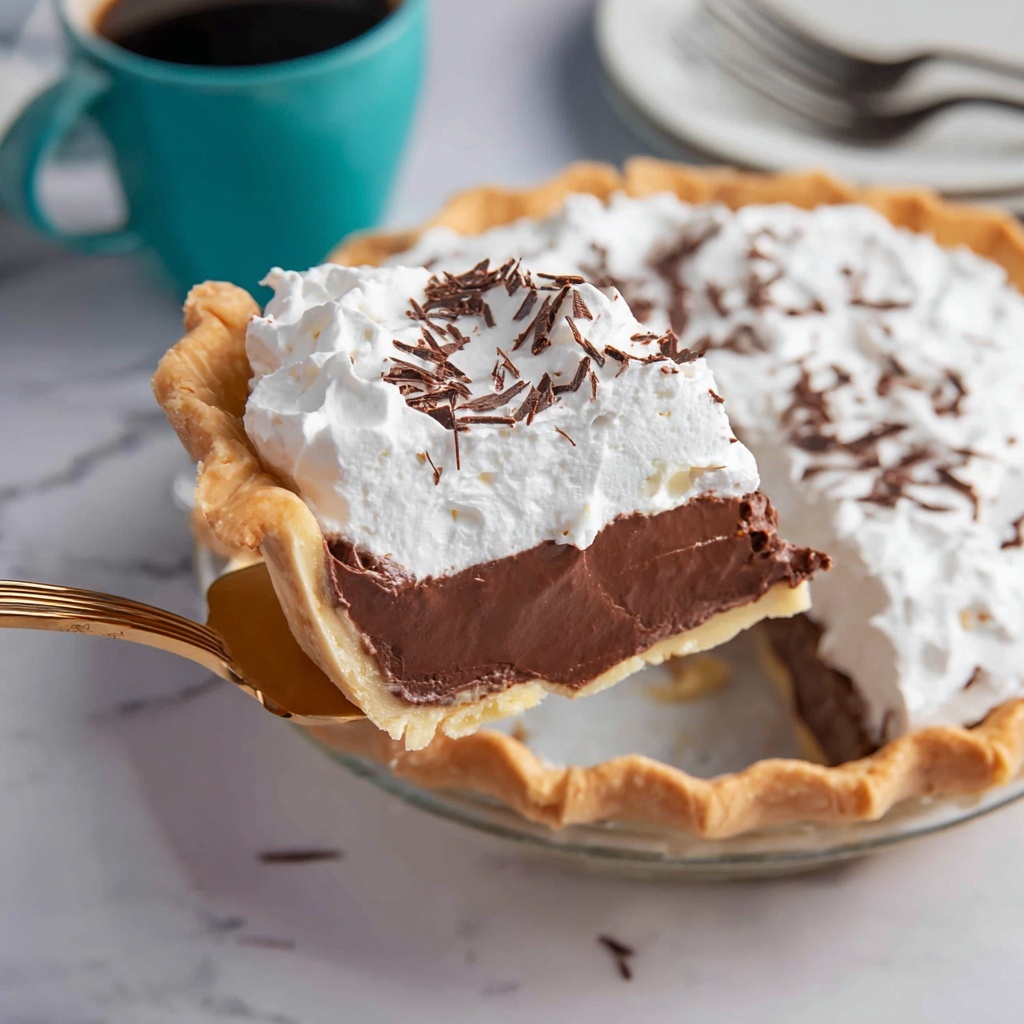
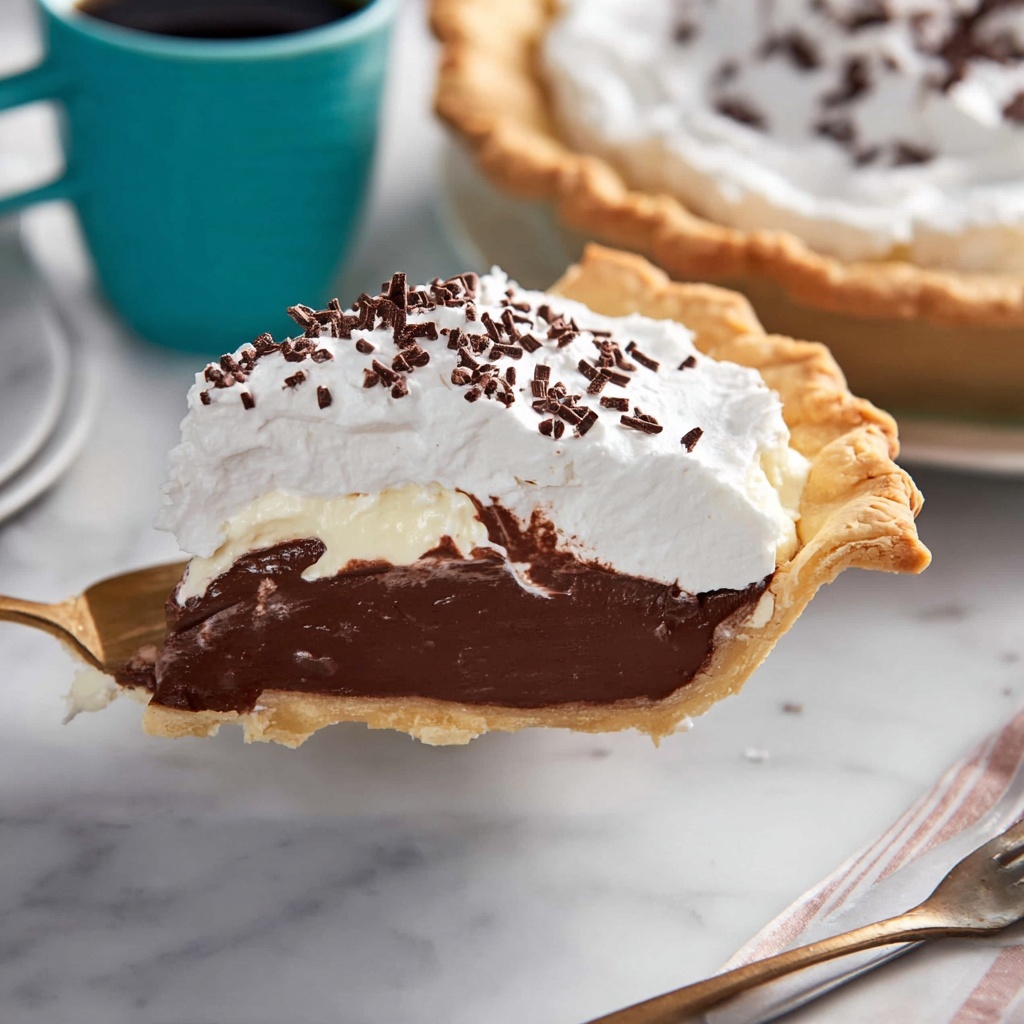
If you love a dessert that feels like a warm hug on a plate, this Chocolate Cream Pie Recipe is your new best friend. Silky smooth chocolate filling nestled in a flaky pie crust, topped with fluffy whipped cream, it’s the perfect blend of rich and light that makes every bite extraordinary. Whether you’re baking for a special occasion or just craving something sweet and comforting, this Chocolate Cream Pie Recipe is guaranteed to become a household favorite.
Ingredients You’ll Need
These simple ingredients come together to create a luscious, creamy filling and a delightful contrast of textures that truly define this Chocolate Cream Pie Recipe.
- 1 Pie Crust (Prepared): A flaky, buttery base that holds all that creamy goodness perfectly.
- ¾ cup sugar (granulated): Sweetness that balances the rich chocolate and adds just the right touch of indulgence.
- ¼ cup cornstarch: The secret to that silky smooth, thick texture in the filling without any graininess.
- 1 Pinch salt: Enhances all the flavors and makes the chocolate pop beautifully.
- 2 egg yolks: Adds richness and helps thicken the pudding filling naturally.
- 3 cups whole milk: Creamy and smooth, it creates the perfect base for the chocolate custard.
- 8 ounces semi-sweet or dark chocolate (chopped): Brings the intense, deep chocolate flavor that’s the star of this pie.
- 4 tablespoons unsalted butter: Adds a velvety finish and luxurious texture to the pie filling.
- 1 teaspoon vanilla extract: Lifts the chocolate with a hint of warmth and complexity.
- 2 cups whipped cream (optional): Light and fluffy topping that adds a creamy contrast and elegance to each slice.
How to Make Chocolate Cream Pie Recipe
Step 1: Combine the Base Ingredients
Start by whisking together cornstarch, sugar, and salt in a bowl. Then gently whisk in the egg yolks and whole milk until everything is smooth and fully combined. Add the chopped chocolate right into this mixture — this is where the magic begins as the chocolate will melt beautifully into the creamy base.
Step 2: Cook the Chocolate Custard
Place your mixture over medium heat. Keep whisking constantly, using a spatula to scrape the sides and bottom. This attention ensures the pudding thickens evenly and avoids lumps. Watching this transformation unfold is the best part—it starts as a simple mixture that soon becomes rich and velvety.
Step 3: Thickening to Perfection
Continue cooking until the pudding thickens completely and you see large bubbles forming and popping, usually around 8 minutes. Then take it off the heat immediately and pour the pudding through a fine mesh strainer into a bowl. Use the spatula to push the pudding through, guaranteeing a perfectly smooth texture that melts in your mouth.
Step 4: Enrich and Chill
Whisk in the butter and vanilla extract until the mixture is fluffy and shiny, elevating the pie’s luxurious texture. Pour the pudding into your prepared pie crust, smooth the surface, and then let it cool to room temperature. Patience is key here—once cooled, refrigerate the pie for at least 3 hours or better yet, overnight to let the flavors and texture bloom.
Step 5: Add Whipped Cream Topping
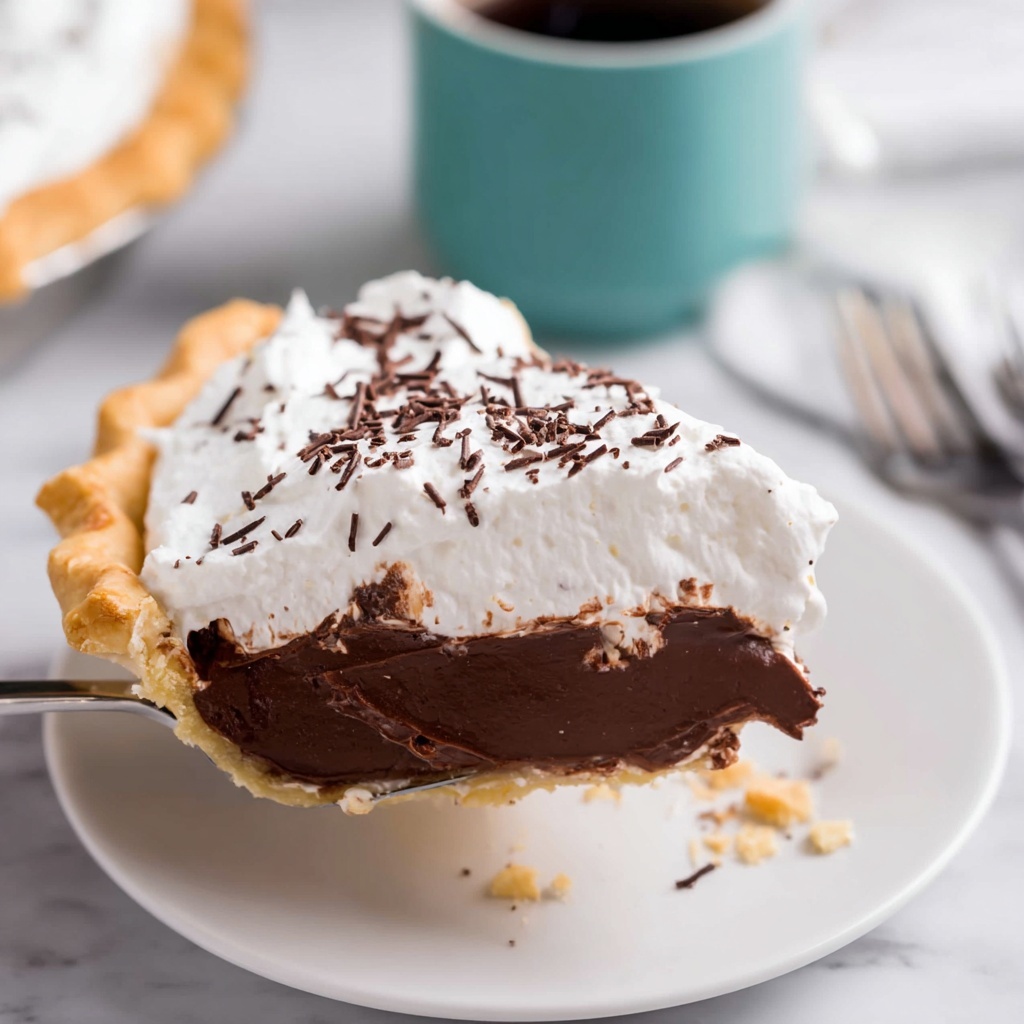
Before serving, scoop generous dollops of whipped cream on top. Spread it evenly with a spatula, creating a light and airy crown for the rich chocolate filling. For a finishing touch, sprinkle extra chopped chocolate on top—because we all know more chocolate only makes it better.
How to Serve Chocolate Cream Pie Recipe
Garnishes
Simple garnishes can take your Chocolate Cream Pie Recipe from lovely to show-stopping. Try a dusting of cocoa powder or shaved dark chocolate curls for elegance. Fresh raspberries or mint leaves add a hint of color and a burst of freshness that complements the creaminess beautifully.
Side Dishes
Pair this pie with a scoop of vanilla bean ice cream or a small bowl of fresh berries for an extra special treat. A light salad or a cup of espresso can also balance the richness, making your dessert experience even more memorable.
Creative Ways to Present
Grab a set of pretty dessert plates and add a drizzle of chocolate or caramel sauce around each slice. You could also serve mini versions of this Chocolate Cream Pie Recipe in clear glass ramekins for an elegant even bite-sized delight at your next gathering.
Make Ahead and Storage
Storing Leftovers
Keep your leftover Chocolate Cream Pie Recipe refrigerated, covered tightly with plastic wrap or stored in an airtight container. It will stay fresh and creamy for up to 3 days, making it perfect for those who love to plan ahead.
Freezing
While this pie is best enjoyed fresh, you can freeze it if needed. Wrap the pie tightly in plastic wrap and then again in foil to protect it from freezer burn. Thaw in the refrigerator overnight before serving, though expect a slight change in texture in the whipped cream topping.
Reheating
Chocolate cream pie is typically served cold, so reheating is not recommended. If you want to soften the filling or bring it closer to room temperature, just let slices sit out for 15–20 minutes before enjoying.
FAQs
Can I use a homemade pie crust instead of prepared crust?
Absolutely! A homemade crust adds a personal touch and lets you control the flavor and texture perfectly. Just bake it according to your recipe’s instructions before adding the filling.
Is it possible to make this recipe dairy-free?
Yes! Substitute whole milk with your favorite dairy-free milk like almond or oat milk, and use a dairy-free butter alternative. The texture might vary slightly but the flavor will still delight.
How do I ensure the chocolate custard doesn’t become lumpy?
Whisking constantly during cooking and straining the pudding once it’s done are key steps to keep everything smooth and luscious.
Can I use milk chocolate instead of semi-sweet or dark chocolate?
Milk chocolate can work, but it will make the pie sweeter and less intense in chocolate flavor. Adjust the sugar accordingly if using milk chocolate to keep the balance just right.
Why does my custard sometimes take longer to thicken?
It depends largely on your stovetop heat and the constant whisking. Too low heat means it takes longer; too high can cause curdling. Medium heat with steady whisking is ideal for even thickening.
Final Thoughts
This Chocolate Cream Pie Recipe is a treasure worth keeping in your dessert repertoire. It’s approachable, indulgent, and absolutely delicious — the kind of sweet treat that turns ordinary moments into celebrations. So, roll up your sleeves and whip up this pie for yourself and loved ones. You’ll be amazed at how a few simple ingredients can create such magic!
Print
Chocolate Cream Pie Recipe
- Prep Time: 10 minutes
- Cook Time: 8 minutes
- Total Time: 3 hours 18 minutes (including chilling time)
- Yield: 6 servings (6 slices)
- Category: Dessert
- Method: Stovetop
- Cuisine: American
- Diet: Vegetarian
Description
This luscious Chocolate Cream Pie features a smooth, rich chocolate pudding filling nestled in a flaky prepared pie crust and topped with fluffy whipped cream. Perfectly balanced with sweet and intense chocolate flavors, this dessert is ideal for any occasion and easy to prepare with just a few simple ingredients.
Ingredients
Pie Base
- 1 Pie Crust (Prepared)
Filling
- ¾ cup granulated sugar
- ¼ cup cornstarch
- 1 pinch salt
- 2 egg yolks
- 3 cups whole milk
- 8 ounces semi-sweet chocolate, chopped (or dark chocolate)
- 4 tablespoons unsalted butter
- 1 teaspoon vanilla extract
Topping
- 2 cups whipped cream (optional)
Instructions
- Prepare the mixture: In a mixing bowl, whisk together cornstarch, sugar, and salt until combined. Gradually add the egg yolks and whole milk, whisking until the mixture is smooth and fully incorporated. Stir in the chopped semi-sweet chocolate to incorporate it evenly.
- Cook the filling: Pour the mixture into a saucepan and place it over medium heat. Cook while whisking constantly and using a spatula to scrape the edges, which helps prevent lumps and ensures the pudding thickens uniformly.
- Thicken the pudding: Continue cooking the mixture until it becomes thick and large bubbles form and pop on the surface, about 8 minutes. Remove the pan from heat and immediately strain the pudding through a fine mesh sieve into a bowl, using a spatula to push through all the pudding for a silky smooth texture.
- Finish the filling: Whisk in the unsalted butter and vanilla extract until the filling is glossy, fluffy, and well combined. Pour the pudding into the prepared pie crust, smoothing the top evenly with a spatula. Allow it to cool to room temperature, then refrigerate for at least 3 hours or overnight to set properly.
- Add the topping and serve: Just before serving, dollop or spread the whipped cream evenly over the chilled chocolate filling. Garnish with additional chopped chocolate pieces if desired. Keep the pie refrigerated until ready to serve.
Notes
- Use semi-sweet or dark chocolate for a richer taste; milk chocolate can be used if a sweeter, creamier filling is preferred.
- Ensure constant whisking during cooking to avoid lumps and burning at the bottom of the pan.
- Straining the pudding is essential for a smooth, creamy texture without any cooked egg bits.
- Refrigeration time can be extended to overnight for optimal flavor and texture.
- Whipped cream topping is optional but adds a delightful lightness and contrast to the rich filling.
- Store leftover pie covered in the refrigerator and consume within 3 days for best freshness.


