“`html
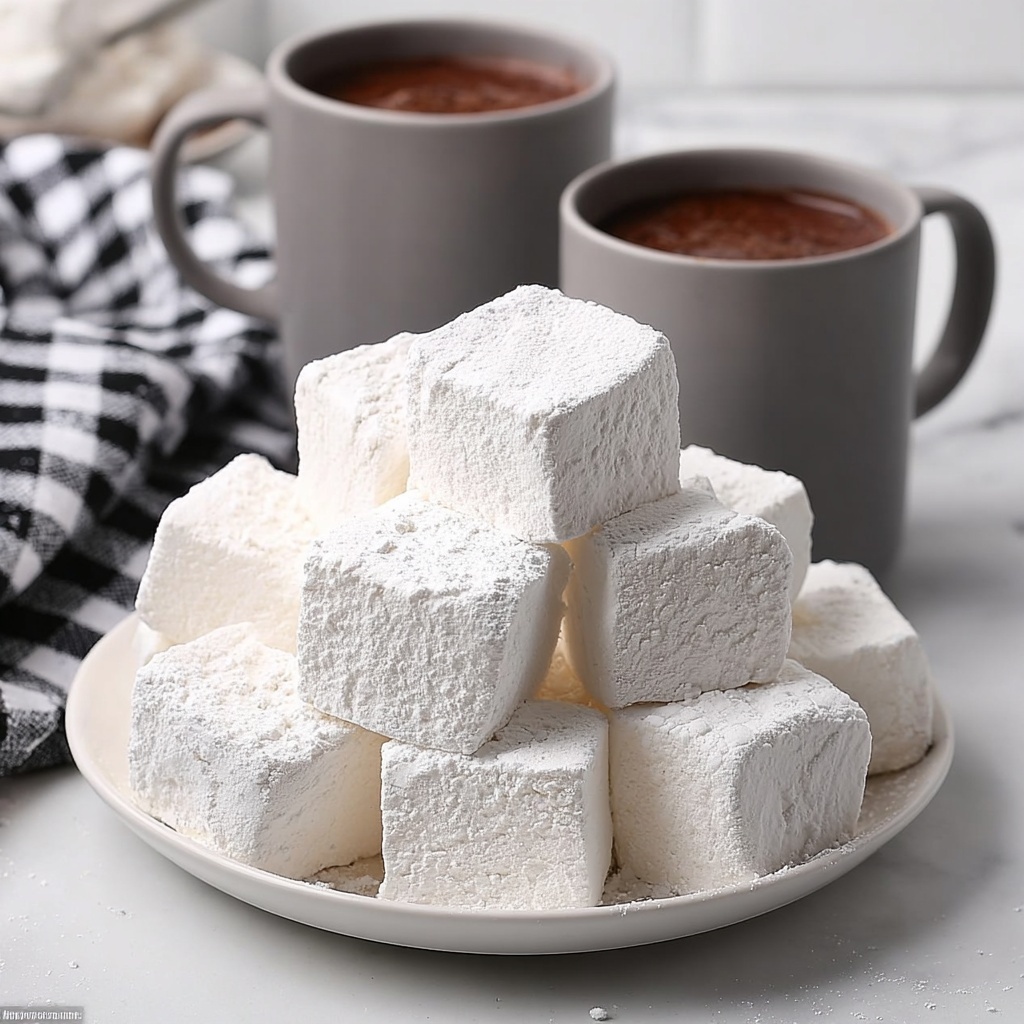
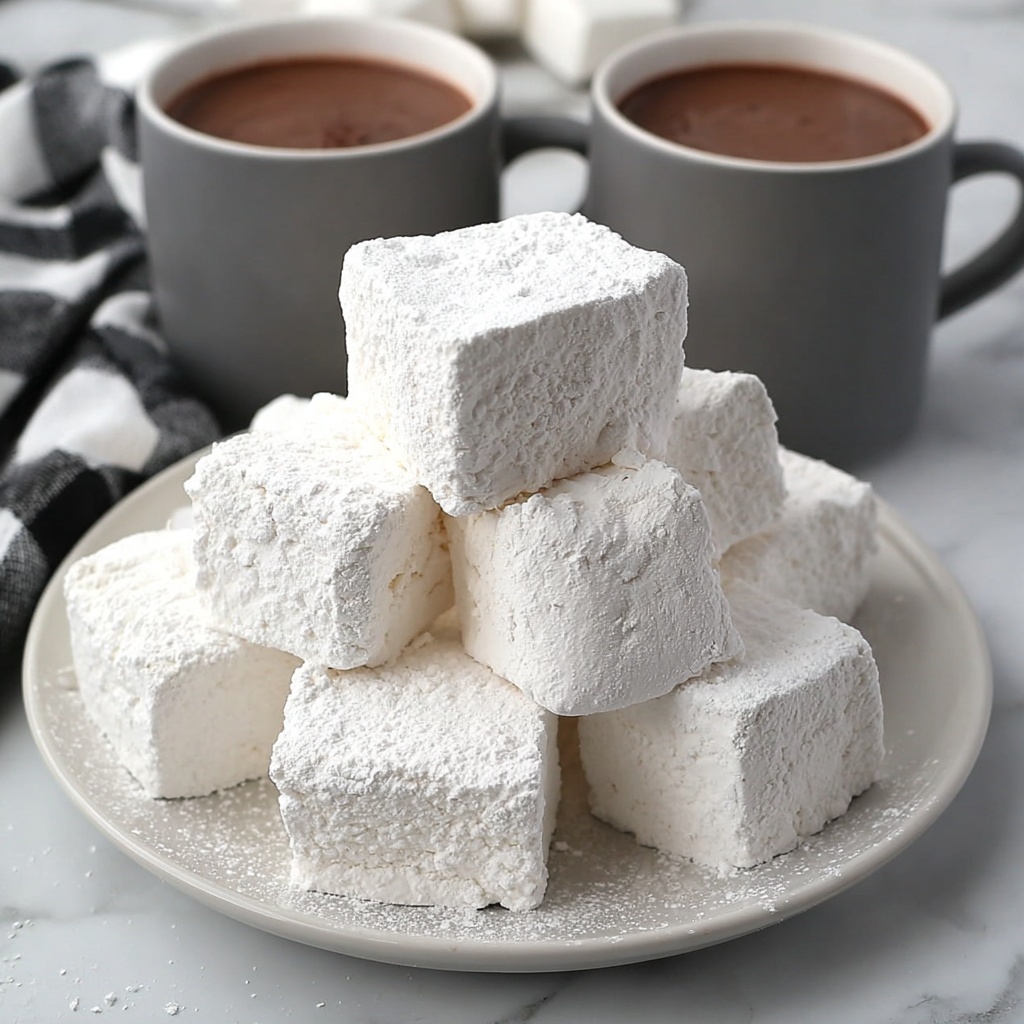
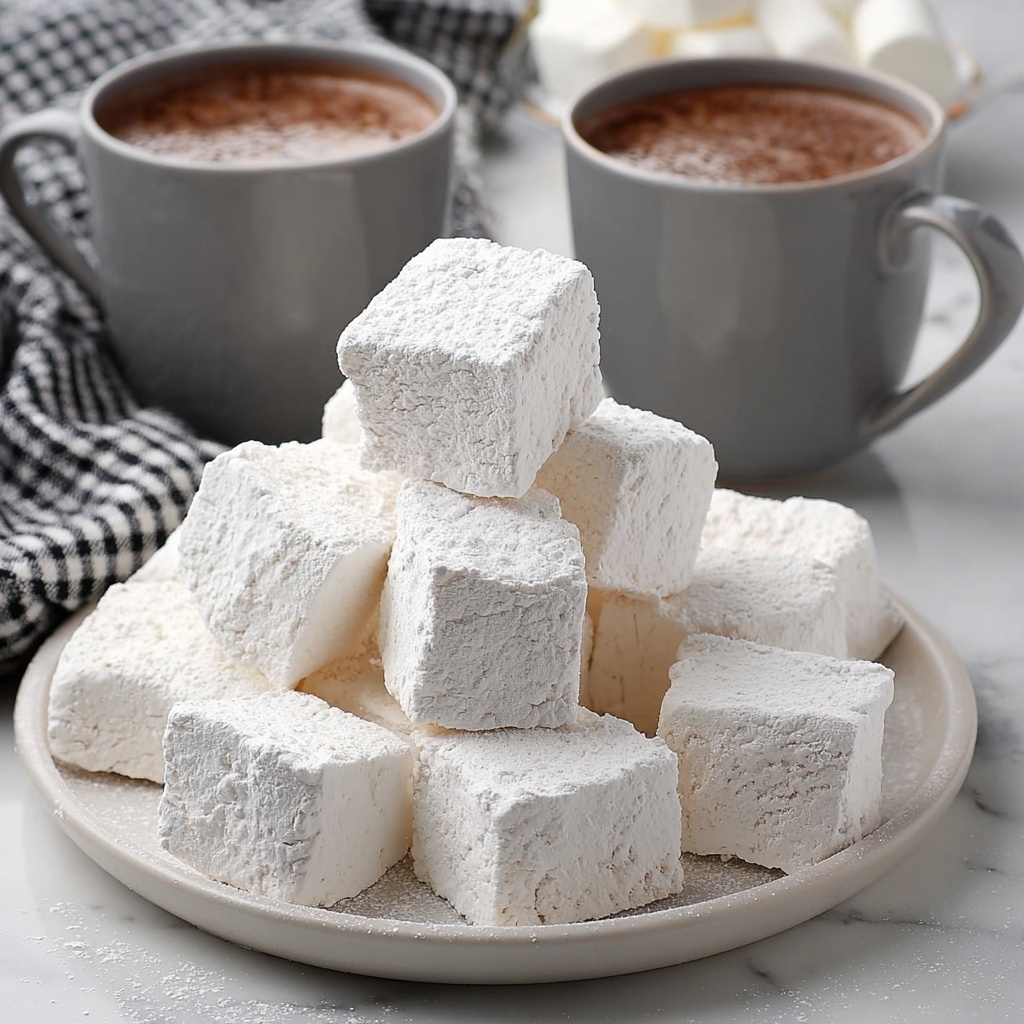
If you’ve ever dreamed of sinking your teeth into soft, pillowy clouds of sweetness that melt effortlessly in your mouth, then this Easy Homemade Marshmallows Recipe is about to become your new favorite kitchen adventure. Forget those store-bought packs filled with preservatives—making marshmallows at home is surprisingly simple, fun, and incredibly rewarding. With just a handful of everyday ingredients, you’ll create fluffy, melt-in-your-mouth marshmallows that are perfect for roasting, snacking, or gifting to friends and family.
Ingredients You’ll Need
Every ingredient in this recipe plays an essential role, balancing flavor, texture, and that classic marshmallow chewiness. The simplicity of these staples makes this recipe approachable, yet the results are nothing short of spectacular.
- Water (1 cup, divided): Hydrates the gelatin and helps dissolve the sugar, setting the perfect texture.
- Unflavored gelatin (3 envelopes): The magic behind the marshmallow’s signature fluff and chew.
- Granulated sugar (2 cups): Sweetens and caramelizes slightly for body and structure.
- Light corn syrup (½ cup): Prevents crystallization, ensuring a smooth and shiny finish.
- Salt (¼ teaspoon): Enhances the sweetness and balances flavor.
- Vanilla extract (2 teaspoons): Adds warm, aromatic depth for that classic marshmallow flavor.
- Powdered sugar: For tossing and coating, giving the marshmallows a beautiful finish and keeping them from sticking.
How to Make Easy Homemade Marshmallows Recipe
Step 1: Prepare Your Pan
Start by generously coating a square baking dish with powdered sugar. This simple step prevents your marshmallows from sticking, making cleanup and cutting a breeze later on.
Step 2: Bloom the Gelatin
In a large mixing bowl, combine ½ cup of cold water with the gelatin powders. Let this mixture sit and soften while you work on the syrup. This blooming process ensures that the gelatin will dissolve evenly, creating that perfectly spongy texture.
Step 3: Cook the Sugar Syrup
In a medium saucepan, add the remaining ½ cup water, granulated sugar, light corn syrup, and salt. Attach a candy thermometer to the side of the pan—it’s essential to keep an eye on the temperature. Bring the mixture to a gentle boil over medium heat and cook until it reaches 240 degrees Fahrenheit, known as the softball stage. This precise temperature guarantees the syrup has the right consistency to whip into marshmallows.
Step 4: Combine Syrup and Gelatin
Turn your mixer on low speed and slowly drizzle the hot sugar syrup into the softened gelatin. This careful addition prevents splashing and helps everything blend smoothly without lumps.
Step 5: Whip the Marshmallow Mixture
Once all the syrup is incorporated, crank the mixer up to high and whip for about 10 minutes. You’ll notice the mixture transform—it will thicken dramatically and form stiff, glossy peaks that hold their shape like perfectly whipped cream.
Step 6: Add Vanilla for Flavor
With the mixer running on low, add the vanilla extract to your fluffy marshmallow base. This final flavor boost makes all the difference, transforming it into something truly special.
Step 7: Pour and Set
Quickly transfer the sticky mixture into your prepared baking pan, spreading it evenly. Wetting your fingers can help smooth the surface more easily since it’s quite tacky. Finish by dusting extra powdered sugar over the top to prevent sticking while they set.
Step 8: Let Marshmallows Rest Overnight
Patience pays off here—leave your marshmallows at room temperature overnight. This resting period lets them firm up perfectly, ready to be sliced and enjoyed the next day.
Step 9: Cut and Coat
Before cutting, sprinkle powdered sugar onto a large cookie sheet or cutting board. Loosen the edges of the marshmallow slab with a sharp knife, turn it out onto your surface, and dust more powdered sugar over the top. Cut into 1-inch squares and toss each piece lightly in powdered sugar to keep them from sticking together.
Step 10: Store
Keep your homemade marshmallows fresh by storing them in an airtight container for up to a week. This makes sure every bite stays as soft and delightful as the first.
How to Serve Easy Homemade Marshmallows Recipe
Garnishes
Sprinkle your marshmallows with cocoa powder, cinnamon, or colored sugar crystals to add a festive touch or subtle flavor twists. A light dusting of finely chopped toasted nuts can also add an exciting crunch and contrast.
Side Dishes
Pair your marshmallows with warm beverages like rich hot chocolate, creamy coffee, or mulled wine. These pairings highlight the marshmallows’ sweet, fluffy qualities and create a cozy, indulgent experience for chilly days.
Creative Ways to Present
Transform your homemade marshmallows into fun treats by dipping them in melted chocolate or rolling them in shredded coconut. Thread them onto skewers with fresh berries or pieces of brownie for a playful dessert kebab that’s sure to impress guests.
Make Ahead and Storage
Storing Leftovers
After cutting, store your marshmallows in an airtight container at room temperature. Avoid refrigeration, which can dry them out. Proper storage keeps them soft and ready whenever a sweet craving hits.
Freezing
If you want to keep them longer, homemade marshmallows freeze beautifully. Simply place them in a freezer-safe container with parchment paper between layers to keep them from sticking. Thaw at room temperature before serving.
Reheating
Although marshmallows are best enjoyed fresh, you can revive their fluffiness by briefly microwaving individual pieces for a few seconds. This makes them perfect for quick, gooey toppings on desserts or warm drinks.
FAQs
Can I use flavored gelatin instead of unflavored in this Easy Homemade Marshmallows Recipe?
While flavored gelatin might add unexpected taste notes, it’s best to stick with unflavored gelatin to control the marshmallows’ final flavor. You can always add your own extracts if you want to customize.
Why is corn syrup important in this recipe?
Corn syrup helps prevent the sugar from crystallizing, which keeps your marshmallows smooth instead of grainy. It also contributes to that classic chewy texture.
How do I know when the sugar syrup reaches the right temperature?
Using a candy thermometer is key—you want to reach exactly 240 degrees Fahrenheit, the softball stage. This ensures the sugar syrup will whip up correctly and set beautifully.
Can I make these marshmallows gluten-free?
Absolutely! This recipe is naturally gluten-free as long as you check your ingredients for any hidden gluten. Always use pure, unflavored gelatin and pure vanilla extract to be safe.
What’s the best way to cut marshmallows without them sticking?
Dust a clean surface and your knife generously with powdered sugar before cutting. Wetting your knife slightly can also help you slice through cleanly without sticking.
Final Thoughts
There is something truly magical about making your own marshmallows that you just can’t get from store-bought treats. With this Easy Homemade Marshmallows Recipe, you open the door to endless sweet possibilities, from cozy nights by the fire to spectacular homemade gifts. So grab your mixer, gather those simple ingredients, and treat yourself to the fluffy, melt-in-your-mouth joy you deserve. You’ll never look back!
“`
Print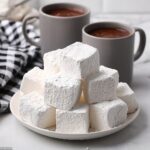
Easy Homemade Marshmallows Recipe
- Prep Time: 20 minutes
- Cook Time: 5 minutes
- Total Time: 25 minutes plus overnight setting time
- Yield: Approximately 25 marshmallows
- Category: Dessert
- Method: Stovetop
- Cuisine: American
Description
Learn how to make easy homemade marshmallows from scratch with this simple recipe. Soft, fluffy, and sweet, these marshmallows are perfect for snacking, hot cocoa, or gifting. With minimal ingredients and straightforward steps, you’ll have delicious marshmallows that are far superior to store-bought ones.
Ingredients
Main Ingredients
- 1 cup water, divided
- 3 envelopes (about 2 teaspoons each) unflavored gelatin
- 2 cups granulated sugar
- ½ cup light corn syrup
- ¼ teaspoon salt
- 2 teaspoons vanilla extract
- Powdered sugar for tossing and coating pan
Instructions
- Prepare the pan: Coat a square baking dish generously with powdered sugar to prevent sticking and set aside.
- Bloom the gelatin: In a large mixing bowl, add ½ cup cold water and sprinkle the gelatin over the surface. Let it sit while the gelatin softens, about 5 minutes.
- Make the sugar syrup: In a medium saucepan, combine the remaining ½ cup water, granulated sugar, light corn syrup, and salt. Attach a candy thermometer to the side of the pan.
- Cook to soft-ball stage: Heat the mixture over medium heat, stirring gently until it comes to a gentle boil. Continue cooking without stirring until the temperature reaches 240°F (115°C), the soft-ball stage.
- Mix sugar syrup with gelatin: With the mixer running on low speed, slowly drizzle the hot sugar syrup into the gelatin mixture to combine without splashing.
- Beat to stiff peaks: Increase the mixer speed to high and beat the mixture for about 10 minutes until it becomes thick, glossy, and forms stiff peaks.
- Add vanilla: When the mixture is thickened and at room temperature, add the vanilla extract and mix until incorporated.
- Pour into pan and spread: Quickly transfer the marshmallow mixture into the prepared pan. Spread evenly using wet fingers or a spatula as the mixture will be very sticky.
- Coat and set: Sprinkle the top with additional powdered sugar. Let the marshmallows set at room temperature overnight to firm up.
- Prepare for cutting: Dust a large cookie sheet or cutting board with powdered sugar. Loosen the marshmallows from the edges of the pan using a sharp knife.
- Remove and coat: Remove the marshmallow slab onto the powdered sugar surface, sprinkle the top with more powdered sugar to keep them from sticking.
- Cut and toss: Cut the marshmallows into 1-inch squares and toss them in powdered sugar to coat all sides.
- Store: Place marshmallows in an airtight container. They will keep fresh for 5-7 days.
Notes
- Use a candy thermometer for accuracy to reach the correct sugar stage for the best texture.
- To ease spreading the sticky marshmallow, dip your fingers or spatula in water.
- Store marshmallows in an airtight container at room temperature to maintain softness.
- For flavored variations, substitute or add extracts such as peppermint, almond, or lemon instead of vanilla.
- If desired, dust the marshmallows with a mixture of powdered sugar and cornstarch to reduce stickiness.
