
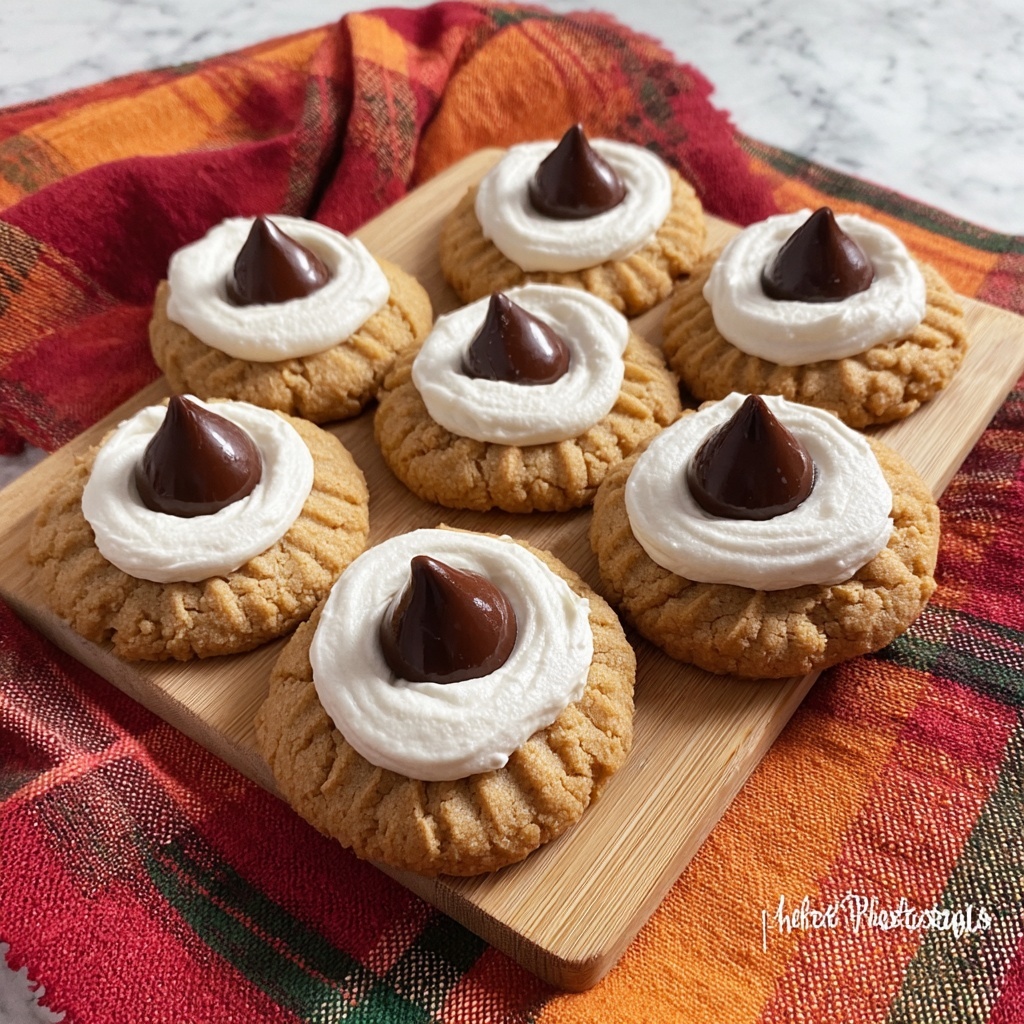
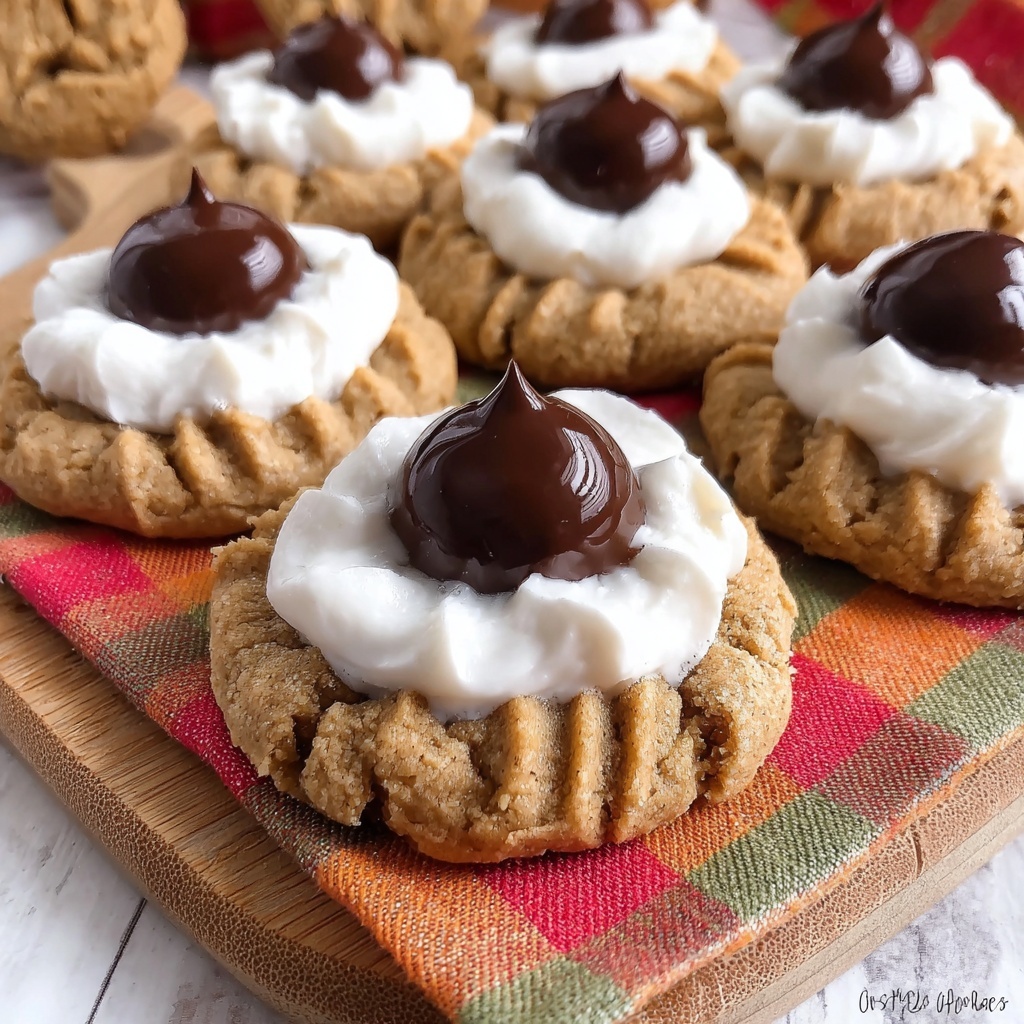
If you are looking for a cozy, nostalgic treat that combines the best of peanut butter and campfire s’mores magic, this Peanut Butter S’mores Cookies Recipe is about to become your new favorite. Imagine soft, chewy cookies packed with rich peanut butter, crowned with a melty toasted marshmallow and a gooey Hershey’s kiss right in the center. This recipe brings all those delightful s’mores flavors into a perfectly handheld cookie form, making it a perfect anytime sweet snack that feels like a warm hug.
Ingredients You’ll Need
This recipe keeps things simple but the ingredients are essential to creating that classic, indulgent peanut butter cookie base topped with iconic s’mores toppings. Each component plays a key role in the texture and flavor, from the creamy peanut butter that adds depth and moistness, to the marshmallow and chocolate that deliver that campfire nostalgic touch.
- 1/4 C unsalted butter: This adds richness and helps create a tender crumb.
- 1/2 C sugar: Gives the cookies just the right amount of sweetness and structure.
- 1/2 C brown sugar (packed): Adds moisture and a subtle caramel note to the cookies.
- 1 C peanut butter: The star flavor, providing creaminess and a savory balance.
- 1/4 C shortening: Helps keep cookies soft and prevents them from spreading too much.
- 1 large egg: Acts as a binder and enriches the dough.
- 1 1/4 C flour: The foundation that holds the cookie together.
- 3/4 tsp baking soda: Gives the cookies a subtle lift and slight chewiness.
- 1/2 tsp baking powder: Helps with rising and airy texture.
- 1/4 tsp salt: Balances sweetness and enhances flavors.
- 24 regular size marshmallows: These become gooey, toasted delights on top.
- 24 Hershey kisses (unwrapped): Melt into the warm cookies, adding the perfect chocolate finish.
How to Make Peanut Butter S’mores Cookies Recipe
Step 1: Prepare Your Oven and Workspace
Begin by preheating your oven to 350 degrees Fahrenheit. Line a cookie sheet with parchment paper to prevent sticking and ensure even baking—getting this ready ahead creates a smooth workflow as you mix and scoop the dough.
Step 2: Cream the Butters and Sugars
Using a stand mixer, cream together the unsalted butter, sugar, brown sugar, and shortening until the mixture is well combined. This step is crucial because it aerates the fats and sugar, giving you a soft, tender cookie texture when baked.
Step 3: Add Peanut Butter and Egg
Mix in the peanut butter and egg, blending until a smooth, cohesive dough forms. This is where the rich peanut flavor really begins to shine through the batter, making these cookies so wonderfully moist and full of character.
Step 4: Combine Dry Ingredients
In a separate bowl, whisk together the flour, baking soda, baking powder, and salt. This ensures your leavening agents and seasoning are evenly distributed before mixing them into the wet ingredients.
Step 5: Mix Dry Into Wet Ingredients
Gradually incorporate the dry ingredients into the wet mixture. Be careful not to overmix here—you want everything combined but still tender, to avoid dense cookies.
Step 6: Shape the Cookies
Scoop cookie dough using an ice cream scoop and roll into balls with your hands. Then roll each ball in sugar; this little step creates a delicate crisp outer shell that contrasts beautifully with the soft interior.
Step 7: Bake the Cookies Part One
Place 12 cookie dough balls on your parchment-lined baking sheet and bake for 5 minutes. This gives them just enough time to start setting without fully cooking through.
Step 8: Add Marshmallows and Continue Baking
Remove cookies from the oven and gently place a marshmallow on top of each cookie. Return to the oven for another 5 minutes or until the marshmallows are puffed and lightly toasted, which melts them into that dreamy gooey layer that screams s’mores.
Step 9: Top with Hershey Kisses and Cool
Once the marshmallows are toasted, immediately press an unwrapped Hershey kiss into the center of each one. Let the cookies cool completely on the sheet to allow the chocolate to soften but not completely melt away, making each cookie a chocolate-peanut butter-marshmallow masterpiece.
How to Serve Peanut Butter S’mores Cookies Recipe
Garnishes
For an extra touch, sprinkle a pinch of crushed graham crackers or a dusting of cinnamon sugar on top post-baking. These subtle accents heighten the campfire cookie experience, making every bite taste like a little adventure.
Side Dishes
Enjoy these cookies alongside a cold glass of milk or a mug of hot chocolate. The creaminess of the milk or warmth of cocoa complements the cookies’ rich peanut butter and toasted marshmallow flavors perfectly, creating a balanced and comforting snack.
Creative Ways to Present
Try arranging your Peanut Butter S’mores Cookies Recipe on a wooden serving board with small bowls of mini marshmallows, chocolate chips, and peanut butter cups for a fun DIY cookie decorating party. It’s a great way to add an interactive element to your gathering and let guests customize their treat. Alternatively, assemble a cookie ice cream sandwich using these cookies with vanilla or chocolate ice cream in the middle for a playful, indulgent dessert.
Make Ahead and Storage
Storing Leftovers
Store any leftover cookies in an airtight container at room temperature for up to 3 days. To keep the marshmallow from becoming too sticky, you can separate layers of cookies with parchment paper. These cookies maintain their soft texture wonderfully when stored properly.
Freezing
If you want to keep these special cookies longer, freeze them in a single layer on a baking sheet first, then transfer to a freezer-safe container or bag. They’ll keep well for up to 3 months. When you’re ready to enjoy, just thaw at room temperature for a couple hours.
Reheating
To bring back that freshly baked warmth, pop the cookies in a 300-degree oven for about 5 minutes or microwave them for 15 seconds. This softens the marshmallow and revives the melty Hershey kiss perfectly without drying out the cookie.
FAQs
Can I use crunchy peanut butter instead of creamy?
You absolutely can! Using crunchy peanut butter will add a little extra texture to your cookies, giving delightful nutty bits in every bite. Just keep in mind the cookies may feel slightly more textured but just as tasty.
What if I don’t have shortening; can I substitute it?
Yes, you can substitute shortening with an equal amount of butter or coconut oil. Butter will add more flavor but might make the cookies spread a bit more, while coconut oil gives a subtle hint of extra richness.
Can I make smaller or larger cookies with this recipe?
Definitely! You can adjust the size by scooping different amounts of dough. Smaller cookies will bake faster and be crunchier around the edges, while larger cookies take a bit longer and will be softer and chewier inside. Just watch baking times accordingly.
Is it better to use regular marshmallows or mini marshmallows?
For this Peanut Butter S’mores Cookies Recipe, regular-sized marshmallows work best because they create a nice, gooey topping that matches the size of the cookie. Mini marshmallows could melt away too quickly and won’t provide the same visual or textural impact.
Can these cookies be made gluten-free?
Yes! Simply swap the all-purpose flour for a gluten-free flour blend of your choice. Check that the baking powder and soda are gluten-free as well. These cookies will still be deliciously gooey and full of peanut butter s’mores goodness.
Final Thoughts
This Peanut Butter S’mores Cookies Recipe captures the heartwarming spirit of traditional s’mores with a peanut butter twist that’s truly irresistible. Whether you’re baking for friends, family, or just yourself, these cookies will quickly become one of your go-to comfort treats. Give this recipe a try and enjoy a little campfire magic right in your own kitchen!
Print
Peanut Butter S’mores Cookies Recipe
- Prep Time: 10 minutes
- Cook Time: 10 minutes
- Total Time: 20 minutes
- Yield: 24 cookies
- Category: Dessert
- Method: Baking
- Cuisine: American
Description
These Peanut Butter S’mores Cookies combine the classic flavors of peanut butter, gooey marshmallows, and chocolate in a soft, chewy cookie. With a crispy sugar coating and the perfect balance of sweet and nutty, these cookies are baked to perfection and topped off with a melted Hershey’s Kiss for an irresistible treat.
Ingredients
Dough Ingredients
- 1/4 cup unsalted butter
- 1/2 cup sugar
- 1/2 cup packed brown sugar
- 1 cup peanut butter
- 1/4 cup shortening
- 1 large egg
- 1 1/4 cups all-purpose flour
- 3/4 teaspoon baking soda
- 1/2 teaspoon baking powder
- 1/4 teaspoon salt
Toppings
- 24 regular size marshmallows
- 24 unwrapped Hershey’s Kisses
Instructions
- Preheat Oven: Preheat your oven to 350 degrees Fahrenheit to prepare for baking the cookies.
- Prepare Baking Sheet: Line a cookie sheet with parchment paper to prevent sticking and make cleanup easier.
- Cream Butter and Sugars: Using a stand mixer, cream together the butter, sugar, brown sugar, and shortening until well combined and fluffy.
- Add Wet Ingredients: Mix in the egg and peanut butter into the creamed mixture until smooth and fully incorporated.
- Mix Dry Ingredients: In a separate large bowl, whisk together the flour, baking powder, baking soda, and salt to evenly distribute the leavening agents.
- Combine Mixtures: Gradually add the dry ingredient mixture into the wet ingredients, mixing until just combined to form a cookie dough.
- Form Dough Balls: Use an ice cream scoop to portion dough, then roll each portion into a ball with your hands.
- Coat with Sugar: Roll each dough ball in sugar for a crispy exterior, then place them evenly spaced on the prepared cookie sheet.
- Bake Initial Cookies: Bake cookies in the preheated oven for 5 minutes to start baking the base.
- Add Marshmallows: Remove the cookies from the oven and carefully place one marshmallow on top of each cookie.
- Continue Baking: Return the cookies to the oven and bake for an additional 5 minutes or until the marshmallows are lightly toasted and gooey.
- Add Chocolate Kisses: Immediately after baking, press one unwrapped Hershey’s Kiss into the center of each warm cookie to allow the chocolate to soften slightly.
- Cool and Serve: Let the cookies cool completely on a wire rack before serving to allow the chocolate to set.
Notes
- Using shortening along with butter helps achieve a softer texture in the cookies.
- Rolling dough balls in sugar adds a slight crunch and enhances flavor.
- Handle marshmallows carefully when adding after the first bake to avoid burning your fingers.
- For a different flavor twist, try using chocolate chips or different flavored chocolate candies instead of Hershey’s Kisses.
- Make sure to let cookies cool completely to firm up the chocolate topping and avoid messy handling.
