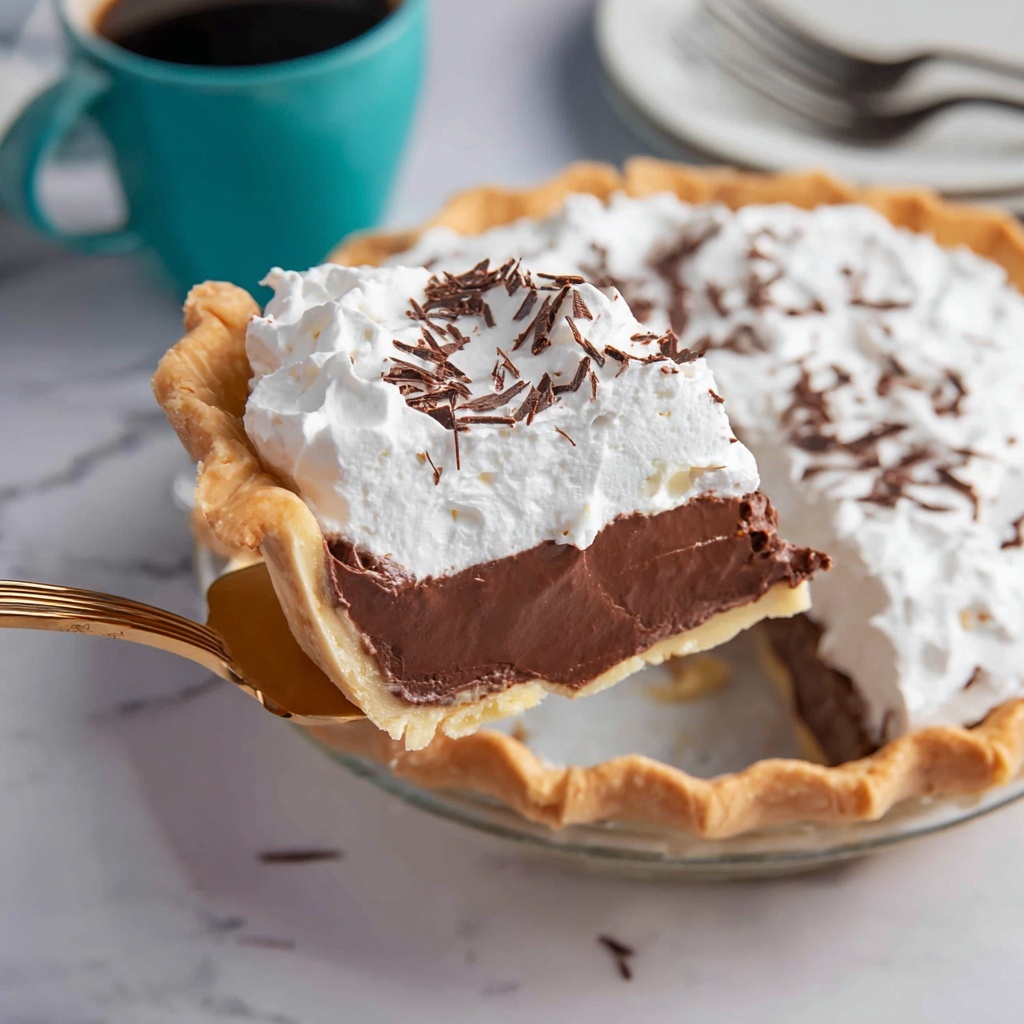
If you have a soft spot for rich, silky desserts that feel like a warm hug, this Chocolate Cream Pie Recipe is pure magic. From the first velvety bite to the lingering chocolatey bliss, it combines a luscious chocolate pudding filling with a flaky crust and a cloud of whipped cream on top. It’s that perfect balance of creamy, smooth, and indulgent, making it a favorite for any occasion, whether a cozy night in or a festive gathering. Trust me, once you try this Chocolate Cream Pie Recipe, it’ll become one of your go-to dessert treasures.
Ingredients You’ll Need
Getting the ingredients right is the secret to nailing this chocolate cream pie. Each element here plays a pivotal role—simple pantry staples that come together to create a dessert packed with flavor, creamy texture, and the perfect sweetness.
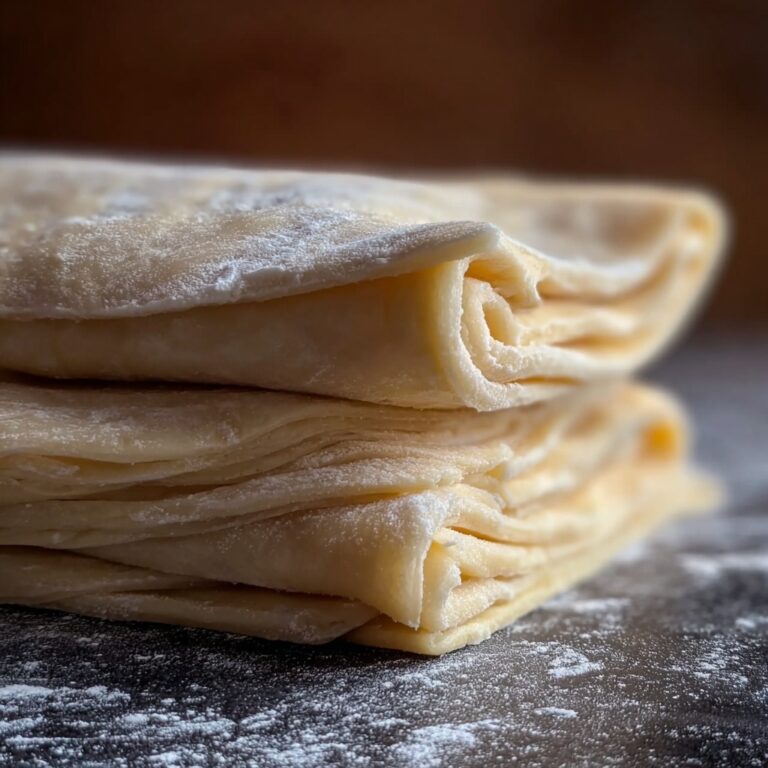
- Pie Crust (Prepared): A pre-made crust saves time but still gives that flaky, buttery base to hold everything together.
- ¾ cup granulated sugar: Adds essential sweetness to balance the richness of the chocolate.
- ¼ cup cornstarch: The key thickening agent that transforms the filling into a silky pudding.
- 1 pinch salt: Just a pinch to enhance all the flavors and ensure the chocolate shines.
- 2 egg yolks: They create a rich, creamy texture and help thicken the filling naturally.
- 3 cups whole milk: Provides the creamy liquid base for the pudding, adding richness and smoothness.
- 8 ounces semi-sweet chocolate (chopped): Choose quality chocolate for deep, luscious flavor, whether semi-sweet or dark.
- 4 tablespoons unsalted butter: Makes the filling ultra-smooth and adds a subtle richness.
- 1 teaspoon vanilla extract: Brings warmth and complexity that complements the chocolate perfectly.
- 2 cups whipped cream (optional): The fluffy, airy topping to crown the pie with lightness and extra indulgence.
How to Make Chocolate Cream Pie Recipe
Step 1: Combine the Dry and Wet Ingredients
Begin by whisking together the cornstarch, sugar, and salt in a bowl—this ensures your pudding will thicken evenly without lumps. Then add the egg yolks and whole milk, whisking until everything is combined into a smooth mixture. Stir in the chopped chocolate; it might look a little intense now, but it soon will turn velvety.
Step 2: Cook the Pudding Base
Place the mixture over medium heat and start cooking it, whisking constantly. Use a spatula to scrape the thickening pudding off the edges of the pan to prevent burning. This is where patience pays off—the mixture gradually thickens and transforms from runny to perfectly pudding-like.
Step 3: Achieve the Perfect Thickness
Keep cooking and stirring until the pudding thickens completely and large bubbles begin to form and pop on the surface, usually about 8 minutes. Once ready, immediately strain the pudding through a mesh sieve into a bowl to ensure it’s silky smooth and free of any stray bits. Use the spatula to push every bit of pudding through.
Step 4: Add the Butter and Vanilla, Then Pour
While the pudding is still warm, whisk in the butter and vanilla extract until fully melted and the mixture becomes glossy and fluffy. Pour this luscious chocolate filling into your prepared pie crust and spread it evenly with a spatula. Let the pie cool to room temperature before moving on to the chilling step.
Step 5: Chill and Top with Whipped Cream
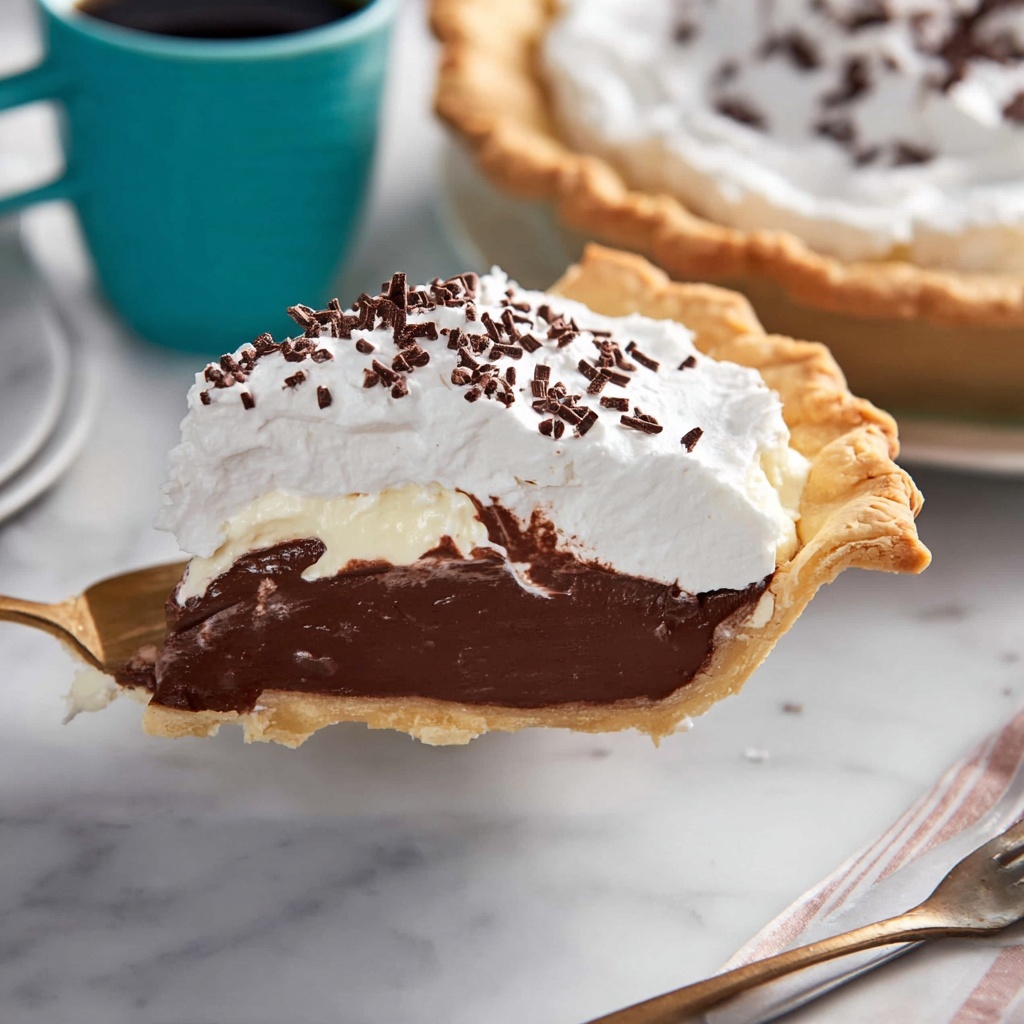
Refrigerate the pie for at least 3 hours or, even better, overnight so it can set firmly and the flavors fully meld. When you’re ready to serve, spread a generous layer of whipped cream over the top, smoothing it out beautifully. For an extra touch of elegance, sprinkle some additional chopped chocolate on the whipped cream.
How to Serve Chocolate Cream Pie Recipe
Garnishes
To make your Chocolate Cream Pie Recipe even more inviting, top it with a cloud of freshly whipped cream and sprinkle with chopped chocolate or even shaved curls. For a pop of freshness, add a few vibrant raspberries or a dusting of cocoa powder. These simple garnishes elevate both the look and flavor of the pie.
Side Dishes
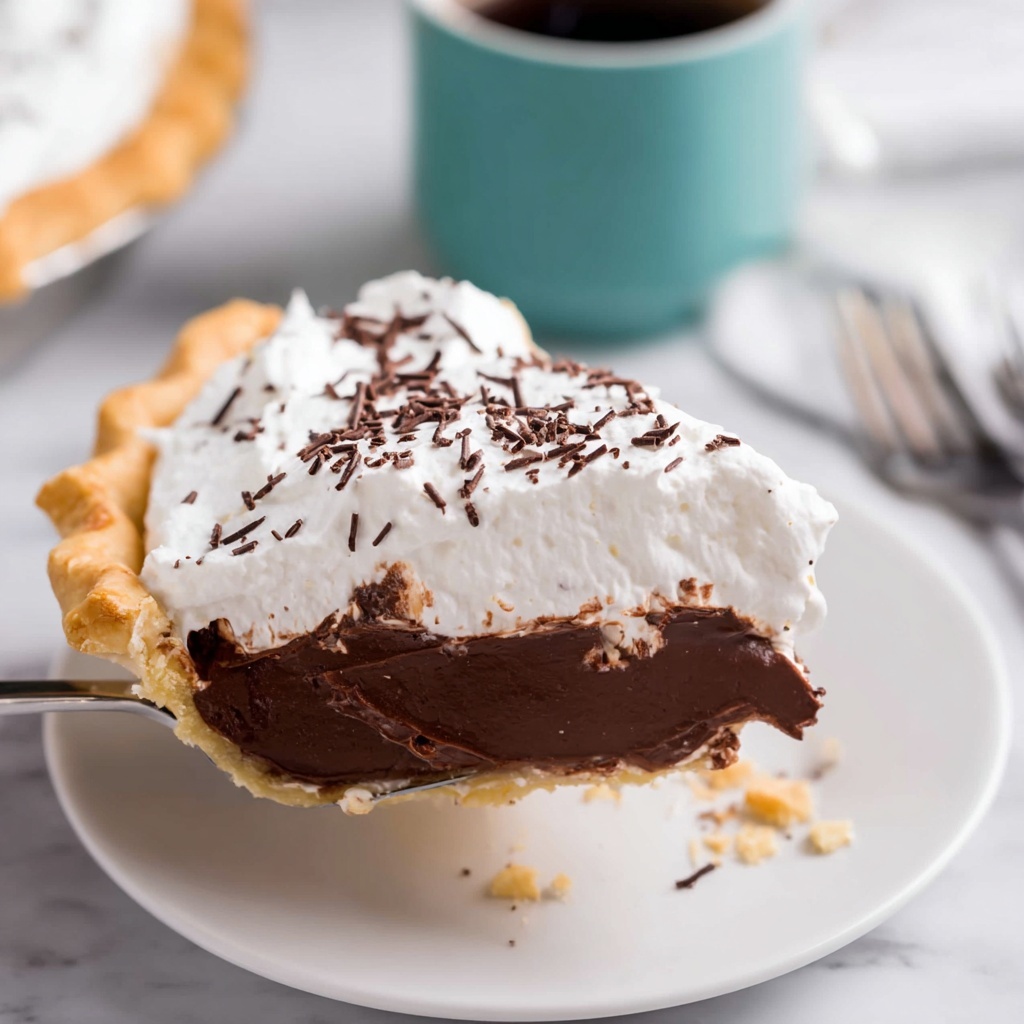
This pie pairs wonderfully with light accompaniments like a small scoop of vanilla ice cream or fresh fruit salad. A cup of strong coffee or a glass of cold milk also complements the richness perfectly, rounding out the dessert experience without overpowering the pie.
Creative Ways to Present
For a fun twist, serve slices on pretty dessert plates with a drizzle of raspberry sauce or caramel. Alternatively, scoop individual servings into small glasses or ramekins and top with whipped cream for an elegant presentation. This Chocolate Cream Pie Recipe is versatile, so let your creativity shine.
Make Ahead and Storage
Storing Leftovers
Once sliced or whole, keep any leftover Chocolate Cream Pie covered tightly with plastic wrap or stored in an airtight container in the refrigerator. It will stay fresh and maintain its silky texture for up to 3 days, perfect for savoring every last bite.
Freezing
It’s best to avoid freezing this pie because whipped cream toppings and creamy pudding bases don’t thaw well and could separate. However, you can freeze portions of the pie filling separately before assembling if you want to prepare ahead.
Reheating
This pie is best enjoyed chilled straight from the refrigerator. Since it’s a creamy custard dessert, reheating would change its texture and is not recommended. Your patience truly pays off with every cool, velvety forkful.
FAQs
Can I use a homemade pie crust for this Chocolate Cream Pie Recipe?
Absolutely! A homemade crust can add a wonderful personal touch and flavor. Just make sure your crust is fully baked and cooled before filling it with the chocolate pudding to avoid sogginess.
Is it possible to make this pie dairy-free?
Yes, you can substitute the milk with full-fat coconut milk and use dairy-free butter alternatives. The texture might be slightly different, but it will still be delicious.
How can I tell when the pudding is thick enough?
The pudding is ready when it has thickened substantially and you see large bubbles forming and popping on the surface. It should coat the back of a spoon thickly without running off quickly.
Can I prepare this pie the same day I want to serve it?
You can, but it requires chilling for at least three hours to set properly. For best results, make it the day before to give it ample time to firm up and deepen in flavor.
What’s the best way to get smooth whipped cream on top?
Whip your cream just until soft peaks form so it stays light and fluffy but still holds shape. Spread it gently with a spatula for an even layer that looks inviting and feels airy.
Final Thoughts
This Chocolate Cream Pie Recipe is such a joy to make and even more delightful to share. Its creamy texture, rich chocolate flavor, and beautiful presentation make it an instant crowd-pleaser. I can’t wait for you to try this recipe and make this pie a beloved staple in your dessert rotation!
Print
Chocolate Cream Pie Recipe
- Prep Time: 10 minutes
- Cook Time: 8 minutes
- Total Time: 3 hours 18 minutes (including chilling time)
- Yield: 6 servings
- Category: Dessert
- Method: Stovetop
- Cuisine: American
Description
This classic Chocolate Cream Pie features a rich and creamy chocolate pudding filling made from scratch, poured into a prepared pie crust and topped with fluffy whipped cream and chocolate garnish. Perfect for chocolate lovers, this pie combines smooth, velvety chocolate custard with a buttery crust for an irresistible dessert.
Ingredients
Pie Crust
- 1 Pie Crust (Prepared)
Filling
- ¾ cup sugar (granulated)
- ¼ cup cornstarch
- 1 pinch salt
- 2 egg yolks
- 3 cups milk (whole)
- 8 ounces semi-sweet chocolate (chopped, or dark chocolate)
- 4 tablespoons unsalted butter
- 1 teaspoon vanilla extract
Topping
- 2 cups whipped cream (optional)
- Additional chopped chocolate (for garnish)
Instructions
- Prepare the pudding mixture: Whisk together the cornstarch, sugar, and salt in a medium bowl. Add the egg yolks and milk, whisking until the mixture is completely combined and smooth. Stir in the chopped semi-sweet chocolate evenly.
- Cook the pudding: Place the mixture in a saucepan and set over medium heat. Whisk constantly, using a spatula to scrape the edges to prevent sticking. Continue whisking carefully as the pudding thickens.
- Thicken the pudding: Cook the mixture for about 8 minutes until it reaches a thick custard consistency and large bubbles are forming and popping on the surface. Remove from heat immediately to avoid overcooking.
- Strain and finish the filling: Pour the pudding through a fine mesh strainer into a clean bowl, using a spatula to push all the thickened pudding through. This step ensures a smooth, silky texture. Whisk in the butter and vanilla extract until fully incorporated and fluffy.
- Assemble the pie: Pour the warm chocolate pudding into the prepared pie crust and smooth the surface with a spatula. Let it cool to room temperature, then refrigerate for at least 3 hours or overnight to set completely.
- Add the topping and garnish: Once chilled, spread whipped cream evenly over the top of the pie using a spatula. Garnish with additional chopped chocolate for a decorative and flavorful finish. Keep the pie chilled until ready to serve.
Notes
- For best results, use a prepared but fully baked pie crust to avoid sogginess.
- Chilling the pie overnight enhances the flavors and helps the filling set properly.
- Use high-quality chocolate for a richer taste.
- You can substitute dark chocolate if you prefer a less sweet pie.
- Whipped cream is optional but adds a light contrast to the dense chocolate filling.
- To save time, prepare the pudding the day before and store it in the fridge, then fill the pie crust before serving.


