“`html
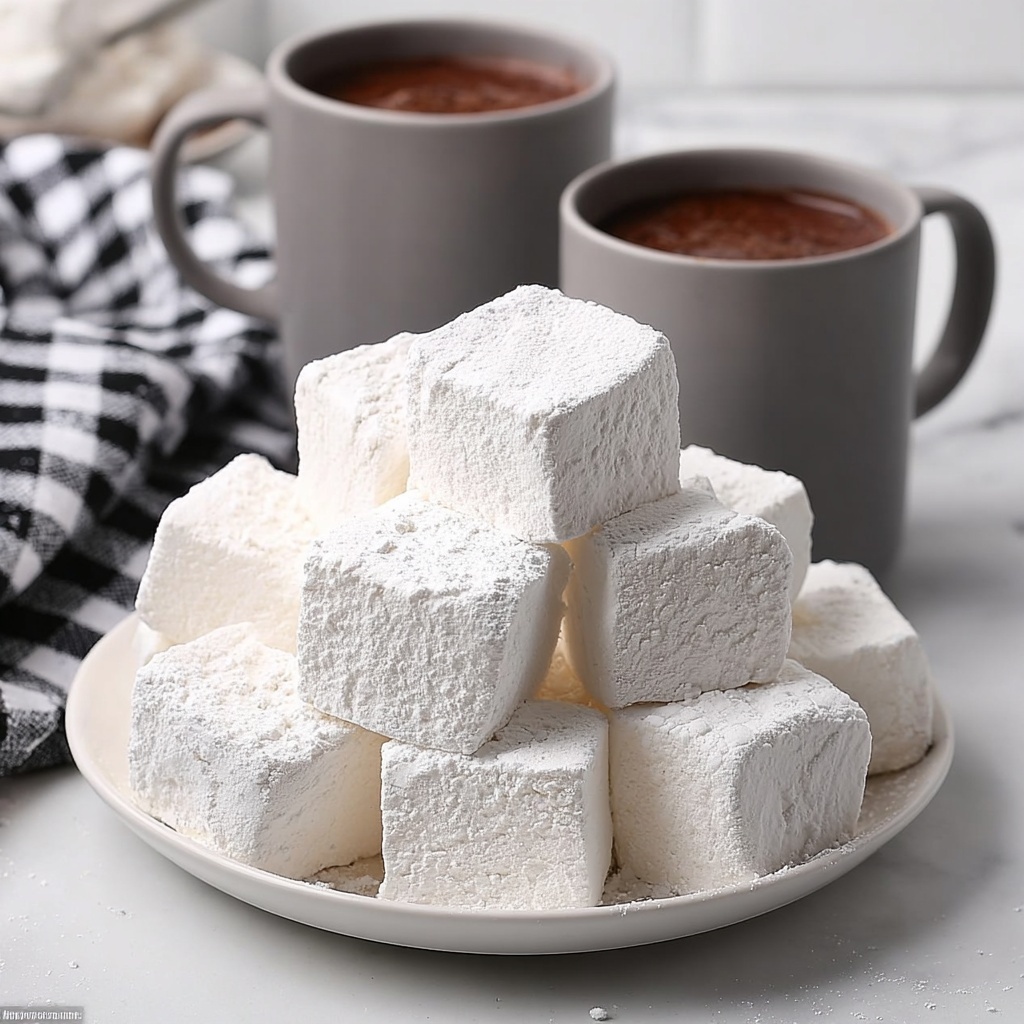
If you have ever wished for the perfect fluffy, melt-in-your-mouth treat that you can proudly say you made yourself, this Easy Homemade Marshmallows Recipe is going to become your new obsession. These marshmallows are tender, sweet, and wonderfully airy, crafted with simple ingredients that transform into a delightful cloud of sugary bliss. Whether you’re aiming to elevate your hot chocolate or simply craving a nostalgic candy moment, nothing beats the satisfaction of whipping up these homemade wonders in your own kitchen.
Ingredients You’ll Need
The magic behind this Easy Homemade Marshmallows Recipe lies in a handful of classic pantry staples that come together beautifully. Each ingredient plays its distinct role in creating that soft, chewy texture and subtle sweetness that makes marshmallows irresistible.
- 1 cup water, divided: Used both to bloom the gelatin and to dissolve the sugar, ensuring the perfect consistency.
- 3 envelopes unflavored gelatin: The essential ingredient that gives marshmallows their signature bounce and structure.
- 2 cups granulated sugar: Provides the sweetness and helps form the marshmallow’s fluffy body.
- ½ cup light corn syrup: Prevents crystallization of sugar, keeping your marshmallows smooth and glossy.
- ¼ teaspoon salt: Balances the sweetness and enhances flavors.
- 2 teaspoons vanilla extract: Adds a warm, comforting aroma and subtle depth of flavor.
- Powdered sugar for tossing and coating pan: Keeps everything from sticking and gives a clean, finished look to your marshmallow squares.
How to Make Easy Homemade Marshmallows Recipe
Step 1: Prepare Your Pan
Start by coating a square baking dish generously with powdered sugar. This non-stick layer is crucial because marshmallows are incredibly sticky as soon as they set. It makes cleanup easier and helps the marshmallows release effortlessly when it’s time to slice.
Step 2: Bloom the Gelatin
In a large mixing bowl, combine ½ cup of cold water with the gelatin sprinkled evenly on top. Let this mixture sit while the gelatin softens—it usually takes about 5 minutes. This step ensures that the gelatin dissolves smoothly without lumps later in the process.
Step 3: Cook the Sugar Syrup
Attach a candy thermometer to a medium saucepan and pour in the remaining ½ cup water, granulated sugar, light corn syrup, and salt. Bring this mixture to a gentle boil over medium heat. Keep an eye on the thermometer; once it hits 240°F—which is the softball stage—your syrup is ready. This precise temperature guarantees the marshmallows set with the perfect chew.
Step 4: Combine and Whip
With the mixer running on low speed, slowly drizzle the hot sugar syrup into the softened gelatin mixture. Once all the syrup is incorporated, crank the mixer up to high and beat the mixture for about 10 minutes. You’ll notice it triple in volume and become thick and fluffy, eventually forming stiff peaks. This vigorous whipping traps air, which gives marshmallows their classic light, spongy texture.
Step 5: Add Flavor and Pour
When the marshmallow mixture has cooled to room temperature but is still firm, add the vanilla extract and mix briefly. Immediately transfer the sticky mixture into your prepared pan. Use wet fingers or a spatula to quickly spread it evenly because it starts setting fast. Top with a sprinkle of powdered sugar to finish.
Step 6: Let the Marshmallows Set
Allow the marshmallows to sit uncovered at room temperature overnight. This resting period lets them fully firm up without losing their softness and prevents excess moisture from ruining their texture.
Step 7: Cut and Coat
The next day, dust a large cookie sheet or cutting board with powdered sugar. Use a sharp knife to gently loosen the edges of the marshmallows, then turn them out onto the sugared surface. Cut into 1-inch squares, dusting more powdered sugar onto each piece to prevent sticking. Store your marshmallows in an airtight container to keep them fresh and tender.
How to Serve Easy Homemade Marshmallows Recipe
Garnishes
Marshmallows are like a blank canvas when it comes to garnishes. You can dust them further with cocoa powder, matcha, cinnamon, or even a sprinkle of edible glitter for a festive sparkle. Rolling your marshmallows in toasted coconut flakes or finely chopped nuts adds an exciting twist and extra texture that makes every bite an adventure.
Side Dishes
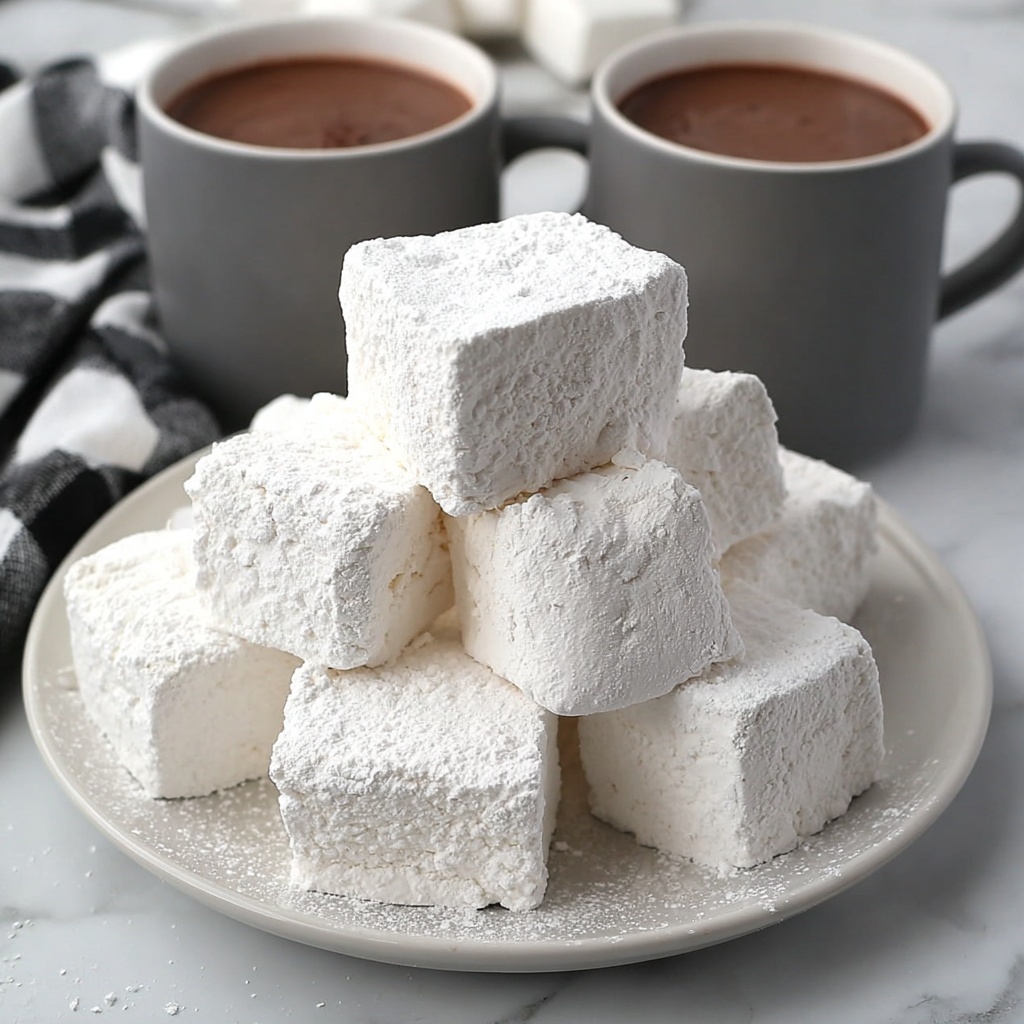
These fluffy marshmallows shine when paired with warm drinks like rich hot chocolate or coffee, lending a creamy sweetness that melts perfectly. They are also fantastic alongside graham crackers and chocolate for a classic s’mores treat or chopped into ice cream and berry desserts to add a lovely pillowy contrast.
Creative Ways to Present
Why settle for plain squares? You can pipe the marshmallow mixture into fun shapes using a large star tip, then dust with sugar for party-ready treats. For a holiday feel, try coloring a portion of the mixture with natural food coloring or layering with chocolate drizzle. Wrapping individual marshmallows in wax paper tied with a ribbon makes a thoughtful homemade gift that everyone will adore.
Make Ahead and Storage
Storing Leftovers
Your Easy Homemade Marshmallows Recipe will keep best in an airtight container at room temperature for up to 5 to 7 days. Make sure to keep them away from moisture and heat, as those elements can cause them to become sticky or lose their perfect texture.
Freezing
If you want to enjoy these marshmallows longer, freezing is a great option. Place individual pieces in an airtight container or freezer bag, separating layers with parchment paper to prevent clumping. When properly frozen, they retain their flavor and texture for up to 3 months.
Reheating
Frozen marshmallows don’t need much fuss to bring back their softness. Simply thaw them at room temperature for about 30 minutes before serving. If they feel a bit dry, a quick 5-second zap in the microwave will puff them up nicely without melting them.
FAQs
What makes homemade marshmallows different from store-bought?
Homemade marshmallows are fresher, softer, and free from the preservatives you find in commercial versions. You can customize flavors and textures, making them more flavorful and perfectly suited to your taste.
Can I use a different flavor instead of vanilla?
Absolutely! Vanilla is classic, but you can experiment with almond extract, peppermint, citrus zest, or even espresso powder to create unique marshmallow varieties that will wow your guests.
Do I need a candy thermometer to make this recipe?
While a candy thermometer ensures precision, experienced cooks can sometimes gauge the soft ball stage by texture and appearance. However, for consistent and foolproof results, a thermometer is highly recommended.
How sticky are these marshmallows to handle?
Right after mixing, the marshmallows are quite sticky, so wetting your hands or spatula when spreading and cutting is key. Once they set overnight and get dusted with powdered sugar, they become much easier to handle.
Can I make this recipe vegan or dairy-free?
Traditional marshmallows contain gelatin which is animal-based. To make vegan marshmallows, you’d need to substitute with agar-agar or specialized vegan gelatin alternatives, though the texture might vary. This recipe is best enjoyed as written for that authentic marshmallow softness.
Final Thoughts
This Easy Homemade Marshmallows Recipe is the perfect introduction to the magic of making candy from scratch that tastes so much better than anything store-bought. It’s a fun, rewarding process that fills your kitchen with sweet aromas and results in fluffy clouds of pure deliciousness. Once you try it, you’ll wonder why you never made marshmallows at home before—so go ahead, dive in, and share these treats with friends and family for moments of pure joy.
“`
Print
Easy Homemade Marshmallows Recipe
- Prep Time: 20 minutes
- Cook Time: 5 minutes
- Total Time: 25 minutes plus overnight setting
- Yield: Approximately 25 marshmallows
- Category: Dessert
- Method: Stovetop
- Cuisine: American
Description
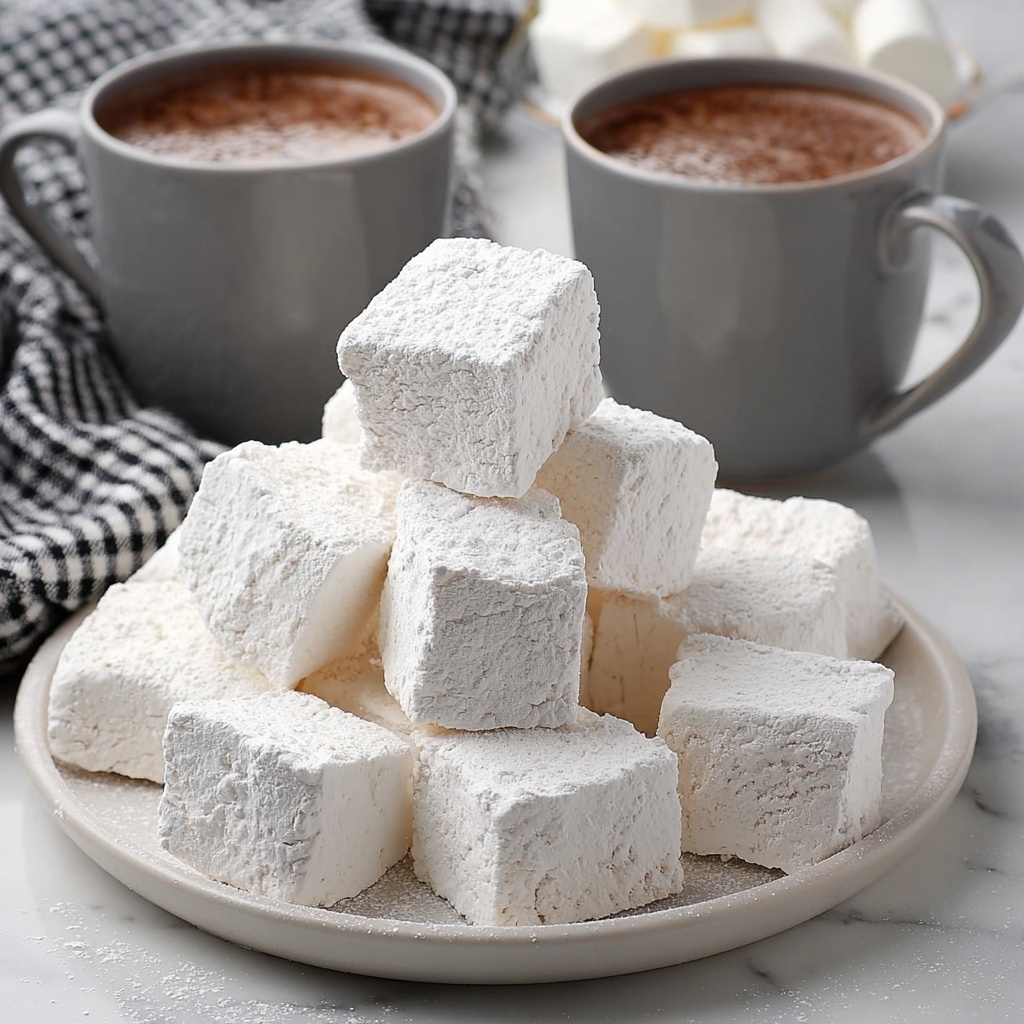
This easy homemade marshmallows recipe yields fluffy, sweet marshmallows perfect for snacking or adding to hot chocolate. Made with simple ingredients like gelatin, sugar, and corn syrup, these marshmallows require no special equipment beyond a mixer and candy thermometer. With a straightforward process of dissolving gelatin, boiling sugar syrup, and whipping the mixture to stiff peaks, you’ll have light and airy marshmallows ready to set overnight and enjoy within a week.
Ingredients
Marshmallow Mixture
- 1 cup water, divided
- 3 envelopes unflavored gelatin (about 2 teaspoons each)
- 2 cups granulated sugar
- ½ cup light corn syrup
- ¼ teaspoon salt
- 2 teaspoons vanilla extract
Coating
- Powdered sugar for tossing and coating pan
Instructions
- Prepare the Pan: Lightly coat a square baking dish with powdered sugar to prevent the marshmallows from sticking after setting.
- Bloom Gelatin: In a large mixing bowl, add ½ cup of cold water and sprinkle the gelatin evenly over the surface. Set it aside to soften and bloom.
- Make Sugar Syrup: In a medium saucepan, combine the remaining ½ cup water, granulated sugar, light corn syrup, and salt. Attach a candy thermometer to the side of the pan.
- Cook Syrup to Softball Stage: Over medium heat, bring the mixture to a gentle boil and cook until the temperature reaches 240°F (softball stage) on the candy thermometer.
- Mix Sugar Syrup with Gelatin: Turn your mixer on low speed and slowly drizzle the hot sugar syrup into the softened gelatin mixture to combine without splattering.
- Whip to Stiff Peaks: Once all the syrup is added, increase the mixer speed to high and beat for about 10 minutes until the mixture becomes thick, glossy, and forms stiff peaks.
- Add Vanilla: When the mixture has cooled to room temperature and reached stiff peaks, add the vanilla extract and mix briefly to incorporate.
- Transfer and Spread: Quickly pour the marshmallow mixture into the prepared baking pan. Use wet fingers or a spatula to spread it evenly as the mixture is sticky.
- Coat with Powdered Sugar: Sprinkle additional powdered sugar evenly over the top to help prevent sticking.
- Set Overnight: Allow the marshmallows to set out at room temperature overnight to firm up.
- Prepare for Cutting: Sprinkle a large cookie sheet or cutting board with powdered sugar.
- Loosen Edges: Use a sharp knife to gently loosen the marshmallows from the edges of the baking pan.
- Remove and Coat: Transfer the marshmallow slab onto the sugared cookie sheet or board, sprinkle more powdered sugar on top.
- Cut into Squares: Cut the marshmallows into 1-inch squares and toss each piece in powdered sugar to coat well, which prevents sticking.
- Store Properly: Keep marshmallows in an airtight container at room temperature for 5 to 7 days to maintain freshness.
Notes
- Use a candy thermometer to ensure the sugar syrup reaches the correct temperature for proper texture.
- Wet your hands or the spatula when spreading the sticky marshmallow mixture to avoid mess.
- Storing marshmallows in a dry airtight container helps maintain their softness and prevents them from drying out.
- If you want flavored marshmallows, you can add different extracts in place of vanilla.
- Powdered sugar coating prevents the marshmallows from sticking to each other and surfaces.
