
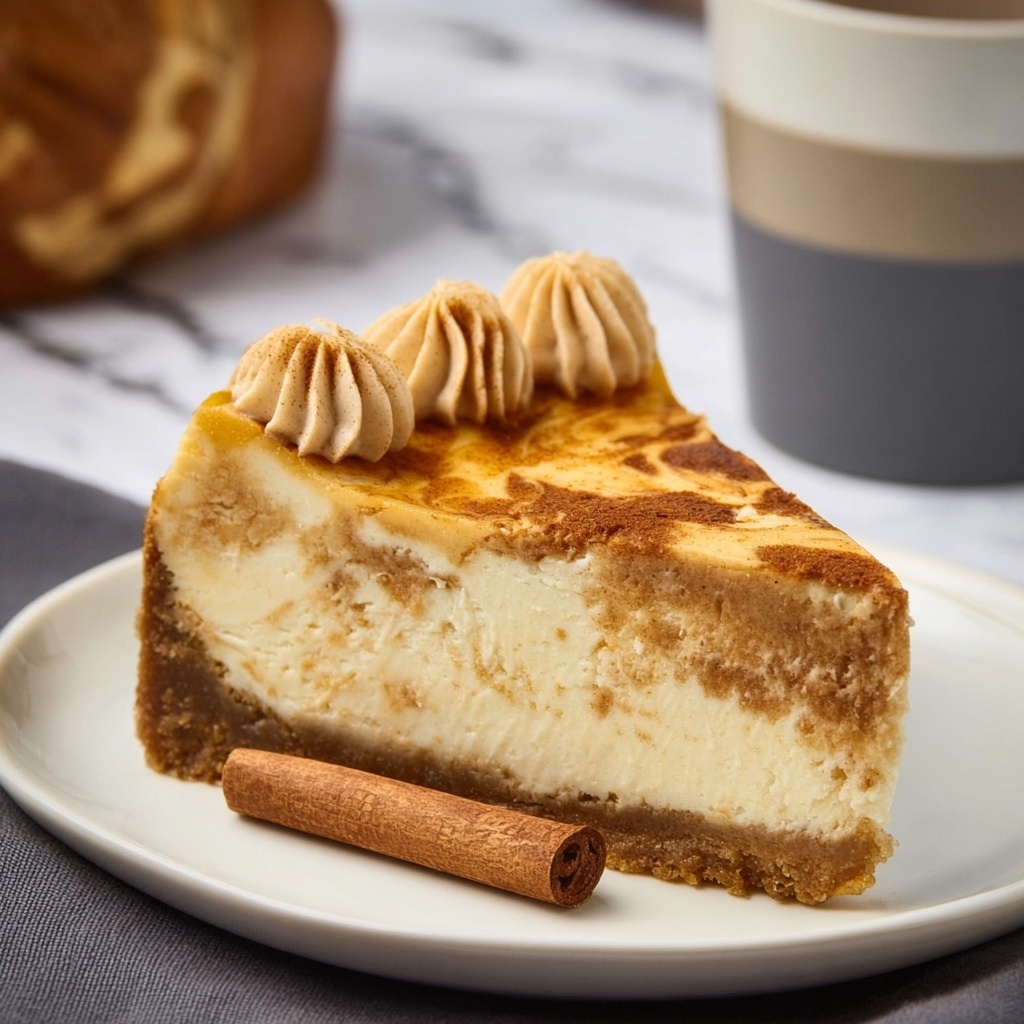
If you are on the hunt for a dessert that feels like autumn wrapped up in every bite, this Instant Pot Pumpkin Cheesecake Recipe is your new best friend. It’s creamy, spiced just right, and made effortlessly in the Instant Pot, giving you a perfectly moist cheesecake with a rich, gingersnap crust that’s simply unforgettable. Whether you’re celebrating a special occasion or craving a cozy treat, this cheesecake captures the warm flavors of pumpkin and spices with incredible ease.
Ingredients You’ll Need
The beauty of this Instant Pot Pumpkin Cheesecake Recipe lies in the simplicity and quality of the ingredients. Each one plays an important role—from the fragrant spices that bring warmth, to the smooth cream cheese that ensures that luscious, velvety texture you crave in every forkful.
- 2 cups gingersnap cookie crumbs: Adds a spicy, crunchy base that complements the pumpkin perfectly.
- 1/4 teaspoon ground nutmeg: Provides a warm, nutty aroma that enhances the autumn flavor.
- 1/4 teaspoon ground cinnamon: Classic spice that adds depth and sweetness.
- 1/2 cup granulated sugar: Sweetens the crust just enough to balance the spices.
- 4 tablespoons melted butter: Binds the crust crumbs to a firm, buttery foundation.
- 32 ounces softened cream cheese: The creamy hero of the cheesecake that delivers richness and velvety texture.
- 1 3/4 cups granulated sugar: Sweetens the cheesecake filling evenly without overpowering the pumpkin.
- 1/2 cup sour cream at room temperature: Adds tanginess and keeps the cheesecake smooth and moist.
- 3/4 teaspoon maple extract: Brings a subtle sweetness and pairs beautifully with pumpkin.
- 1 teaspoon clear vanilla extract: Adds subtle aroma without masking the pumpkin’s bright orange color.
- 3 large eggs at room temperature: Essential for binding the filling and creating a creamy structure.
- 1 cup canned pumpkin: Pure pumpkin goodness adding body and that signature fall flavor.
- 1 1/4 teaspoons ground cinnamon: Deepens the pumpkin spice profile in the cheesecake.
- 1/2 teaspoon allspice: Elevates the blend with a spicy, clove-like note.
- 1/2 teaspoon nutmeg: A must-have spice that rounds out the pumpkin filling.
- 8 ounces softened cream cheese for topping: Makes the luscious, smooth topping layer that jazzes up the cheesecake.
- 4 tablespoons softened butter for topping: Adds richness to the topping and smooths texture.
- 1 teaspoon maple extract for topping: Infuses the topping with that cozy autumn sweetness.
- 1/2 cup powdered sugar for topping: Sweetens the topping just right without graininess.
- 2 tablespoons milk: Helps achieve a silky, spreadable consistency for the topping.
How to Make Instant Pot Pumpkin Cheesecake Recipe
Step 1: Prepare the Crust and Filling
Start by mixing the gingersnap cookie crumbs with ground nutmeg, cinnamon, sugar, and melted butter until the crumbs are evenly coated and moistened. Firmly press the crust mixture into the bottom of your cheesecake pan to form a solid base. For the filling, beat the softened cream cheese until fluffily smooth, then gradually add sugar, sour cream, maple extract, and vanilla extract. Once combined, beat in the eggs one at a time, ensuring each one is fully incorporated before adding the next. Finally, gently fold in the pumpkin and warm spices—cinnamon, allspice, and nutmeg. The mixture should be creamy with a beautiful, spiced aroma.
Step 2: Cook the Cheesecake in the Instant Pot
Pour your luscious pumpkin cheesecake batter carefully over the crust in the pan. Cover the pan tightly with foil to prevent condensation from dripping on the cheesecake. Place a trivet inside the Instant Pot and add a cup of water for steam. Carefully lower the cheesecake onto the trivet. Seal the Instant Pot lid, set it to pressure cook on high for 60 minutes, and then allow it to naturally release pressure for 20 minutes. This gentle cooking method ensures that the cheesecake bakes evenly and stays wonderfully moist without cracking.
Step 3: Prepare and Add the Topping
While the cheesecake is cooking, whip together the softened cream cheese topping ingredients—cream cheese, butter, maple extract, powdered sugar, and milk—until smooth and spreadable. Once the cheesecake has cooled and is out of the Instant Pot, gently spread this topping evenly over the surface. Refrigerate the cheesecake for at least 4 hours, but overnight is best to allow the flavors to meld perfectly and the texture to set firmly.
How to Serve Instant Pot Pumpkin Cheesecake Recipe
Garnishes
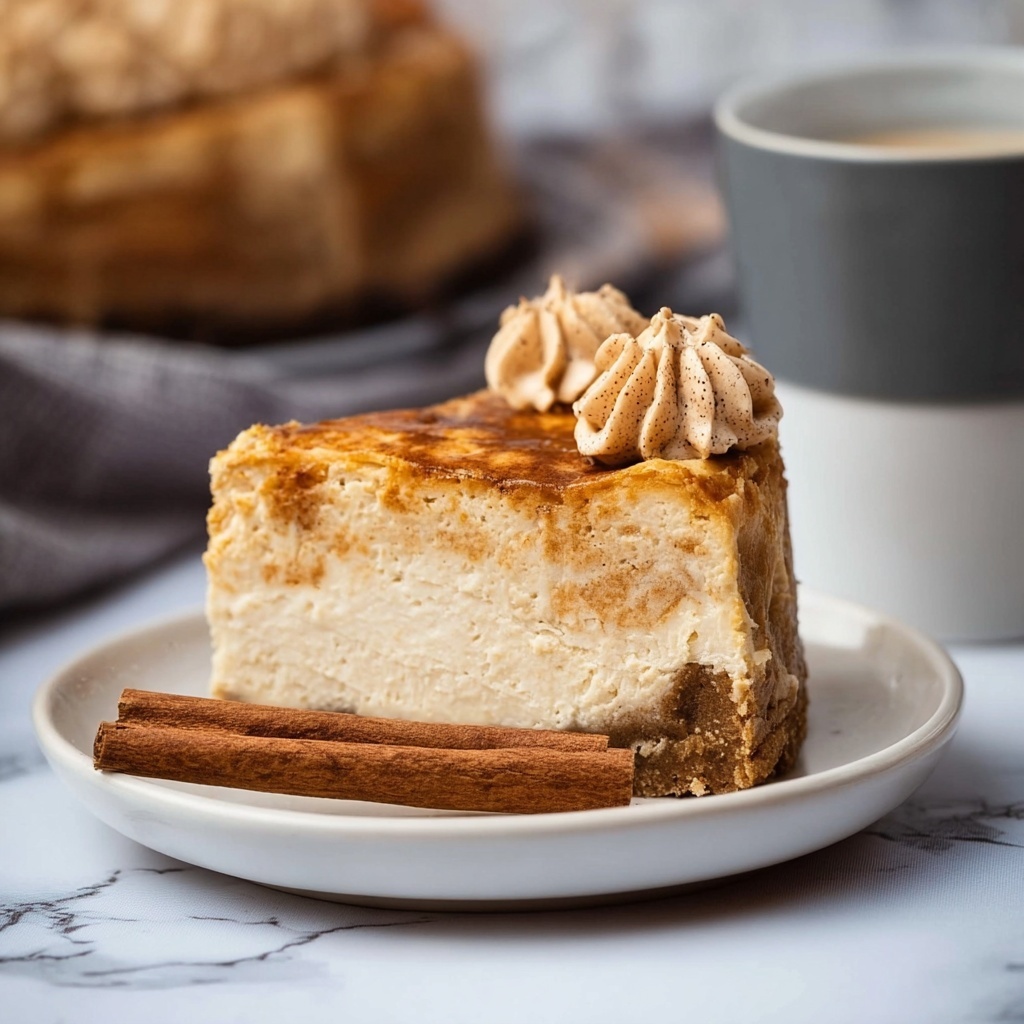
The perfect garnish for this Instant Pot Pumpkin Cheesecake Recipe can be as simple or as fancy as you like. A light dusting of cinnamon or nutmeg enhances that warm spice aroma, or add a dollop of freshly whipped cream with a sprinkle of crushed gingersnaps for extra crunch. Toasted pecans or a drizzle of maple syrup also make gorgeous and tasty additions.
Side Dishes
This cheesecake pairs beautifully with fresh fruit like sliced pears, a handful of pomegranate seeds, or even a bright berry compote. If you’re serving coffee or tea, these sides will provide a lovely palate contrast to the rich, creamy pumpkin flavors.
Creative Ways to Present
If you want to wow your guests, serve slices on individual dessert plates with a sprig of fresh rosemary or mint. For a rustic touch, place the cheesecake on a wooden board surrounded by fall leaves or small pumpkins. You can also portion this cheesecake into small mason jars for adorable grab-and-go treats that are perfect for parties.
Make Ahead and Storage
Storing Leftovers
Leftover Instant Pot Pumpkin Cheesecake Recipe keeps wonderfully in the fridge for up to 5 days. Make sure to cover it tightly with plastic wrap or store it in an airtight container to maintain its creamy texture and prevent it from absorbing other fridge odors.
Freezing
This cheesecake freezes beautifully. Slice into portions and wrap each piece in plastic wrap and then foil to avoid freezer burn. You can keep it frozen for up to 2 months. Thaw overnight in the refrigerator before serving.
Reheating
Cheesecake is best enjoyed chilled, but if you prefer it slightly warm, allow it to come to room temperature and then microwave a slice for 10 to 15 seconds. Be cautious not to overheat, as you want to keep that signature creamy texture intact.
FAQs
Can I use a regular oven instead of an Instant Pot for this pumpkin cheesecake?
Absolutely! While the Instant Pot is fantastic for even cooking and moisture retention, you can bake this pumpkin cheesecake at 325°F for about 50 to 60 minutes in a water bath to achieve a similar rich texture.
Why is the clear vanilla extract recommended?
Clear vanilla extract preserves the bright orange color of the pumpkin filling because it doesn’t add any additional color, unlike the traditional vanilla extract. However, either will infuse lovely vanilla flavor.
What type of canned pumpkin should I use?
Be sure to use pure canned pumpkin, not pumpkin pie filling, since the latter contains added sugar and spices that might throw off the balance in this recipe.
How do I prevent cracks in my Instant Pot Pumpkin Cheesecake Recipe?
Gently mixing ingredients and cooking at a steady pressure with proper natural release reduces cracking. Also, avoid opening the Instant Pot immediately after cooking to maintain gentle cooling.
Can I make this recipe dairy-free or vegan?
This particular recipe relies on traditional cream cheese and butter for texture and flavor, so substituting with dairy-free alternatives will require experimentation. Using firm non-dairy cream cheese and vegan butter might work, but the cooking time may vary.
Final Thoughts
Honestly, once you try this Instant Pot Pumpkin Cheesecake Recipe, it’s going to become a staple in your dessert repertoire. The ease of the Instant Pot combined with the comforting flavors of pumpkin and spice makes it irresistible and approachable. I encourage you to invite a few friends or family over, slice up this creamy masterpiece, and savor every cozy, dreamy bite together.
Print
Instant Pot Pumpkin Cheesecake Recipe
- Prep Time: 25 minutes
- Cook Time: 60 minutes
- Total Time: 1 hour 25 minutes plus chilling time
- Yield: 8 servings
- Category: Dessert
- Method: Instant Pot
- Cuisine: American
Description
This Instant Pot Pumpkin Cheesecake recipe offers a rich and creamy dessert perfect for autumn celebrations. Featuring a gingersnap cookie crust, a spiced pumpkin cheesecake layer, and a luscious cream cheese maple glaze, this cheesecake is moist, flavorful, and easy to prepare using the pressure cooker for a perfectly set texture.
Ingredients
Crust
- 2 cups gingersnap cookie crumbs
- ¼ teaspoon ground nutmeg
- ¼ teaspoon ground cinnamon
- ½ cup granulated sugar
- 4 tablespoons melted butter
Cheesecake Filling
- 32 oz cream cheese, softened
- 1¾ cups granulated sugar
- ½ cup sour cream, room temperature
- ¾ teaspoon maple extract
- 1 teaspoon clear vanilla extract (can use regular vanilla extract but the swirl will be darker)
- 3 large eggs, room temperature
- 1 cup canned pumpkin
- 1¼ teaspoons ground cinnamon
- ½ teaspoon allspice
- ½ teaspoon nutmeg
Maple Cream Cheese Glaze
- 8 oz cream cheese, softened
- 4 tablespoons butter, softened
- 1 teaspoon maple extract
- ½ cup powdered sugar
- ⅛ cup milk
Instructions
- Prepare the Crust: In a mixing bowl, combine the gingersnap cookie crumbs, ground nutmeg, ground cinnamon, granulated sugar, and melted butter. Mix thoroughly until the mixture resembles wet sand. Press the crumb mixture evenly into the bottom of a greased 7-inch or 8-inch springform pan to form the crust. Set aside.
- Make the Cheesecake Filling: Using an electric mixer, beat the 32 oz softened cream cheese until smooth and creamy. Gradually add 1¾ cups granulated sugar and continue mixing until fully combined. Add the sour cream, maple extract, and clear vanilla extract, beating well. Beat in eggs one at a time, ensuring each is fully incorporated before adding the next. Gently fold in canned pumpkin along with ground cinnamon, allspice, and nutmeg until the mixture is smooth and evenly spiced.
- Cook the Cheesecake in the Instant Pot: Pour the cheesecake filling over the prepared crust in the springform pan and smooth the top. Cover the pan with aluminum foil. Pour 1 cup of water into the Instant Pot inner pot, then place a trivet inside. Lower the covered springform pan onto the trivet. Seal the Instant Pot lid and set it to high pressure for 60 minutes. Once cooking is complete, allow a natural pressure release for 20 minutes before carefully removing the lid.
- Prepare the Maple Cream Cheese Glaze: While the cheesecake cools slightly, combine the softened cream cheese and butter in a bowl. Beat until creamy and smooth. Add maple extract, powdered sugar, and milk gradually, beating until the glaze reaches a spreadable consistency.
- Glaze and Chill: Remove the cheesecake from the Instant Pot and carefully peel away the foil. Spread the maple cream cheese glaze evenly over the top of the cheesecake. Refrigerate the cheesecake for at least 4 hours, preferably overnight, to fully set and enhance flavors before serving.
Notes
- Make sure all dairy ingredients are at room temperature to avoid lumps in the batter.
- Use clear vanilla extract to maintain a light-colored swirl in the cheesecake; regular vanilla will darken the swirl.
- Line the Instant Pot trivet with parchment paper or use a silicone sling for easier removal of the cheesecake pan.
- Allow the cheesecake to cool completely before adding the glaze to prevent it from melting.
- Store leftovers covered in the refrigerator for up to 5 days.


