
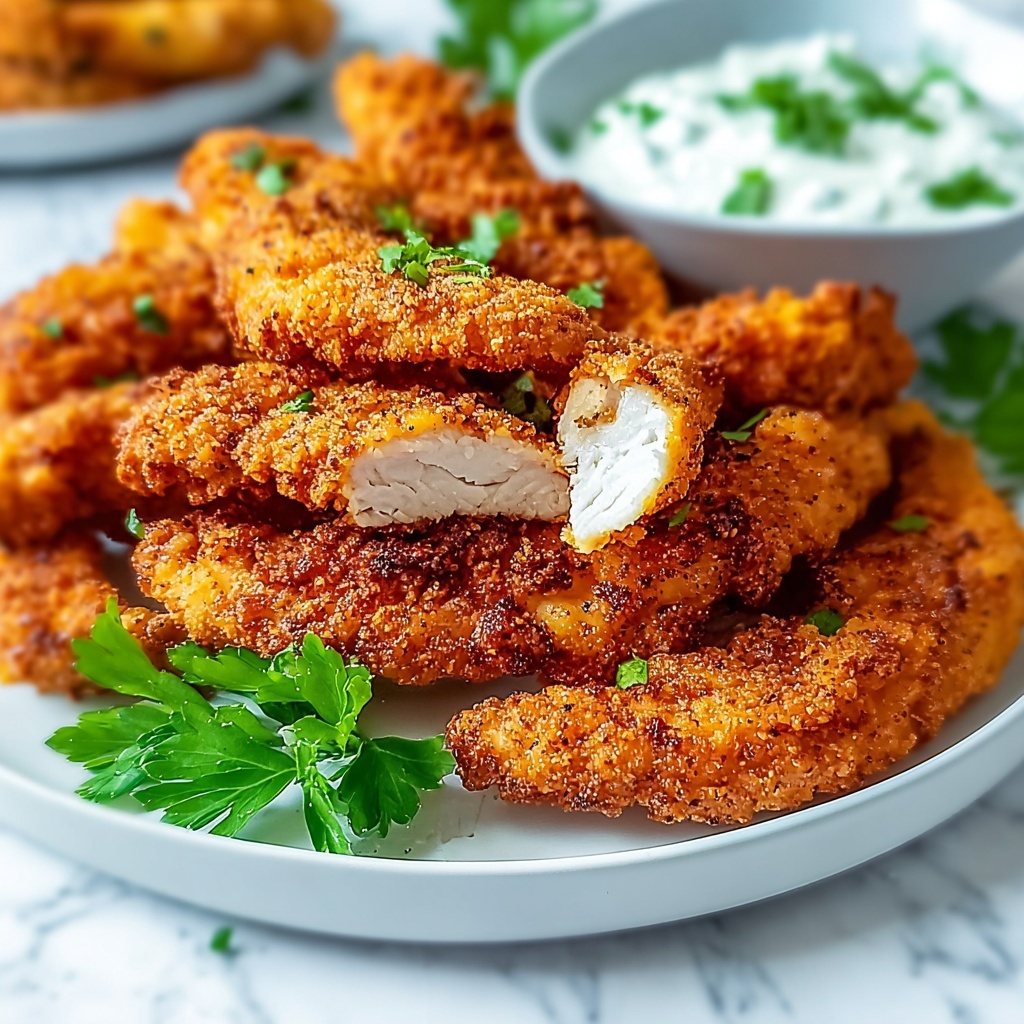
If you’re craving something irresistibly crispy, flavorful, and lovingly homemade, then you’re in for a real treat with this recipe for Crunchy Homemade Chicken Fingers: The Ultimate Family Treat Recipe. These chicken fingers boast a crunchy exterior that gives way to tender, juicy chicken inside, guaranteed to bring a smile to everyone’s face around the table. Perfect for family dinners, weekend snacks, or parties, this recipe is simple to make and endlessly satisfying, turning humble chicken strips into a star dish you’ll want to make again and again.
Ingredients You’ll Need
Simple ingredients are the heart of any great homemade dish, and this recipe is no exception. Each one plays a key role in building flavor, texture, and that signature crunch that makes these chicken fingers unforgettable.
- Boneless, Skinless Chicken Breasts: Tender and juicy, the perfect canvas for crisp coating.
- All-Purpose Flour: Sift it for a lighter texture that helps the coating stick brilliantly.
- Large Eggs: Fresh eggs are essential for that sticky layer that binds the breadcrumbs.
- Panko Breadcrumbs: The secret to extra crunch and a golden finish.
- Garlic Powder: Adds a warm, savory depth that complements the chicken.
- Paprika: Introduces a mild warmth and a lovely touch of color.
- Salt: Essential for seasoning, bringing all flavors to life.
- Pepper: Adds a subtle kick to balance the flavors.
- Oil for Frying: Use vegetable or canola oil for a clean, high-heat fry.
- Honey Mustard: A sweet and tangy dip that’s a perfect pairing.
- BBQ Sauce: Offers a smoky kick great for those who like bold flavors.
- Spicy Sriracha Mayo: Adds heat with creamy richness for adventurous taste buds.
How to Make Crunchy Homemade Chicken Fingers: The Ultimate Family Treat Recipe
Step 1: Prepare Your Chicken
Start by trimming off any excess fat from your chicken breasts for a cleaner bite. Then, slice the breasts into 1-inch wide strips—this size cooks evenly and gives that perfect finger-food appeal.
Step 2: Set Up Your Breading Stations
Arrange three shallow dishes: one with seasoned all-purpose flour (mix in salt, pepper, garlic powder, and paprika), one with beaten eggs, and one with the panko breadcrumb mixture. This assembly line setup makes it easy to coat each strip thoroughly while keeping the process organized and fun.
Step 3: Bread the Chicken Fingers
First, coat each chicken strip in the seasoned flour to create a dry surface that enhances crispiness. Next, dip it into the beaten eggs to get a moist layer, and finally roll it in the panko breadcrumbs to get that unmistakable crunch. Make sure every bit of chicken is well-coated without clumping.
Step 4: Fry the Chicken Fingers to Golden Perfection
Heat about half an inch of oil in a skillet over medium heat until it shimmers—you want the oil hot enough to crisp without burning. Fry the chicken strips for 3-4 minutes on each side. Watch for that gorgeous golden brown color forming, signaling a crunchy exterior.
Step 5: Drain and Serve
Once fried, use tongs to transfer your chicken fingers to paper towels to soak up excess oil. This keeps them delightfully crunchy and not greasy. Serve immediately with your favorite dipping sauces to enjoy them at their best.
How to Serve Crunchy Homemade Chicken Fingers: The Ultimate Family Treat Recipe
Garnishes
Simple garnishes like freshly chopped parsley or a sprinkle of extra paprika can brighten up the plate and add a pop of color. A wedge of lemon on the side not only looks lovely but offers a zesty option to brighten the flavors as you dip and devour.
Side Dishes
Pair these chicken fingers with classic sides like crispy French fries, a fresh garden salad, or creamy coleslaw to keep things balanced. For an extra touch of indulgence, serve with buttery mashed potatoes or a tangy macaroni and cheese.
Creative Ways to Present
If you want to make this dish a star at your next gathering, arrange the chicken fingers on a large platter with dollops of your honey mustard, BBQ sauce, and spicy sriracha mayo artfully spread around. You can even offer small bowls of different dips so everyone can customize their bites. For kids’ parties, serve on small skewers alongside colorful veggie sticks for a fun and easy finger food.
Make Ahead and Storage
Storing Leftovers
If you have any leftovers from your Crunchy Homemade Chicken Fingers: The Ultimate Family Treat Recipe, place them in an airtight container and refrigerate. They’ll stay fresh for up to 3 days, making them great for a quick lunch or snack.
Freezing
To freeze, place the breaded and cooked chicken fingers on a parchment-lined tray and freeze until firm. Transfer them to a freezer-safe bag or container. They’ll keep well for up to a month, perfect for a fast, homemade meal on a busy day.
Reheating
Reheat your chicken fingers in a preheated oven at 375°F (190°C) for about 10 minutes or until warmed through and crispy again. Avoid microwaving if you want to maintain that glorious crunch, as it tends to make the coating soggy.
FAQs
Can I bake the chicken fingers instead of frying?
Absolutely! Baking is a healthier option; just spray the breaded strips lightly with oil and bake at 400°F (200°C) for 15-20 minutes, turning halfway through. They won’t be quite as crispy as frying, but still delicious.
What if I don’t have panko breadcrumbs?
You can use regular breadcrumbs, but panko has a coarser texture that provides extra crunch. If regular breadcrumbs are what you have, consider toasting them first for a bit more texture.
How do I know when the oil is hot enough for frying?
A good test is to drop a small breadcrumb into the oil. If it bubbles and rises to the surface immediately, your oil is ready. Maintaining medium heat prevents burning and ensures even cooking.
Can I use chicken thighs instead of breasts?
Yes! Chicken thighs are juicier and more forgiving if overcooked. Just slice off any excess fat and cut into similar-sized strips to cook evenly.
What sauces pair best with these chicken fingers?
Honey mustard, BBQ sauce, and spicy sriracha mayo are fantastic, but you can also try ranch dressing, blue cheese dip, or even a fresh salsa verde for variety.
Final Thoughts
There’s something so comforting about biting into Crunchy Homemade Chicken Fingers: The Ultimate Family Treat Recipe, and I can’t recommend it enough for your next meal. The combination of crispy coating, juicy chicken, and versatile dipping sauces will win over young and old alike. Give it a try and watch these chicken fingers become a beloved classic in your home too!
Print
Crunchy Homemade Chicken Fingers: The Ultimate Family Treat Recipe
- Prep Time: 10 minutes
- Cook Time: 15 minutes
- Total Time: 25 minutes
- Yield: 4 servings
- Category: Appetizer
- Method: Frying
- Cuisine: American
- Diet: Halal
Description
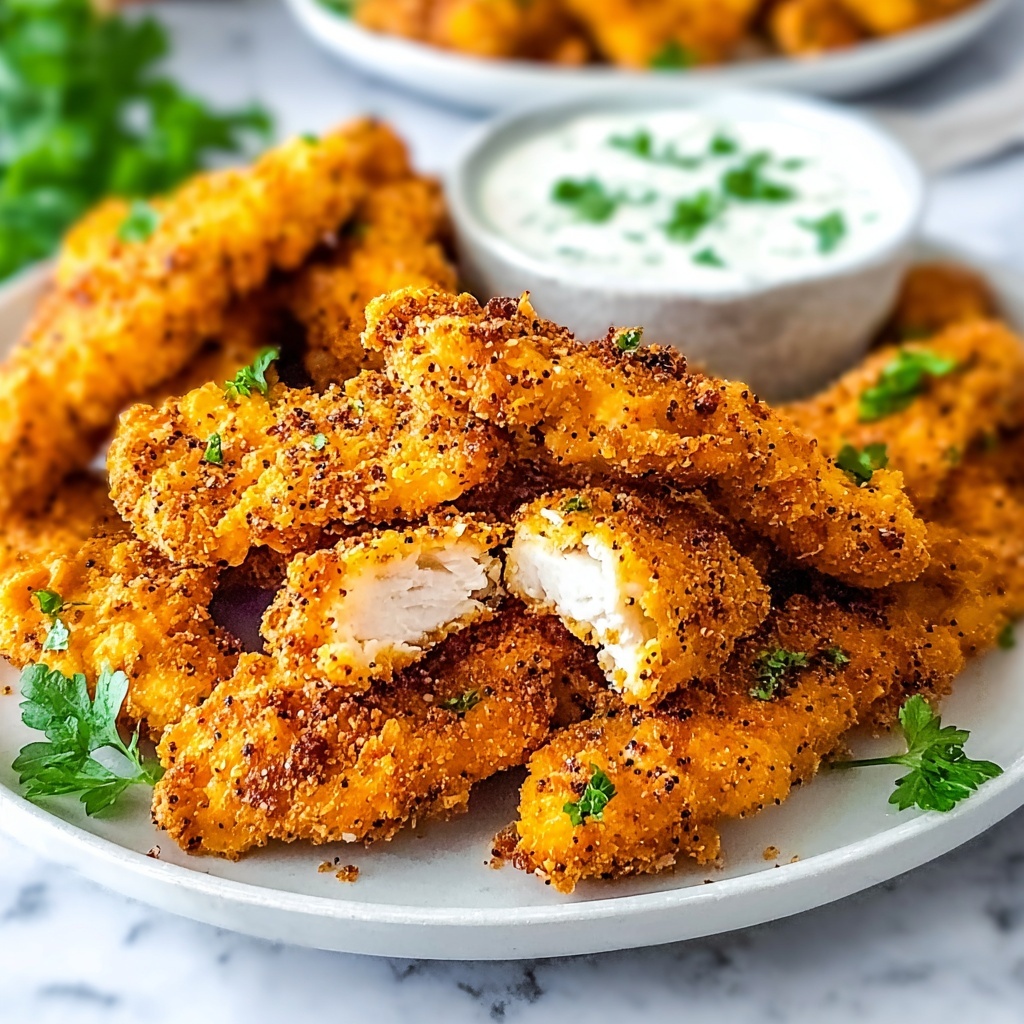
These Crunchy Homemade Chicken Fingers are the ultimate family treat, offering tender and juicy chicken strips coated in a flavorful, crispy breadcrumb crust. Perfectly seasoned and fried to golden perfection, they make a delicious appetizer or main dish paired with sweet honey mustard, smoky BBQ sauce, or spicy sriracha mayo for dipping.
Ingredients
Chicken
- 3–4 pieces Boneless, Skinless Chicken Breasts (Tender and juicy)
Coating
- 1 cup All-Purpose Flour (Sift for lighter texture)
- 2 large Eggs (Fresh eggs yield the best crunch)
- 1 cup Panko Breadcrumbs (Provides extra crunch)
- 1 teaspoon Garlic Powder (Adds depth of flavor)
- 1 teaspoon Paprika (Introduces mild warmth and color)
- 1 teaspoon Salt (Essential seasoning)
- 1 teaspoon Pepper (Essential seasoning)
Cooking
- 1/2 cup Oil for Frying (Vegetable or canola oil)
Dipping Sauces
- 1/2 cup Honey Mustard (Sweet and tangy dip)
- 1/2 cup BBQ Sauce (Smoky kick)
- 1/2 cup Spicy Sriracha Mayo (Add heat to mayonnaise)
Instructions
- Prepare the chicken strips: Trim any excess fat from the boneless, skinless chicken breasts. Slice each breast into strips approximately 1 inch wide to ensure even cooking and perfect bite-sized pieces.
- Set up the coating stations: Arrange three shallow dishes for the breading process. In the first dish, place the sifted all-purpose flour seasoned with garlic powder, paprika, salt, and pepper. In the second, beat the eggs thoroughly. In the third, pour the panko breadcrumbs for the final crisp coating.
- Coat the chicken: Dredge each chicken strip first in the seasoned flour, ensuring it is fully covered. Dip it next into the beaten eggs, letting any excess drip off. Finally, roll the chicken thoroughly in the panko breadcrumbs to create a crunchy crust.
- Heat the oil: Pour about half a cup of vegetable or canola oil into a skillet to a depth of ½ inch. Heat over medium heat until the oil shimmers but is not smoking, ensuring it’s hot enough for frying without burning.
- Fry the chicken fingers: Carefully place the coated chicken strips into the hot oil in a single layer. Fry each side for 3-4 minutes or until the coating turns golden brown and crispy, and the chicken is cooked through (internal temperature should reach 165°F/74°C).
- Drain excess oil: Use tongs to transfer the fried chicken fingers onto paper towels to absorb any residual oil. This keeps them crisp and less greasy.
- Serve with dips: Arrange the chicken fingers on a serving platter alongside honey mustard, BBQ sauce, and spicy sriracha mayo for a variety of flavorful dipping options.
Notes
- For extra crispiness, do not overcrowd the skillet while frying; cook in batches if necessary.
- Use fresh eggs and sift flour for a lighter, crunchier coating.
- Ensure the oil is at the right temperature before frying to prevent soggy chicken fingers.
- Adjust the dipping sauces to taste or substitute with ranch dressing or blue cheese for variety.
- Leftover chicken fingers can be kept in an airtight container and reheated in an oven or air fryer to maintain crispness.

