“`html
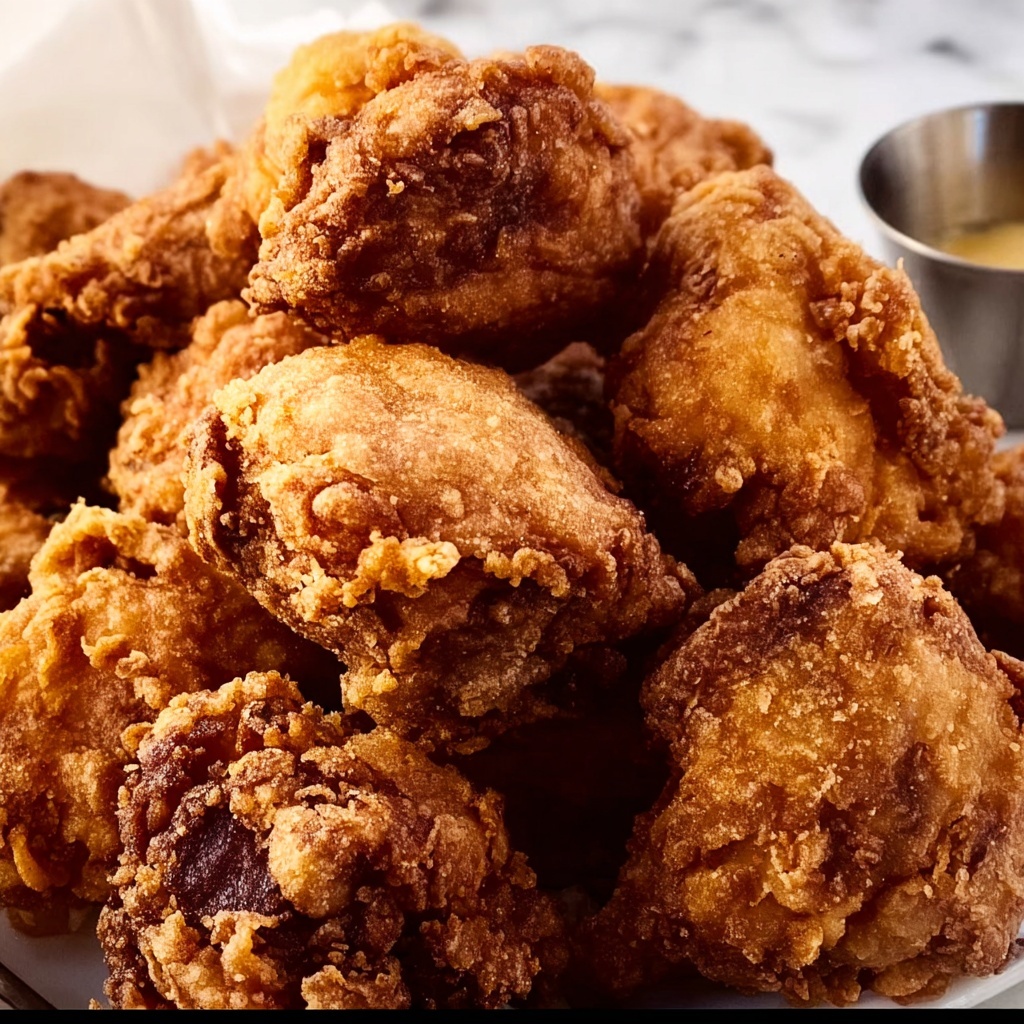
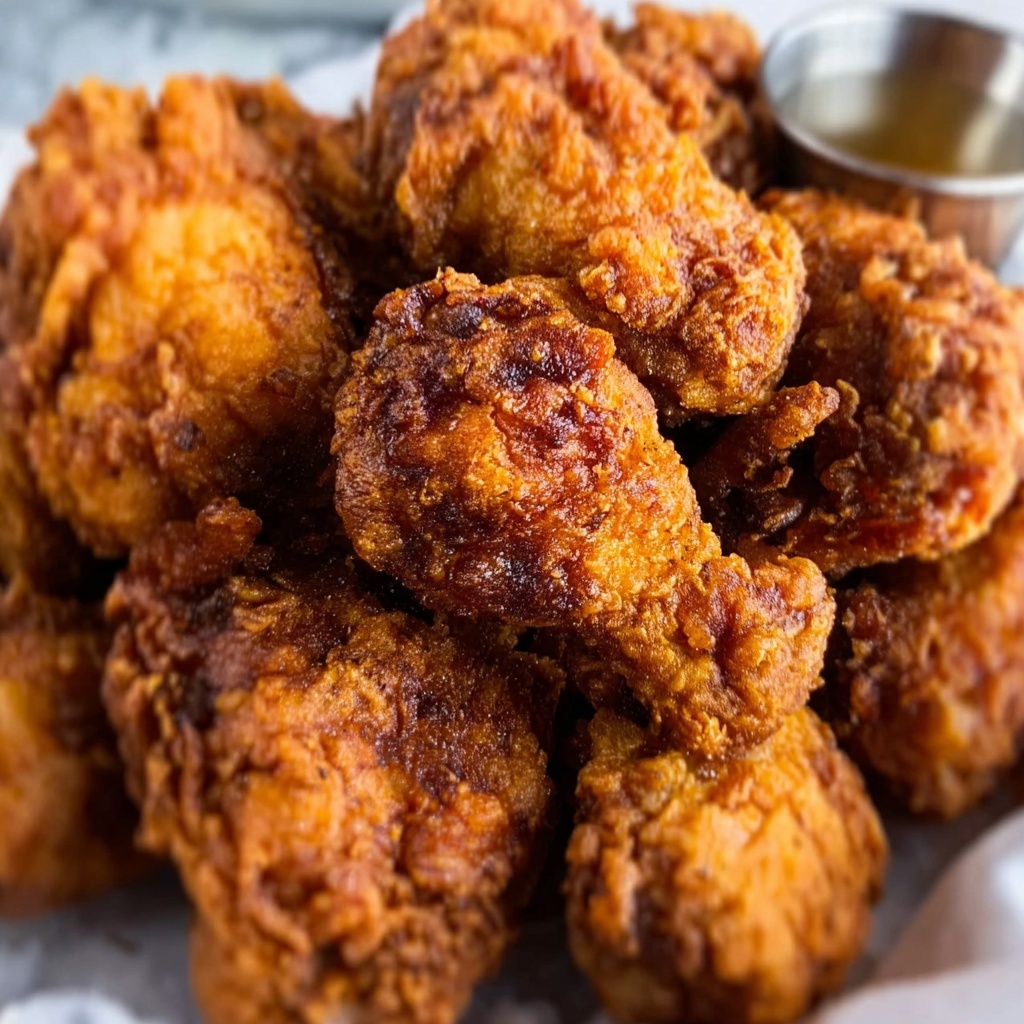
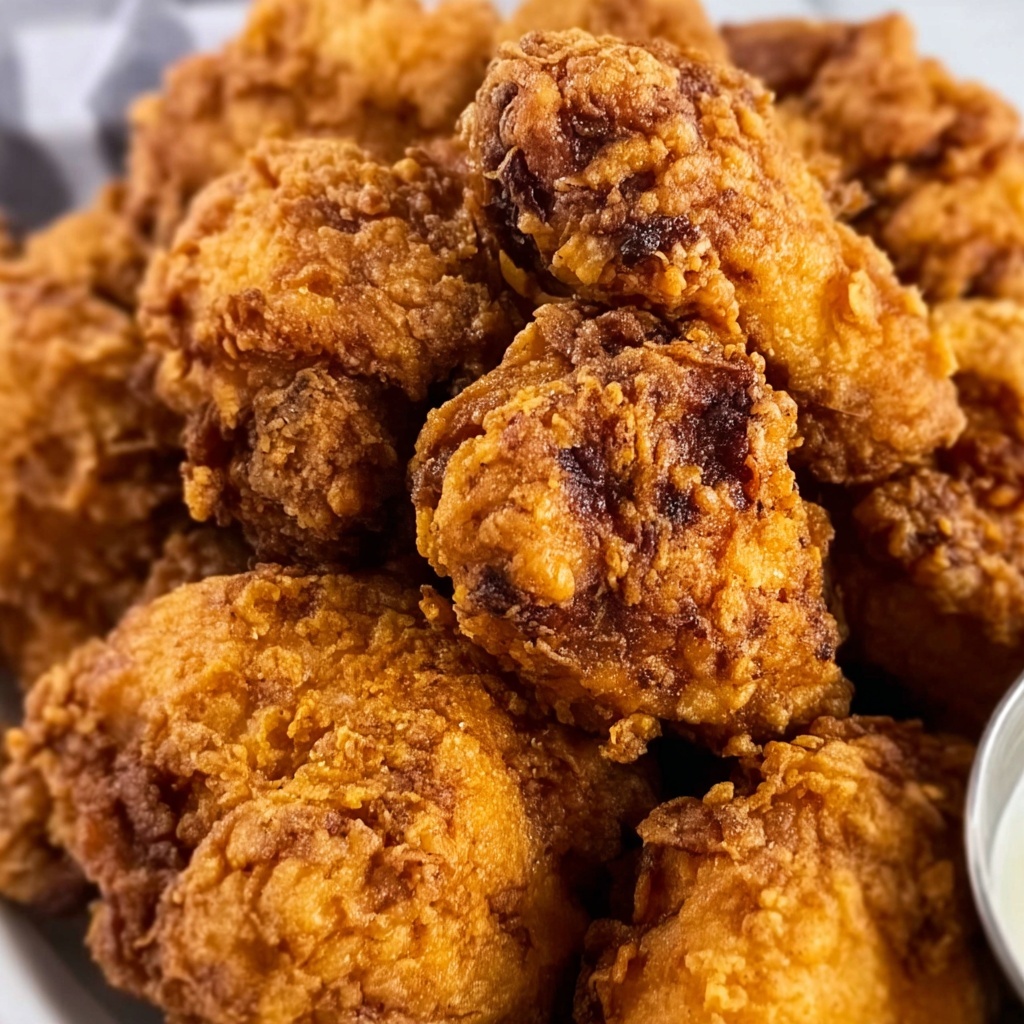
If you are craving a dish that combines bold flavors with irresistible crunch, you have come to the right place. The Crispy Fried Chicken Livers That Will Wow Your Taste Buds Recipe is a sensational treat that takes humble chicken livers and transforms them into golden, flavorful nuggets of pure joy. With a perfectly seasoned coating and a tender inside, this recipe is a celebration of texture and taste that’s bound to become a favorite for gatherings, snacks, or a comforting meal any day of the week.
Ingredients You’ll Need
Gathering the right ingredients is the first step to achieving that perfect balance of crispy and savory in this recipe. Each element plays a crucial role: from the spices that elevate the livers’ natural richness to the coatings that create that mouthwatering crunch.
- 1.5 pounds Raw chicken livers: This is the star ingredient that’s rich in flavor and provides a unique texture.
- 2 Eggs: These act as a binder to help the flour and breadcrumbs stick to the livers.
- 1 tablespoon Hot sauce: For a spicy kick that elevates the overall flavor profile.
- 2 teaspoons Smoked paprika: Adding a deep, smoky essence that complements the livers perfectly.
- 2 teaspoons Garlic powder: To enhance the savory richness of the fritters.
- 2 teaspoons Onion powder: For additional depth and flavor.
- 1 teaspoon Cayenne pepper: Adjust to taste if you want more heat in your fried chicken livers.
- Salt: To taste, essential for bringing out the flavors of the livers.
- Pepper: To taste, for that extra bit of warmth and seasoning.
- 1.5 cups All-purpose flour: This helps achieve a crispy exterior once fried.
- 0.75 cups Breadcrumbs: Ensuring your fritters have that golden crunch when cooked.
- Oil for frying: Enough to cover about 1-2 inches of the pan, key for achieving that perfect crispy texture.
How to Make Crispy Fried Chicken Livers That Will Wow Your Taste Buds Recipe
Step 1: Preparing the Chicken Livers
Begin by rinsing the chicken livers under cold water to remove any impurities, then pat them dry with paper towels. This step is crucial for achieving a crisp crust because excess moisture can prevent proper browning.
Step 2: Marinating with Spice Mixture
In a large bowl, combine the chicken livers with eggs, hot sauce, smoked paprika, garlic powder, onion powder, cayenne pepper, salt, and pepper. Mix everything thoroughly so every bite gets infused with this vibrant, spicy flavor blend that’s essential for the Crispy Fried Chicken Livers That Will Wow Your Taste Buds Recipe.
Step 3: Setting Up Your Dredging Stations
Prepare two shallow dishes: one filled with all-purpose flour and another with breadcrumbs. The flour helps the coating stick, while the breadcrumbs deliver that golden crunch we all love. Having the stations ready makes the coating process quick and efficient.
Step 4: Coating the Livers
Take each chicken liver and dredge it in the flour, shaking off any excess. Then dip it into the breadcrumbs, ensuring an even, full coverage. This double layer is what guarantees the perfect contrast between crunchy exterior and tender interior.
Step 5: Frying to Perfection
Heat oil in a frying pan over medium-high heat, enough to cover about 1-2 inches of the pan. Fry the coated livers in batches, avoiding overcrowding to maintain the oil temperature. Cook them until they turn golden brown and are cooked through, usually about 3-4 minutes per batch.
Step 6: Draining and Serving
Remove the fried livers with a slotted spoon and place them on paper towels to drain any excess oil. This step keeps your dish crispy and prevents sogginess, preserving the delightful texture that defines this recipe.
How to Serve Crispy Fried Chicken Livers That Will Wow Your Taste Buds Recipe
Garnishes
Brighten up your plate with fresh garnishes like chopped parsley or green onions. A squeeze of lemon adds a pleasant acidity that cuts through the richness and brings balance to each bite.
Side Dishes
Pair your crispy chicken livers with creamy mashed potatoes, a crisp coleslaw, or even a fresh mixed green salad. Each side complements the livers, creating a well-rounded meal that is satisfying and flavorful.
Creative Ways to Present
For a fun twist, serve your Crispy Fried Chicken Livers That Will Wow Your Taste Buds Recipe on skewers with dipping sauces like ranch, spicy mayo, or honey mustard. They also make fantastic additions to tacos or sliders when paired with fresh toppings and soft buns.
Make Ahead and Storage
Storing Leftovers
Store leftover fried chicken livers in an airtight container in the refrigerator for up to 3 days. Keeping them properly covered retains freshness while preventing odors from spreading to other foods.
Freezing
If you want to keep these flavorful bites longer, freeze them on a baking sheet first to avoid sticking, then transfer to a freezer-safe bag or container. They can be frozen for up to 1 month without losing their delicious texture.
Reheating
For best results, reheat in a preheated oven at 350°F (175°C) for about 10 minutes to bring back their crispiness. Avoid microwaving as it tends to make them soggy.
FAQs
Can I use boneless chicken instead of livers for this recipe?
While boneless chicken can be fried similarly, the unique creamy texture and bold flavor of chicken livers can’t be perfectly replicated. For the signature experience of the Crispy Fried Chicken Livers That Will Wow Your Taste Buds Recipe, sticking with livers is best.
How spicy is this recipe? Can I adjust the heat?
The recipe has a nice kick thanks to cayenne and hot sauce, but you can easily adjust the spice level by reducing or omitting these ingredients to match your heat preference.
What type of oil is best for frying?
Neutral oils with high smoke points like vegetable oil, canola oil, or peanut oil work best for frying to get that perfect crisp without imparting extra flavor.
Is it necessary to use both flour and breadcrumbs?
Yes, the flour helps the coating stick to the livers, while breadcrumbs give the outer layer its signature crunch. Skipping one might affect the texture and coating adherence.
Can I make this recipe gluten-free?
Absolutely! Just replace the all-purpose flour and breadcrumbs with gluten-free alternatives. The crispy, flavorful result will still impress your taste buds.
Final Thoughts
There’s something incredibly satisfying about sinking your teeth into crispy, perfectly seasoned fried chicken livers. This Crispy Fried Chicken Livers That Will Wow Your Taste Buds Recipe offers a delightful combination of textures and bold flavors that will make it a beloved go-to whenever you want a taste adventure. Give it a try, share it with friends, and watch it disappear faster than you can say “more, please!”
“`
Print
Crispy Fried Chicken Livers That Will Wow Your Taste Buds Recipe
- Prep Time: 10 minutes
- Cook Time: 25 minutes
- Total Time: 35 minutes
- Yield: 4 servings
- Category: Appetizer
- Method: Frying
- Cuisine: American
Description
Discover the perfect recipe for crispy fried chicken livers that deliver a delightful crunch and a burst of smoky, spicy flavor with every bite. This easy-to-follow method combines a flavorful spice blend with a double coating of flour and breadcrumbs, fried to golden perfection. Ideal for a savory appetizer or a unique main dish that will wow your taste buds in just 35 minutes.
Ingredients
Chicken Livers and Marinade
- 1.5 pounds Raw chicken livers
- 2 Eggs
- 1 tablespoon Hot sauce
- 2 teaspoons Smoked paprika
- 2 teaspoons Garlic powder
- 2 teaspoons Onion powder
- 1 teaspoon Cayenne pepper
- Salt to taste
- Pepper to taste
Coating
- 1.5 cups All-purpose flour
- 0.75 cups Breadcrumbs
For Frying
- Oil for frying (enough to cover 1-2 inches of the pan)
Instructions
- Prepare the Chicken Livers: Rinse the chicken livers thoroughly under cold water, then pat dry with paper towels to remove excess moisture, ensuring a crispier crust when fried.
- Mix the Marinade: In a large bowl, combine the chicken livers with eggs, hot sauce, smoked paprika, garlic powder, onion powder, cayenne pepper, salt, and pepper. Stir well until the livers are completely coated in the flavorful spice blend.
- Set Up Dredging Stations: Place the all-purpose flour in one shallow dish. In a second shallow dish, place the breadcrumbs.
- Coat the Livers: Dredge each spiced chicken liver first in the flour, shaking off any excess, then dip it into the breadcrumbs, ensuring a full and even coating for a perfect crunchy crust.
- Heat the Oil: Pour enough oil into a frying pan to cover the bottom by 1-2 inches and heat over medium-high heat until hot but not smoking, which is key for frying without greasiness.
- Fry the Chicken Livers: Carefully place the coated livers into the hot oil in batches to avoid overcrowding. Fry until golden brown and cooked through, which usually takes about 3-4 minutes per side.
- Drain Excess Oil: Remove the fried livers with a slotted spoon and place them on paper towels to drain off any excess oil, keeping them crispy and less greasy.
- Serve and Enjoy: Serve the crispy fried chicken livers hot as an appetizer or a savory snack that’s sure to impress your guests.
Notes
- Ensure the chicken livers are well dried before battering to ensure a crispy coating.
- Adjust cayenne pepper according to your preferred spice level.
- Do not overcrowd the pan while frying to maintain oil temperature and crispiness.
- Use fresh oil for best flavor and texture.
- These can be served with dipping sauces such as ranch, honey mustard, or hot sauce.


