
“`html
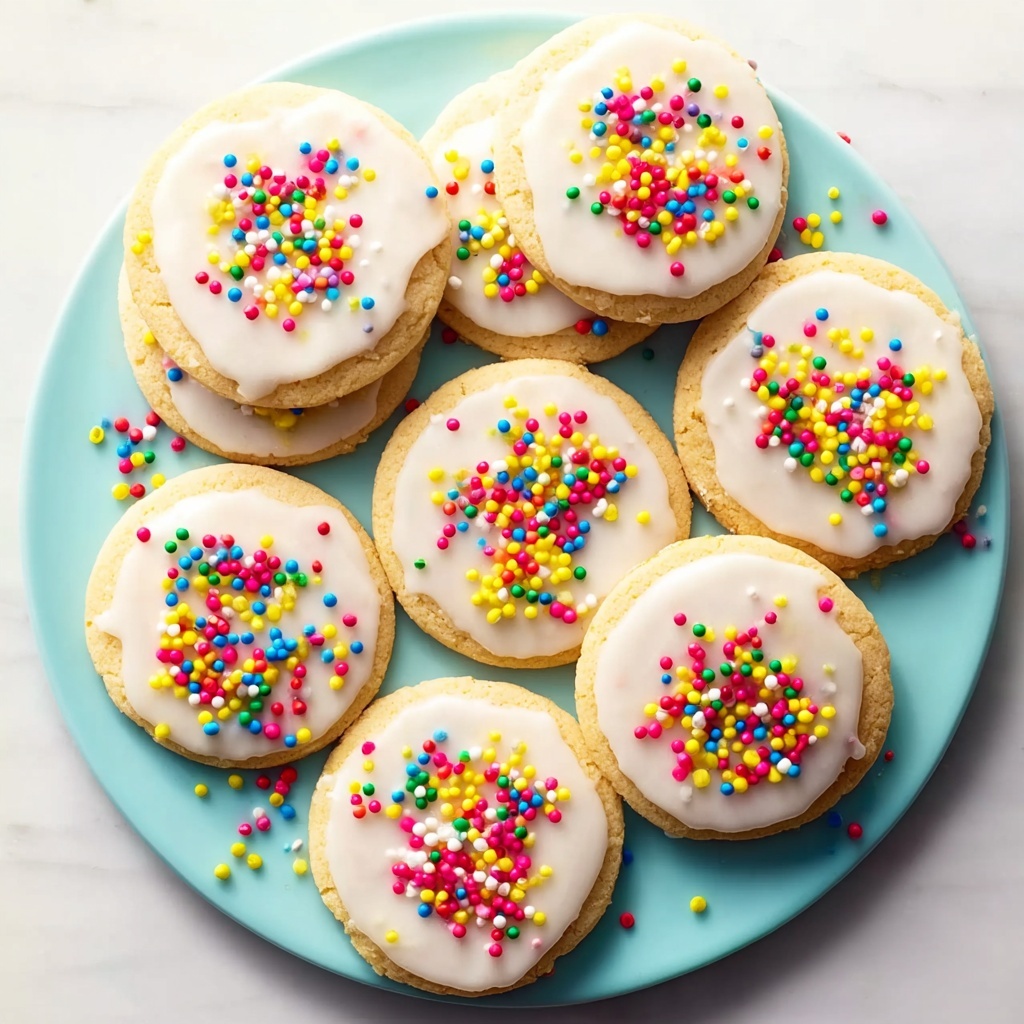
If you’re craving a treat that combines vibrant color, delightful crunch, and creamy sweetness all in one, then you’re going to adore this Fruity No-Bake Cookies: Quick, Fun Treat for Everyone Recipe. Perfectly simple to make with no oven required, these cookies blend the nostalgic charm of Fruity Pebbles cereal with a luscious cream cheese base and a smooth white candy coating that sets into a show-stopping finish. Whether you’re whipping up something special for a kids’ party, a casual afternoon snack, or a colorful dessert that’ll brighten any day, this recipe delivers fun and flavor in every bite.
Ingredients You’ll Need
These ingredients are straightforward but thoughtfully chosen to bring this recipe to life. Each component adds a unique element—texture, sweetness, or that irresistible pop of color that makes these no-bake cookies so delightful. Keep everything ready and at room temperature (especially the cream cheese) to ensure smooth mixing and perfect results.
- 3 cups Fruity Pebbles cereal: Adds a colorful crunch and playful texture; swap for any colorful cereal if you want a twist.
- 8 oz Cream cheese: Softened cream cheese provides a creamy binder that holds these cookies together beautifully.
- 1/2 cup Sugar: Sweetens the mixture just right—feel free to reduce for a less sugary bite.
- 1 cup White candy coating: Melts into a silky shell; semi-sweet chocolate can be used if you desire a richer flavor.
- 2 tbsp Shortening: Helps keep the coating smooth and glossy; coconut oil is a lovely alternative for a subtle, tropical hint.
- 1 tsp Lemon extract: Adds a bright, fresh note; vanilla extract works well if lemon isn’t handy.
- 1 cup Sprinkles: Totally optional but highly recommended to amp up the fun factor with pops of color and celebration.
How to Make Fruity No-Bake Cookies: Quick, Fun Treat for Everyone Recipe
Step 1: Crush the Cereal
Begin by pouring the Fruity Pebbles cereal into a food processor. Pulse until the cereal is finely crushed but still slightly textured—not a powder. This balance keeps the cookies light and crunchy without being too crumbly.
Step 2: Combine with Cream Cheese
Transfer the crushed cereal to a mixing bowl and add the softened cream cheese. Blend them with a spatula or your hands until you have a smooth, uniform mixture. This creamy base is key to binding the pieces together while keeping the cookies tender.
Step 3: Form the Cookies
Roll the mixture into 1-inch balls, then gently flatten each to about 1/4-inch thick. Doing this gives you that classic cookie shape with an ideal thickness to hold all the flavors together without being too heavy.
Step 4: Chill to Firm Up
Place your shaped cookies on a baking sheet lined with parchment or wax paper, then pop them into the freezer for 30 minutes. This step firms them up so they hold their shape as you dip them next.
Step 5: Melt the Coating
While the cookies chill, melt the white candy coating with the shortening in a microwave-safe bowl. Use short bursts and stir often to achieve a smooth, glossy dip that coats perfectly.
Step 6: Dip and Decorate
Lift each cookie from the freezer and dip it gently into the melted coating, letting excess drip off. Then place it on waxed paper and quickly sprinkle with your colorful sprinkles. This creates a festive finish that makes these cookies impossible to resist.
Step 7: Store and Chill
Once decorated, transfer your cookies to an airtight container and refrigerate. Chilling them helps the coating set up nicely and keeps the cookies fresh until you’re ready to share!
How to Serve Fruity No-Bake Cookies: Quick, Fun Treat for Everyone Recipe
Garnishes
Sprinkles are the star garnish here, but feel free to get creative! A light dusting of powdered sugar or even tiny edible glitter can turn these into dazzling party bites. Fresh fruit on the side, like bright berries, can enhance the fruity vibe even more.
Side Dishes
Serve these chewy, crunchy cookies alongside a cold glass of milk, a fruity smoothie, or even a scoop of vanilla ice cream. The cool, smooth textures balance out the sweet cereal crunch perfectly, making snack time even more enjoyable.
Creative Ways to Present
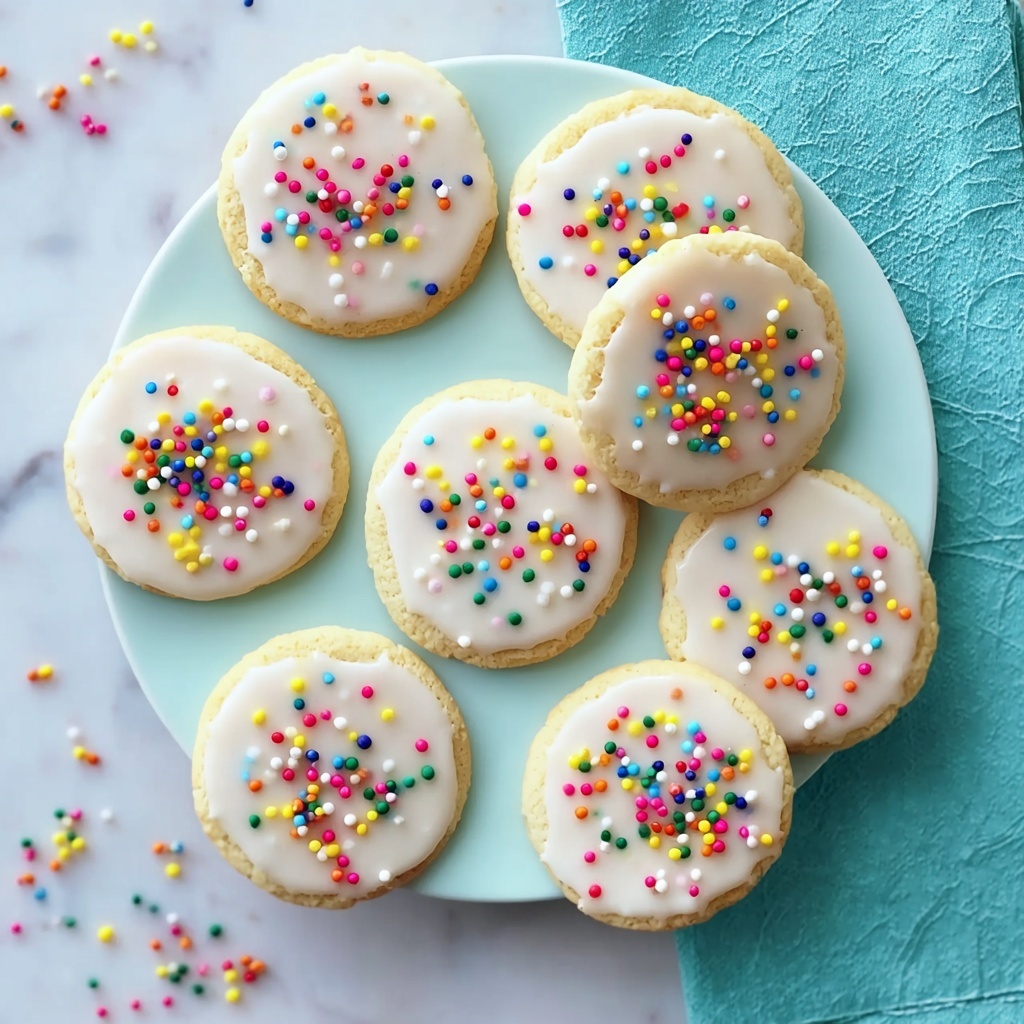
Make your gathering extra special by arranging these cookies on a colorful platter or tiered stand to showcase their vibrant hues. For a personalized touch, wrap individual cookies in cellophane tied with ribbons—perfect for gifting or classroom treats!
Make Ahead and Storage
Storing Leftovers
Keep any leftover Fruity No-Bake Cookies in an airtight container in the refrigerator. They will stay fresh and delicious for up to 5 days, making it easy to enjoy these fun treats throughout the week without any hassle.
Freezing
If you want to prep ahead or save some for later, these cookies freeze well. Place them in a single layer on a tray to freeze initially, then transfer to a freezer-safe container or bag. They’ll keep for up to 2 months and thaw quickly in the fridge.
Reheating
Because these cookies are no-bake, reheating isn’t necessary and can actually affect the texture of the coating. For best results, enjoy them chilled or at room temperature for maximum crunch and creaminess.
FAQs
Can I use other cereals besides Fruity Pebbles?
Absolutely! Any colorful, crunchy cereal will work. Just look for one that’s not too sugary or sticky to keep the right cookie texture. Have fun experimenting with your favorites.
What if I don’t have cream cheese?
Cream cheese is essential for the creamy, binding texture, but if you’re in a pinch, try mascarpone or a thick Greek yogurt strain after draining. These alternatives will change the flavor slightly but still give you a creamy mixture.
Is the lemon extract necessary?
Not at all. The lemon extract adds a refreshing bright note, but vanilla extract or even almond extract can be swapped in based on your flavor preferences or what you have on hand.
Can I make these cookies vegan?
Yes! Use dairy-free cream cheese alternatives, vegan white chocolate or candy melts, and substitute shortening with coconut oil. Choose a vegan-friendly cereal to keep everything plant-based and delicious.
What’s the best way to get a smooth dip coating?
Make sure the white candy coating and shortening are fully melted but not overheated. Stir frequently and dip the cookies one by one quickly so the coating stays shiny and smooth without hardening too fast.
Final Thoughts
There’s nothing quite like the playful, colorful joy of the Fruity No-Bake Cookies: Quick, Fun Treat for Everyone Recipe to brighten your day. This recipe is a terrific way to bring a smile to family and friends with minimal effort and maximum fun. I truly hope you give it a try and watch as everyone falls in love with these vibrant, sweet little bites!
“`
Print
Fruity No-Bake Cookies: Quick, Fun Treat for Everyone Recipe
- Prep Time: 15 minutes
- Cook Time: 0 minutes
- Total Time: 45 minutes
- Yield: 12 servings
- Category: Dessert
- Method: No-Cook
- Cuisine: American
Description
Fruity No-Bake Cookies are a colorful, fun, and easy-to-make treat perfect for all ages. Using Fruity Pebbles cereal, cream cheese, and a sweet white candy coating, these vibrant cookies come together quickly without any baking required. Perfect for a quick dessert or party snack, they offer a delightful crunch with a creamy, sweet coating and customizable sprinkles for extra fun.
Ingredients
Cookies
- 3 cups Fruity Pebbles cereal (Adds a colorful crunch; substitute with any colorful cereal if desired)
- 8 oz cream cheese, softened (Keep softened for easier mixing)
- 1/2 cup sugar (Reduce quantity for a less sweet option if preferred)
Coating and Decoration
- 1 cup white candy coating (Can use semi-sweet chocolate for a richer taste)
- 2 tbsp shortening (Substitute with coconut oil for a unique flavor)
- 1 tsp lemon extract (Optional; swap with vanilla extract if lemon isn’t on hand)
- 1 cup sprinkles (Optional; choose any colors to enhance the fun appearance)
Instructions
- Prepare the cereal: Begin by pouring the Fruity Pebbles cereal into a food processor and finely crush them to create a textured base for the cookies.
- Mix ingredients: In a mixing bowl, combine the crushed cereal with softened cream cheese and sugar. Blend until the mixture is smooth and cohesive.
- Shape the cookies: Use your hands to form the mixture into 1-inch balls, then flatten each ball to about 1/4-inch thick to create cookie shapes.
- Freeze the cookies: Place the shaped cookies on a baking sheet and freeze for 30 minutes or until they become firm enough to handle for coating.
- Melt the coating: In a microwave-safe bowl, melt the white candy coating together with the shortening until smooth, stirring halfway through to avoid clumps. Add lemon extract if using, mixing well.
- Dip the cookies: Dip each cookie into the melted coating mixture, ensuring it is evenly coated. Allow any excess coating to drip off before placing the cookies down.
- Decorate: Immediately after dipping, place the cookies on waxed paper-lined sheets and sprinkle them with colorful sprinkles to add a fun, festive touch.
- Chill and store: Transfer the decorated cookies to an airtight container and refrigerate until ready to serve to maintain firmness and freshness.
Notes
- You can substitute Fruity Pebbles with any similar colorful cereal for different flavors and textures.
- For a dairy-free option, try replacing cream cheese with a vegan cream cheese alternative.
- Adjust sugar to taste based on your desired sweetness level.
- If you don’t have lemon extract, vanilla extract works well as a substitute.
- Store the cookies in an airtight container in the refrigerator for up to one week.
- For best results, ensure cream cheese is softened before mixing to create a smooth dough.

