
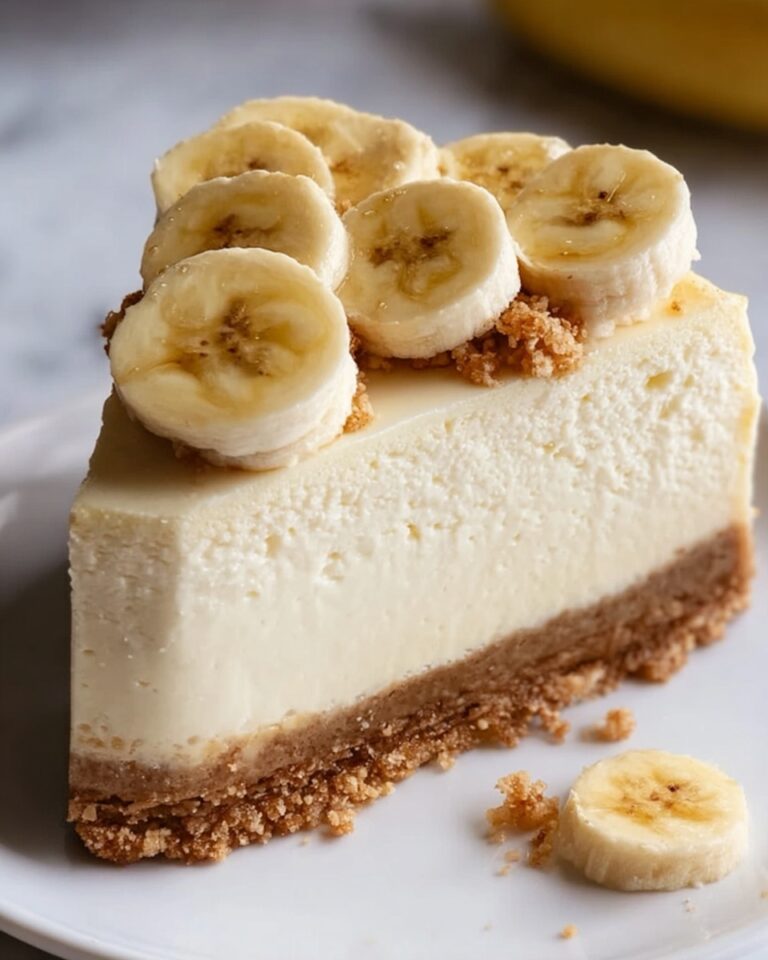
If you’re looking for a delightful treat that captures the creamy richness of cheesecake and the comforting sweetness of banana pudding in a fun, handheld form, look no further than this Banana Pudding Cheesecake Cones Recipe. It combines luscious cream cheese filling, fresh bananas, and a crisp graham cracker crust all inside an ice cream cone, creating a playful dessert that’s as eye-catching as it is delicious. Whether you’re hosting a summer party or just craving a special snack, these cones bring a fresh twist to classic flavors that everyone will adore.
Ingredients You’ll Need
This recipe uses simple, pantry-friendly ingredients that come together effortlessly to create layers of incredible texture and flavor. Each plays a crucial role from providing the perfect base to adding the creamy, dreamy filling and fresh fruity brightness.
- Crushed graham crackers (1 cup): The essential crumbly crust that adds a buttery crunch and nostalgic flavor.
- Melted butter (1/4 cup): Binds the graham crackers together and delivers that golden richness.
- Ripe bananas (2, sliced): Fresh, naturally sweet slices that bring softness and that classic banana pudding vibe.
- Cream cheese (8 oz, softened): The luxurious base of the cheesecake filling, giving it tangy creaminess.
- Powdered sugar (1 cup): Sweetens and balances the tang of cream cheese with a smooth finish.
- Whipped cream (1 cup): Adds lightness and fluffy texture to the cheesecake mousse.
- Vanilla extract (1 tsp): Enhances all the flavors with warm, aromatic notes.
- Ice cream cones (4): The clever edible vessel that holds all the delicious layers, making it perfectly portable.
How to Make Banana Pudding Cheesecake Cones Recipe
Step 1: Prepare the crust
Start by preheating your oven to 350°F (175°C), setting the stage for crisp, golden crusts. Mix the crushed graham crackers with melted butter until the crumbs are evenly coated. Press this mixture firmly into the bottom of your cone molds or cups to create that classic crust foundation. Bake for 5 minutes to set it perfectly, then allow to cool completely to hold shape.
Step 2: Whip up the cheesecake filling
In a large bowl, beat the softened cream cheese until it’s smooth and creamy without lumps. Add powdered sugar and vanilla extract, beating well to combine sweet, tangy, and aromatic flavors seamlessly. Gently fold in whipped cream to lighten the texture, keeping it airy and luscious—this is the heart of your Banana Pudding Cheesecake Cones Recipe.
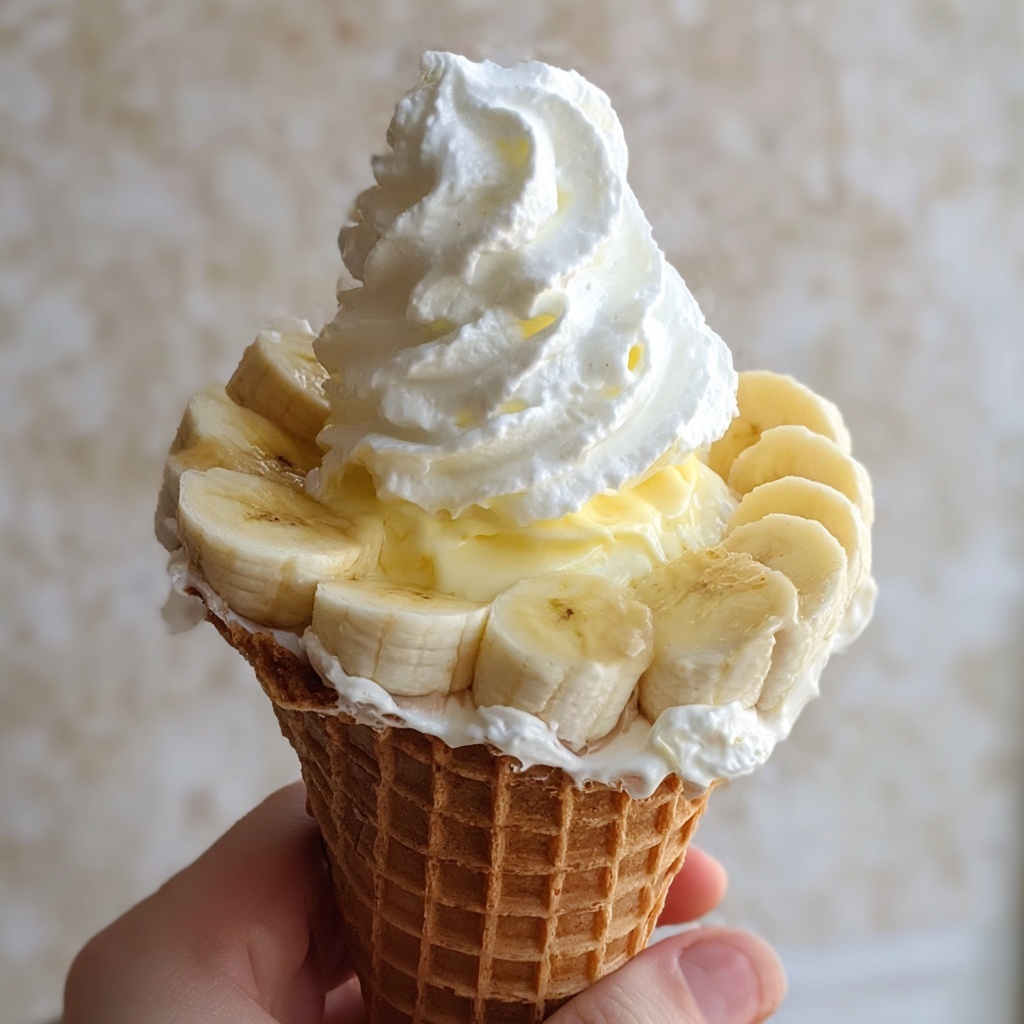
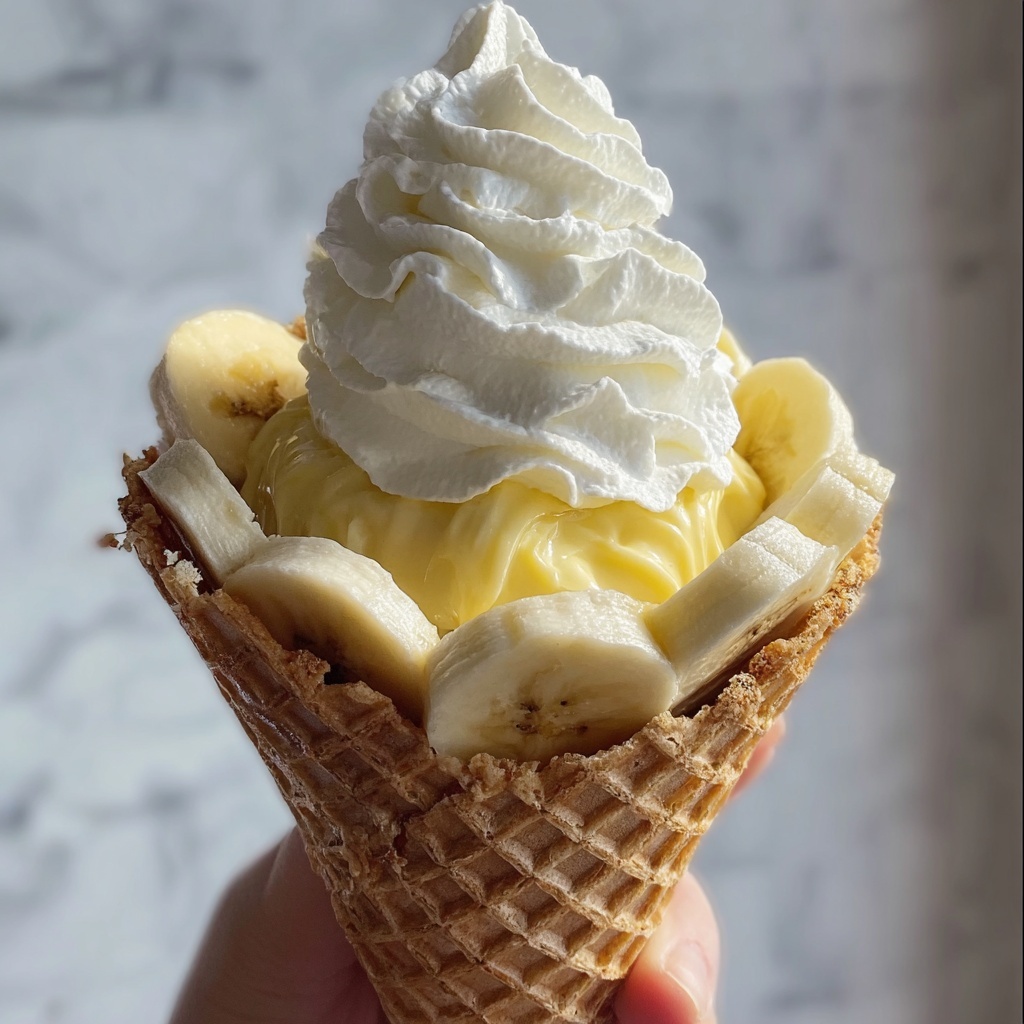
Step 3: Assemble the cones
Layer sliced bananas and the cheesecake mixture carefully inside each ice cream cone. Alternating layers ensures every bite has a perfect balance of fresh banana and creamy filling. Top each cone with a generous dollop of whipped cream and a couple of banana slices for a stunning finish. Chill the cones in the refrigerator for at least one hour to let everything set beautifully.
How to Serve Banana Pudding Cheesecake Cones Recipe
Garnishes
For an extra indulgent touch, dust the tops with crushed graham crackers or a sprinkle of cinnamon to add subtle spice and texture. A drizzle of caramel or a few chocolate shavings can make these cones even more irresistible for your guests.
Side Dishes
These cones work wonderfully alongside fresh berries or a light fruit salad to keep things fresh and vibrant. A scoop of vanilla ice cream or some cold brew coffee can complement the creamy flavors perfectly for a well-rounded dessert experience.
Creative Ways to Present
Serve the cones upright in a tall glass or vase filled with sugar or colorful sprinkles to keep them stable and add flair to your dessert display. Wrapping the cones with a cute ribbon or serving on a decorative wooden board can turn them into the centerpiece of any gathering.
Make Ahead and Storage
Storing Leftovers
If you find yourself with extra Banana Pudding Cheesecake Cones Recipe treats, store them in an airtight container in the refrigerator for up to two days. Keep them upright to maintain their shape and freshness.
Freezing
While these cones are best enjoyed fresh, you can freeze them for up to a week by wrapping them individually in plastic wrap and placing them in a sealed freezer-safe container. Thaw in the refrigerator overnight before serving to preserve texture and flavor.
Reheating
Since this is a chilled dessert, reheating isn’t recommended. Instead, simply remove from the fridge or freezer to serve cold, which keeps the cheesecake filling luscious and the banana slices fresh.
FAQs
Can I use other fruits instead of bananas?
Absolutely! While bananas are classic here, sliced strawberries, peaches, or even mango can offer a delicious twist and brighten the dessert with new flavors.
What kind of cream cheese is best to use?
Use full-fat cream cheese that is softened to room temperature. The full fat gives the best creamy texture and flavor for the cheesecake filling in these cones.
Can I make the cones gluten-free?
Yes! Substitute graham crackers and cones with gluten-free versions available at many stores to keep this recipe friendly for gluten-sensitive eaters.
How long do these cones last in the fridge?
The Banana Pudding Cheesecake Cones Recipe keeps well in the fridge for up to two days, but for the best texture and flavor, enjoy within 24 hours.
Is it possible to make this recipe dairy-free?
You can experiment with dairy-free cream cheese and whipped cream alternatives, though the texture may differ slightly. Using coconut or almond-based products can work nicely.
Final Thoughts
This Banana Pudding Cheesecake Cones Recipe is such a joyful, fun way to enjoy two classic desserts rolled into one. The combination of creamy, sweet, and crunchy textures never fails to impress, and it’s so easy to make that you’ll want to whip up a batch for every occasion. Give it a try and watch everyone’s faces light up with delight — you might just have found your new favorite dessert!
Print
Banana Pudding Cheesecake Cones Recipe
- Prep Time: 25 minutes
- Cook Time: 5 minutes
- Total Time: 1 hour 30 minutes
- Yield: 4 servings
- Category: Dessert
- Method: Baking
- Cuisine: American
Description
These Banana Pudding Cheesecake Cones are a delightful handheld dessert combining creamy cheesecake, sweet bananas, and a crunchy graham cracker crust all within a crispy ice cream cone. Perfect for a fun, indulgent treat that’s easy to serve and enjoy at parties or casual gatherings.
Ingredients
Crust
- 1 cup crushed graham crackers
- 1/4 cup melted butter
Filling
- 2 ripe bananas, sliced
- 8 oz cream cheese, softened
- 1 cup powdered sugar
- 1 cup whipped cream
- 1 tsp vanilla extract
Assembly
- 4 ice cream cones
Instructions
- Preheat oven: Preheat the oven to 350°F (175°C) to prepare for baking the crust.
- Make crust mixture: In a bowl, combine the crushed graham crackers and melted butter, mixing until the crumbs are evenly coated and resemble wet sand.
- Form crust in cones: Press the graham cracker mixture into the bottom of the ice cream cones or cone molds firmly to create a solid crust base.
- Bake crusts: Place the cones upright in a cone mold or stand and bake for 5 minutes. Remove and let cool completely to set the crust.
- Prepare cheesecake filling: In a separate bowl, beat the softened cream cheese until creamy and smooth, then add the powdered sugar and vanilla extract. Mix well until fully combined.
- Fold in whipped cream: Gently fold the whipped cream into the cream cheese mixture to create a light, fluffy cheesecake filling.
- Assemble cones: Layer slices of banana and spoon the cheesecake mixture into each cooled cone, alternating layers for flavor and texture.
- Top cones: Finish each cone with a dollop of whipped cream and a few banana slices on top for garnish.
- Chill: Place the assembled cones in the refrigerator to chill for at least 1 hour, allowing the filling to set and flavors to meld.
- Serve: Enjoy these delightful banana pudding cheesecake cones chilled as a fun and easy dessert.
Notes
- For firmer cones, chill longer or freeze briefly before serving.
- You can substitute whipped cream with whipped coconut cream for a dairy-free option.
- Add a sprinkle of cinnamon or nutmeg into the cheesecake filling for extra flavor.
- Use ripe bananas but not overly ripe ones to avoid mushiness.
- These cones are best eaten within 24 hours to keep the cones crisp.


