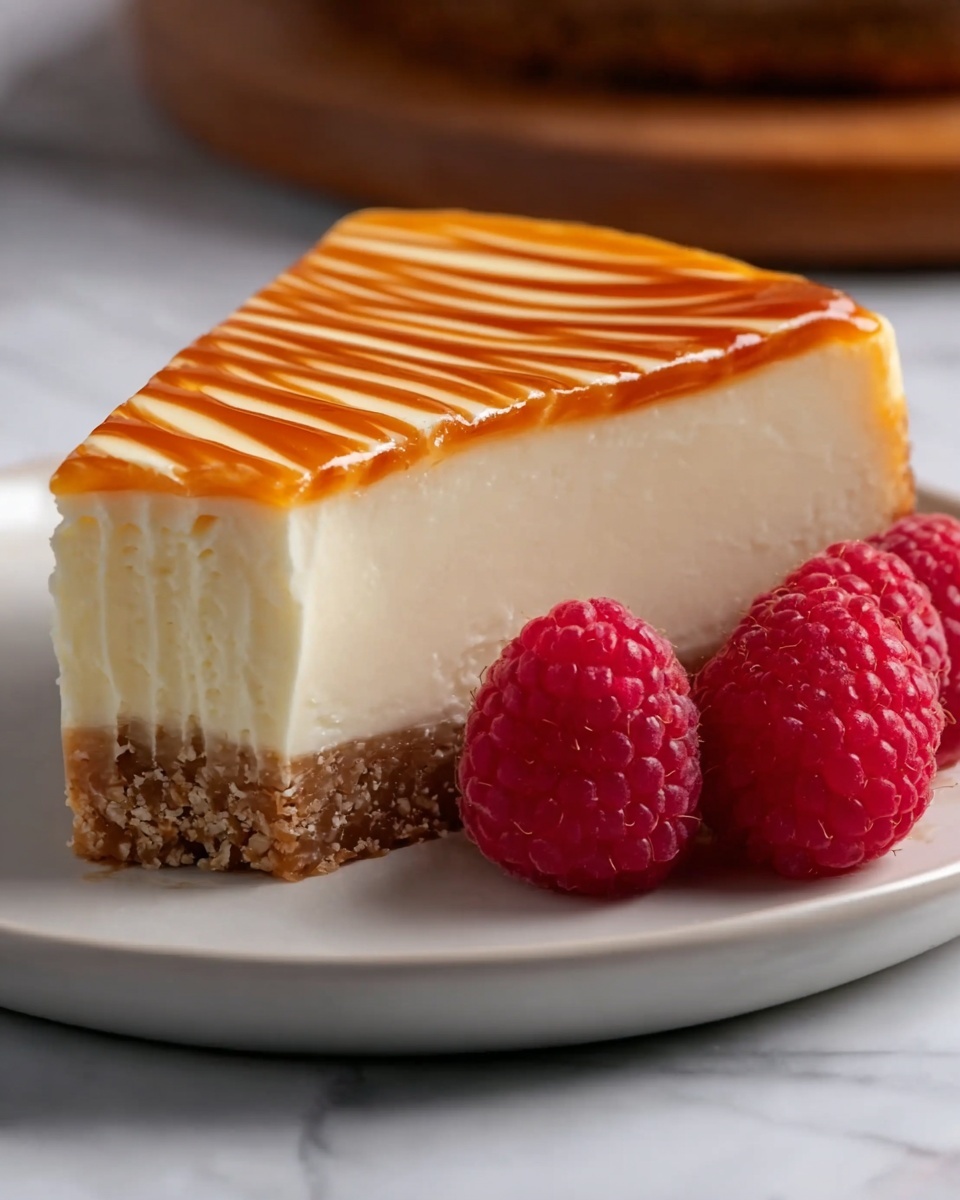
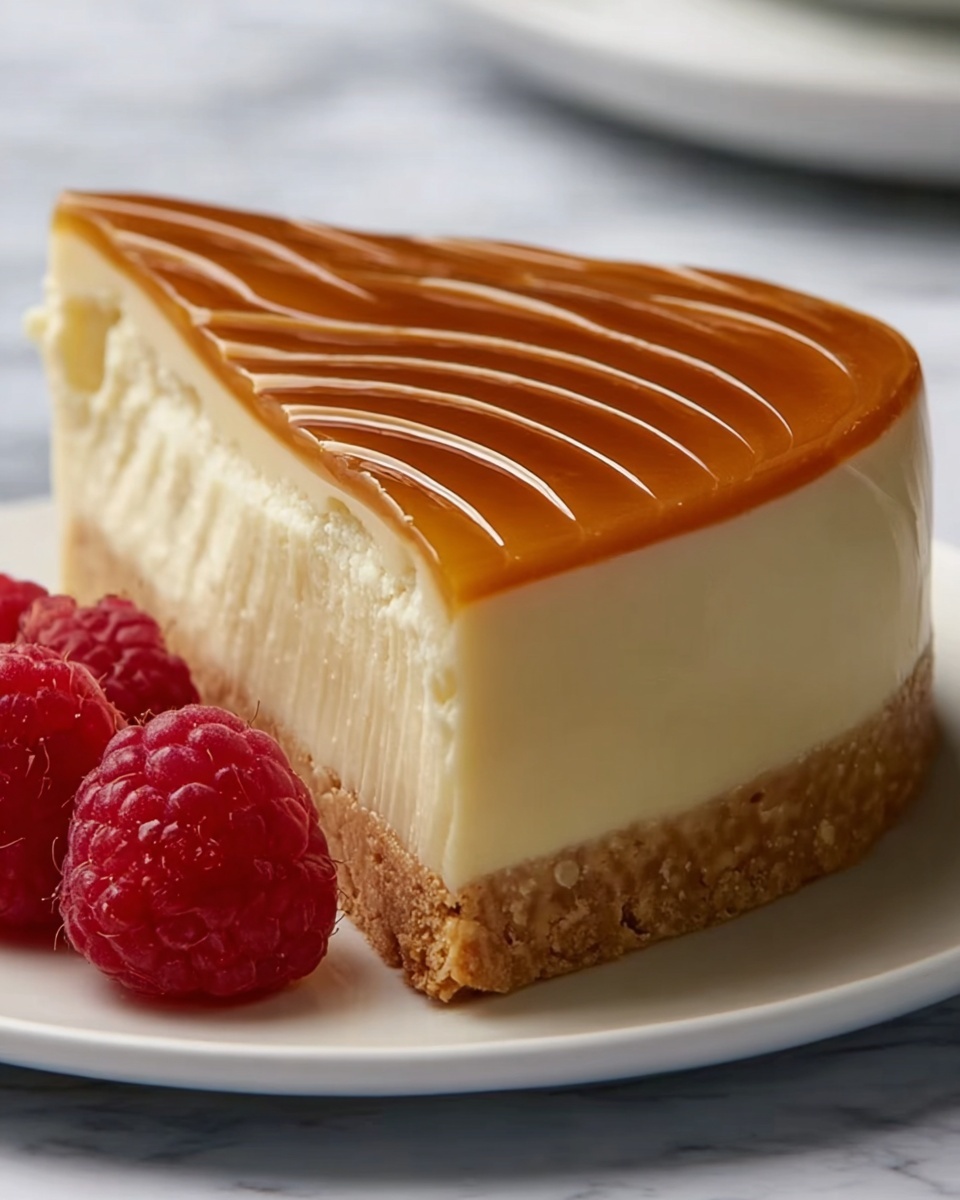
If you have a sweet tooth but crave something uniquely light and airy, this Japanese Cheesecake Recipe will absolutely steal your heart. It’s a delightful fusion of fluffy texture and subtle sweetness that melts like a cloud on your tongue. Unlike traditional dense cheesecakes, this version is remarkably soft and jiggly, thanks to the clever technique of folding whipped egg whites into a cream cheese base. Whether it’s your first time or you’re a cheesecake enthusiast, this Japanese Cheesecake Recipe promises an irresistible treat that’s as much fun to make as it is to eat.
Ingredients You’ll Need
To create this heavenly Japanese cheesecake, you’ll need a handful of simple yet essential ingredients. Each one plays a crucial role: from delivering richness and softness to achieving that signature fluffy texture and subtle tang.
- 6 large eggs, separated: The whites whip into airy peaks, giving the cake its signature fluffiness while yolks add richness.
- 1 cup cream cheese, softened: Provides the creamy base and smooth texture that is classic to cheesecake.
- 1/2 cup unsalted butter, softened: Adds moisture and a buttery depth of flavor without overpowering.
- 1/2 cup whole milk: Lightens the batter and blends the ingredients seamlessly.
- 3/4 cup granulated sugar, divided: Sweetens the cake while helping stabilize the egg whites.
- 2/3 cup cake flour, sifted: Keeps the crumb fine and delicate unlike all-purpose flour which can be too heavy.
- 2 tablespoons cornstarch: Works alongside flour for a tender, melt-in-your-mouth crumb.
- 1 tablespoon lemon juice: Adds a subtle brightness that balances the richness perfectly.
- 1/4 teaspoon cream of tartar: Stabilizes the egg whites to create those beautiful stiff peaks.
How to Make Japanese Cheesecake Recipe
Step 1: Prepare Your Pan and Oven
Start by preheating your oven to 325°F (160°C). Grease an 8-inch round cake pan and line the bottom and sides with parchment paper to prevent sticking and ensure a smooth cake release.
Step 2: Make the Cream Cheese Mixture
Set a heatproof bowl over a pot of simmering water, then melt together the cream cheese, butter, and milk. Whisk constantly until smooth and velvety—this blend forms the rich, creamy foundation of your cheesecake. Once melted, take it off the heat and let it cool slightly to avoid cooking the eggs later.
Step 3: Combine Dry Ingredients and Cream Cheese Mixture
In a separate bowl, sift together the cake flour and cornstarch to keep the texture silky and tender. Gradually whisk the cream cheese mixture into the dry ingredients until smooth. Stir in the lemon juice for that perfect hint of freshness, then fold in the egg yolks thoroughly.
Step 4: Whip Egg Whites to Stiff Peaks
Using a clean bowl, beat the egg whites with the cream of tartar until foamy. Slowly add half of the sugar while continuing to beat, and then beat in the rest of the sugar until you get glossy, stiff peaks. This step is crucial to achieving the cake’s signature fluffy texture.
Step 5: Fold Egg Whites into Batter
Gently fold the whipped egg whites into the cream cheese batter in three additions. This folding technique preserves the airy structure without deflating the mixture, which is the secret behind the cheesecake’s lightness.
Step 6: Bake Using a Water Bath
Pour the batter into your prepared pan and tap it gently to release any trapped air bubbles. Place the cake pan inside a larger baking dish, then pour hot water halfway up the side of the cake pan to create a water bath. This moist environment prevents cracks and keeps the cake tender while baking.
Step 7: Bake and Cool
Bake for 60 minutes, then turn off the oven and leave the cake inside with the door slightly open for another 15 minutes to gently finish cooking. Remove from the oven, allow it to cool completely in the pan, then chill in the refrigerator for at least 2 hours to set perfectly before serving.
How to Serve Japanese Cheesecake Recipe
Garnishes
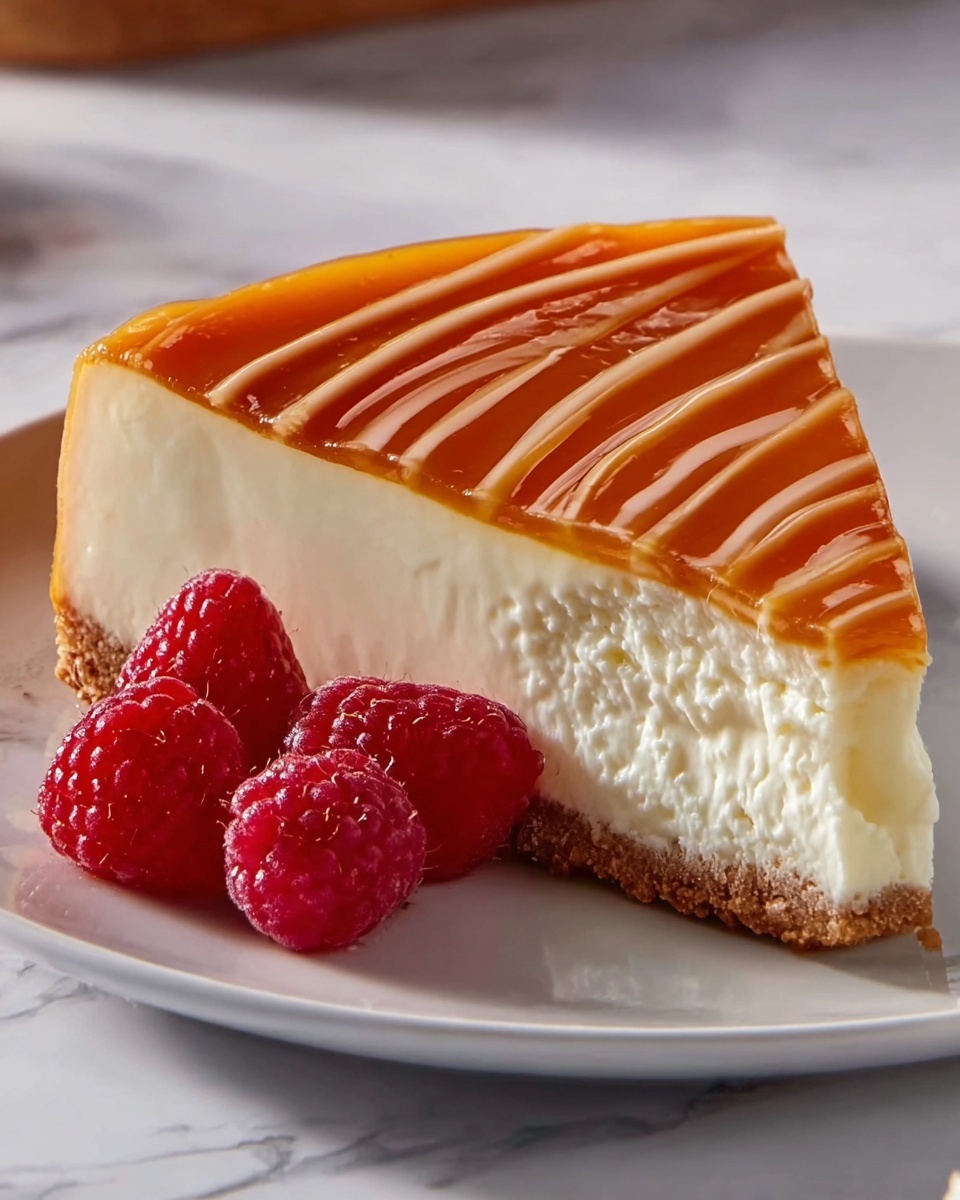
A light dusting of powdered sugar over the top adds a snowy, elegant touch that highlights the cake’s softness. Fresh berries like strawberries, blueberries, or raspberries add a refreshing burst of color and slight tartness that pairs beautifully with the cheesecake’s creamy sweetness.
Side Dishes
This dessert pairs wonderfully with a cup of green tea, which balances the delicate sweetness with earthy notes. For a more indulgent treat, a dollop of lightly sweetened whipped cream or a drizzle of fruit coulis can elevate your cheesecake experience spectacularly.
Creative Ways to Present
Try serving individual slices on pretty plates with edible flowers or thin lemon zest curls for a stunning presentation. You can also create mini cheesecakes in ramekins for personalized portions that impress guests at any gathering.
Make Ahead and Storage
Storing Leftovers
Your luscious Japanese Cheesecake Recipe will keep well covered in the refrigerator for up to 3 days. Be sure to wrap it tightly to prevent it from picking up any fridge odors and to keep the texture fresh and moist.
Freezing
This cheesecake freezes beautifully if you want to save some for later. Wrap tightly in plastic wrap and aluminum foil to protect against freezer burn. When properly stored, it can last up to 1 month in the freezer without losing that signature fluffiness.
Reheating
Unlike dense cheesecakes, this one is best served chilled. If you prefer it slightly warmed, allow the desired slice to come to room temperature or gently warm it in a low oven for a few minutes—avoid microwaving to preserve its delicate texture.
FAQs
What makes Japanese cheesecake different from regular cheesecake?
Japanese cheesecake is lighter and airier because it incorporates whipped egg whites into the batter, creating a fluffy, soufflé-like texture that is less dense than traditional Western cheesecakes.
Can I use all-purpose flour instead of cake flour?
Using all-purpose flour is possible but not ideal. Cake flour produces a finer, softer crumb which is essential for the delicate texture of Japanese cheesecake.
Why is the water bath important for this cheesecake?
The water bath ensures gentle and even baking, preventing the cheesecake from cracking and helping maintain its moist, tender texture.
How long should I chill the cheesecake before serving?
Chilling for at least 2 hours is recommended to let it set fully, which enhances the flavors and improves slicing.
Can I make this cheesecake gluten-free?
You can substitute the cake flour with a gluten-free flour blend suitable for baking, but be mindful that the texture might differ slightly from the traditional version.
Final Thoughts
This Japanese Cheesecake Recipe truly is a treasure worth trying if you love desserts that combine lightness with creamy indulgence. The delightful texture, subtle sweetness, and elegant appearance make it a perfect treat for any occasion or a special everyday delight. Once you master this recipe, you’ll find yourself reaching for it time and again to impress friends, family, and yourself!
Print
Japanese Cheesecake Recipe
- Prep Time: 25 minutes
- Cook Time: 1 hour 15 minutes
- Total Time: 1 hour 40 minutes
- Yield: 8 servings
- Category: Dessert
- Method: Baking
- Cuisine: Japanese
- Diet: Vegetarian
Description
Japanese Cheesecake is a light and fluffy dessert known for its delicate texture that combines the richness of cream cheese with the airy softness of a soufflé. This cheesecake is gently baked in a water bath to ensure a smooth, crack-free surface, making it a popular treat that’s both elegant and comforting.
Ingredients
Main Ingredients
- 6 large eggs, separated
- 1 cup cream cheese, softened
- 1/2 cup unsalted butter, softened
- 1/2 cup whole milk
- 3/4 cup granulated sugar, divided
- 2/3 cup cake flour, sifted
- 2 tablespoons cornstarch
- 1 tablespoon lemon juice
- 1/4 teaspoon cream of tartar
Instructions
- Prepare the Oven and Pan: Preheat your oven to 325°F (160°C). Grease and line the bottom and sides of an 8-inch round cake pan with parchment paper to prevent sticking and ensure easy removal.
- Melt Cream Cheese Mixture: Place cream cheese, butter, and milk in a heatproof bowl set over simmering water. Whisk continuously until the mixture is smooth and fully melted. Remove from heat and let it cool slightly.
- Sift Dry Ingredients: In a large bowl, sift together the cake flour and cornstarch to ensure there are no lumps and the batter remains light.
- Combine Wet and Dry Ingredients: Add the slightly cooled cream cheese mixture to the dry ingredients and whisk until smooth. Stir in the lemon juice and egg yolks, mixing thoroughly for a homogeneous batter.
- Beat Egg Whites: In a separate clean bowl, beat egg whites with cream of tartar until foamy. Gradually add half of the sugar and continue beating until stiff peaks form, which creates the light, airy texture.
- Fold Egg Whites into Batter: Gently fold the beaten egg whites into the cream cheese batter in three additions. Use a spatula and fold carefully to avoid deflating the mixture, preserving the airiness.
- Prepare for Baking: Pour the batter into the prepared pan and gently tap on the counter to remove any air bubbles. Place this pan inside a larger baking dish for a water bath.
- Water Bath Baking: Pour hot water into the larger baking dish until it reaches halfway up the sides of the cake pan. This water bath helps cook the cheesecake evenly and prevents cracking.
- Bake and Rest: Bake the cheesecake for 60 minutes. After baking, turn off the oven but leave the cake inside for an additional 15 minutes with the door slightly ajar, allowing gradual cooling to avoid cracks.
- Cool and Chill: Remove the cheesecake from the oven and let it cool completely at room temperature. Once cooled, refrigerate for at least 2 hours before serving to set the texture and flavor.
Notes
- Use room temperature ingredients to ensure the batter is smooth and mixes evenly.
- The water bath is crucial for preventing cracks and maintaining the cheesecake’s fluffy texture.
- For serving, dust the top with powdered sugar or add fresh berries for extra flavor and decoration.

