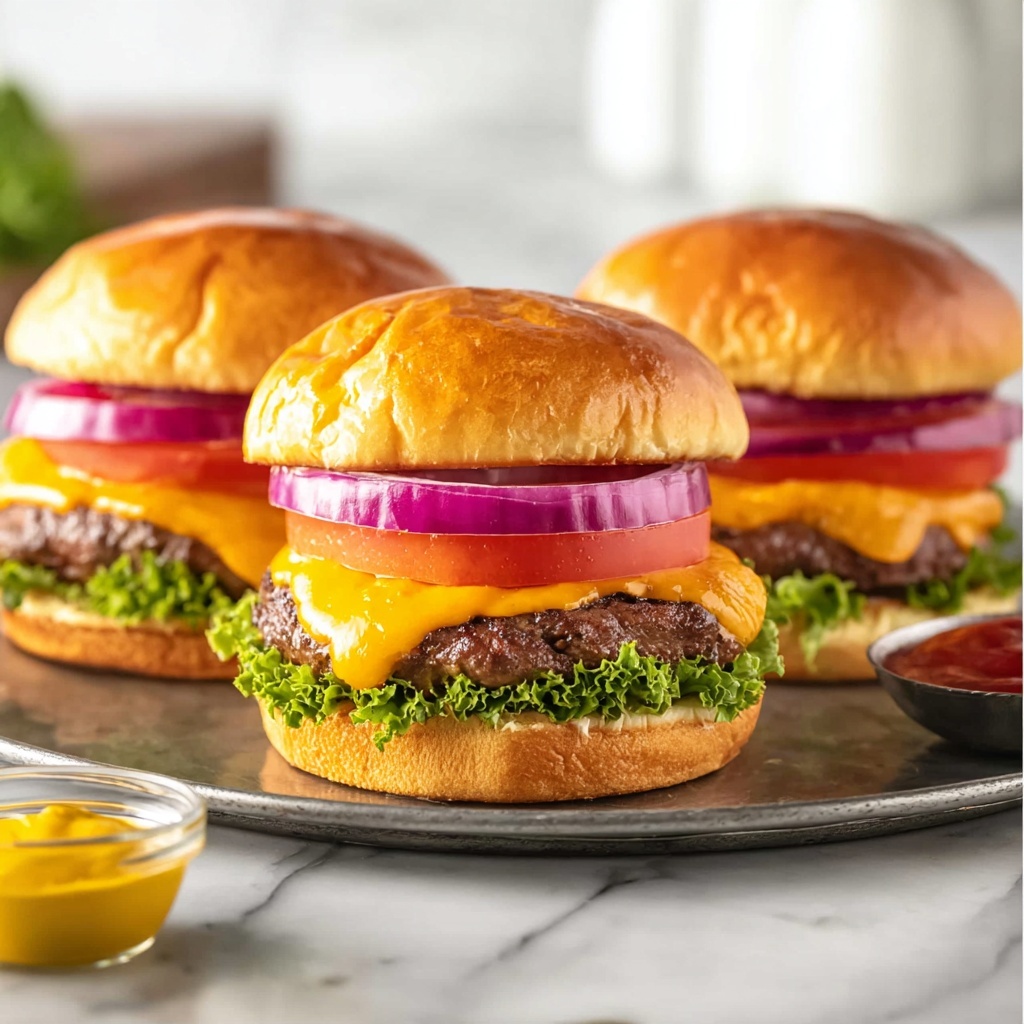
If you are craving a juicy, flavorful burger that’s easy to prepare and delivers consistent results, this Baked Hamburgers Recipe is going to become a fast favorite in your kitchen. Rather than standing over a hot grill or pan, you’ll use your oven’s broiler to achieve that perfect char and melt-in-your-mouth tenderness, all while capturing the rich, beefy flavor. This method is super approachable, efficient, and yields burgers that stay flat and cook evenly every single time. Say goodbye to uneven patties and hello to hassle-free, crowd-pleasing baked hamburgers!
Ingredients You’ll Need
When it comes to a great burger, simplicity is key, and these ingredients are exactly what you need to create maximum flavor and texture without any fuss. Each item plays an essential role, whether it’s the seasoning that enhances the beef’s natural taste or the cheese that adds a creamy finish.
- 1 pound ground chuck: Choose ground chuck or your favorite blend for juicy, well-marbled burgers packed with flavor.
- Kosher salt and freshly ground black pepper: Essential seasonings that bring out the natural richness of the beef.
- 4 slices cheese: A classic topping that melts perfectly and adds wonderful creaminess; cheddar, American, or your preferred cheese work well.
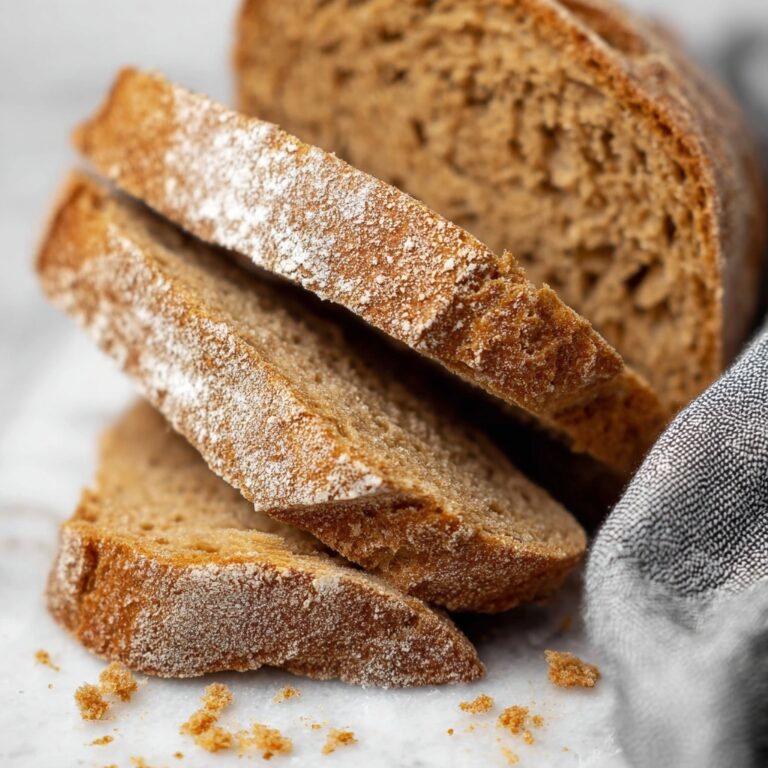
- 4 burger buns: Lightly buttered and toasted for that slight crunch and warm, comforting base to hold your burger.
How to Make Baked Hamburgers Recipe
Step 1: Prepare Your Broiler and Baking Surface
Start by heating your oven to broil on high and position the rack in the upper-middle area. This placement ensures the burgers get a beautiful char without burning. Then line a cast iron grill pan or a baking sheet with foil, making cleanup as easy as possible and keeping the meat from sticking.
Step 2: Form the Perfect Patties
Divide the ground chuck into four equal portions, about 4 ounces each. Form each portion into a loose ball—remember, don’t overwork the meat or your burgers will turn out dense. Press each ball down gently to a disc shape about ½ to ¾ inch thick. Create a subtle indentation inside the edge, like a moat, to prevent the burger from puffing up and to keep it perfectly flat while cooking.
Step 3: Season Generously
Sprinkle kosher salt and freshly ground black pepper on both sides of your burgers. The salt enhances the savory beef flavor, and the pepper adds just the right amount of zing. Season well to make these burgers stand out.
Step 4: Broil the First Side
Place the patties on your prepared pan and slide it under the broiler. Broil for about 4 minutes until the tops are nicely browned and starting to char. This step locks in those delicious caramelized flavors we all love in a great burger.
Step 5: Flip and Finish Cooking
Turn the burgers over and continue broiling for another 3 to 4 minutes. Use a meat thermometer to reach 155°F internally for that juicy, medium doneness. If you prefer your burgers more or less cooked, adjust accordingly, but this temp balances safety and juiciness expertly.
Step 6: Add Cheese and Melt
Lay a slice of cheese on each burger and broil just until the cheese melts and drapes the patty beautifully. Whether you want a gooey cheddar or a smooth American slice, this finish adds a comforting creamy texture.
Step 7: Rest Before Serving
Transfer the burgers to a cooling rack and tent them with foil for a few minutes. This resting period helps the juices redistribute and lets the internal temp rise to 160°F, ensuring every bite is juicy and safe to eat.
Step 8: Assemble and Enjoy
Place your rested burger patties onto those lightly toasted buns and add your favorite condiments and toppings. This is your moment to customize and enjoy a perfectly baked hamburger, every time.
How to Serve Baked Hamburgers Recipe
Garnishes
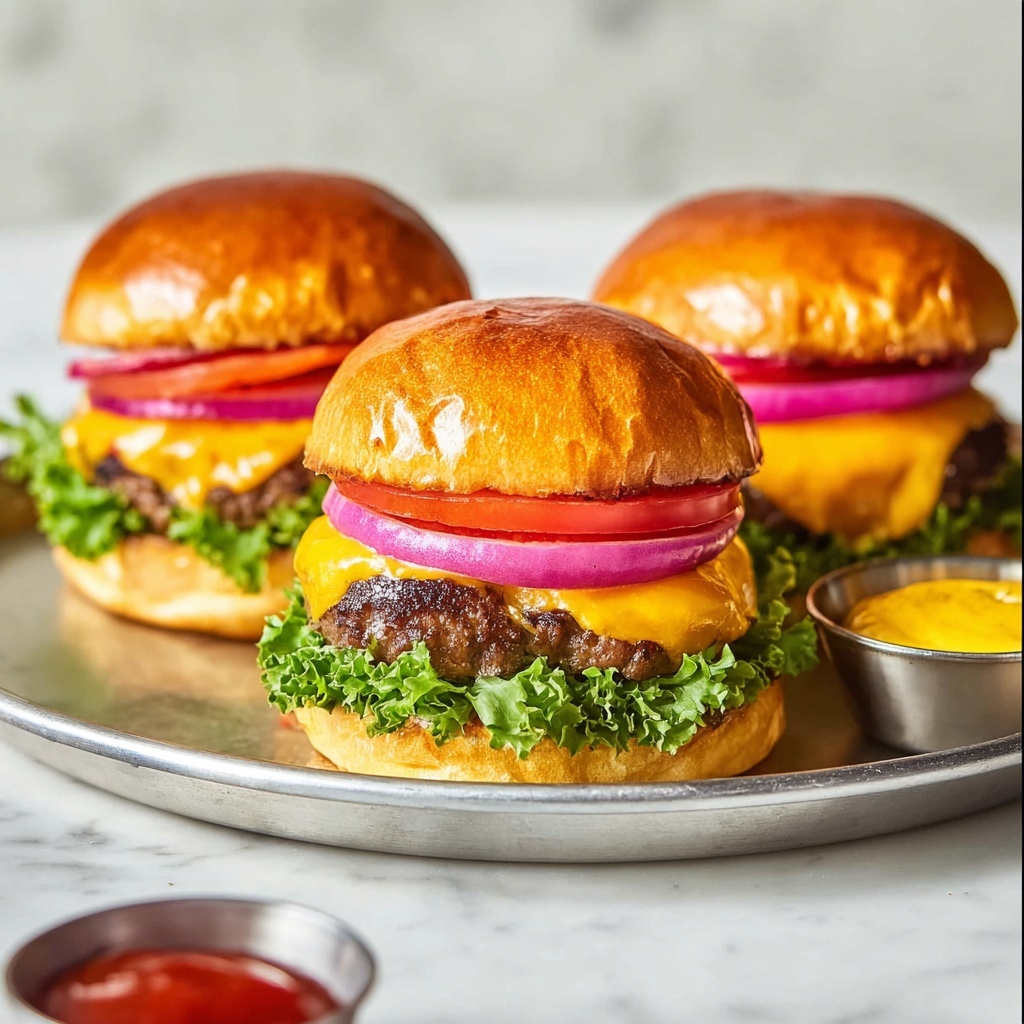
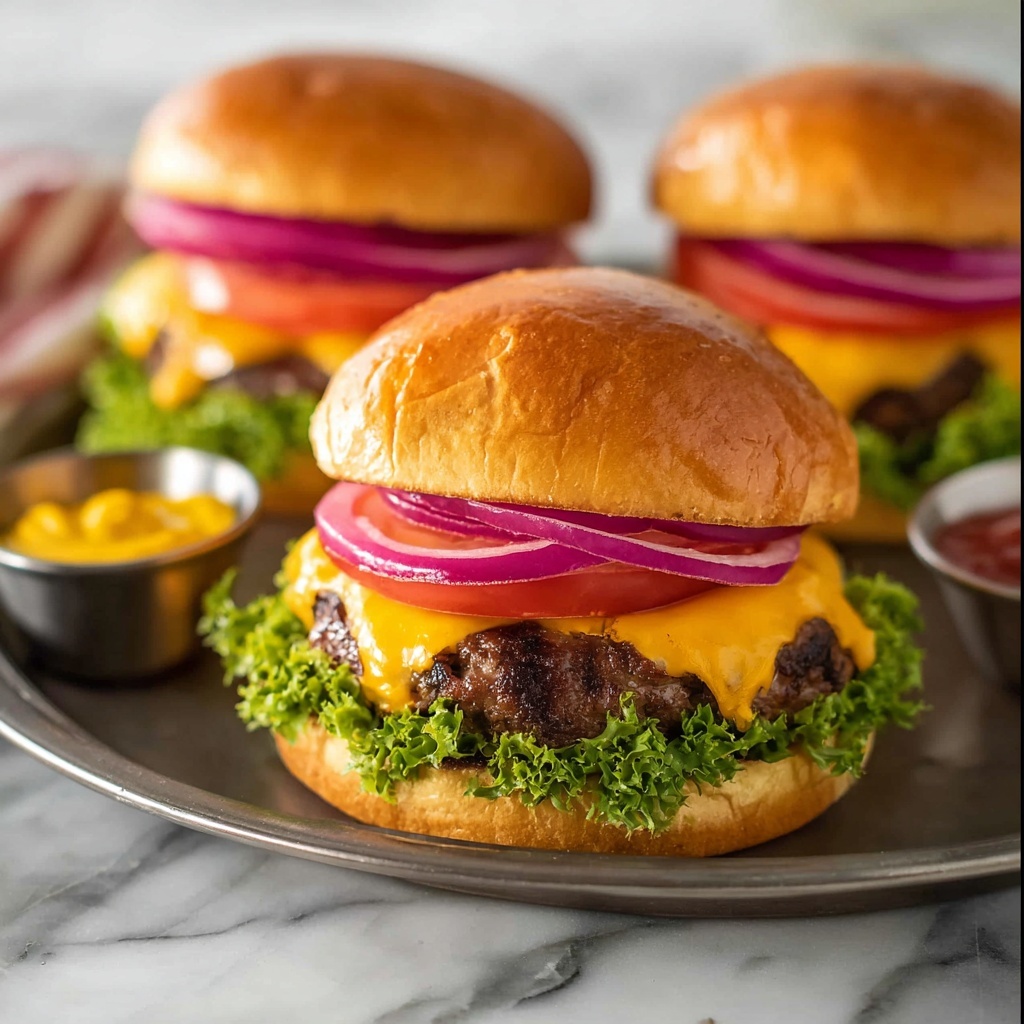
Think beyond just lettuce and tomato! Crisp lettuce, thinly sliced red onions, tangy pickles, and ripe tomato slices all add freshness and crunch, balancing the rich flavor of the baked patties beautifully. Don’t forget a spread of mustard, ketchup, or a tangy aioli to bring everything together.
Side Dishes
Baked hamburgers pair wonderfully with simple sides like crispy oven-baked fries, a creamy coleslaw, or even a fresh garden salad. For a comforting touch, try baked beans or roasted vegetables as filling accompaniments that complement the smoky notes from the broiler.
Creative Ways to Present
Turn your baked hamburgers into sliders for a party platter, stack with unique toppings like sautéed mushrooms and caramelized onions, or serve open-faced with a crisp salad on the side. You can also try different cheeses or even add a fried egg on top for a brunch-style twist.
Make Ahead and Storage
Storing Leftovers
If you have any leftover baked hamburgers, wrap them tightly in foil or store them in an airtight container in the refrigerator. They will stay fresh for 3 to 4 days and remain tasty for sandwiches or quick meals later.
Freezing
You can freeze cooked hamburger patties by placing them on a baking sheet to freeze individually, then transferring to a freezer-safe bag. This prevents them from sticking together and lets you thaw only what you need. Frozen burgers are best used within 2 to 3 months for optimal flavor and texture.
Reheating
To reheat, gently warm your burgers in a low oven (around 300°F) or microwave, covered with a damp paper towel to maintain moisture. Avoid overheating, which can dry out the patties. Add cheese again, if desired, for a fresh melt.
FAQs
Can I use ground beef other than chuck for this Baked Hamburgers Recipe?
Absolutely! Ground chuck is preferred because of its fat content, which keeps the burgers juicy, but you can use other blends. Just be mindful that leaner beef may result in drier burgers—adding a bit of fat or moisture can help.
How do I know when the burgers are fully cooked?
Using a meat thermometer is the best way to check doneness. The safe internal temperature recommended is 160°F, but many prefer to pull them out a bit earlier at 155°F for a juicy medium, then let them rest to finish cooking.
Can I add seasonings or mix-ins to the burger meat?
Definitely! While this Baked Hamburgers Recipe highlights a simple, classic approach, feel free to mix in diced onions, garlic powder, Worcestershire sauce, or herbs. Just be careful not to overwork the meat to keep it tender.
What kind of cheese melts best on baked burgers?
American cheese is a top choice for meltability and classic taste, but cheddar, Swiss, pepper jack, or mozzarella can all work brilliantly, depending on your flavor preference.
Is it necessary to rest the burgers after baking?
Resting is key for juicy burgers! It allows the juices to redistribute throughout the patty, preventing them from running out the moment you bite in and ensuring maximum flavor and tenderness.
Final Thoughts
This Baked Hamburgers Recipe truly makes burger night a breeze, especially when you want great taste without the grill hassle. Once you try this method, the perfect, juicy burger with that satisfying broiled crust will be just a quick oven session away. Trust me, it’s a simple game-changer in your recipe lineup, and I can’t wait for you to enjoy every delicious bite!
Print
Baked Hamburgers Recipe
- Prep Time: 10 minutes
- Cook Time: 8 minutes
- Total Time: 18 minutes
- Yield: 4 servings
- Category: Main Course
- Method: Baking
- Cuisine: American
Description
This Baked Hamburgers recipe offers a simple, efficient way to enjoy juicy, perfectly cooked burgers using your oven’s broiler. Seasoned with kosher salt and pepper, then topped with melted cheese and served on toasted buns, these burgers deliver classic flavor with minimal fuss and quick cooking time.
Ingredients
Main Ingredients
- 1 pound ground chuck (or your favorite burger blend)
- Kosher salt and freshly ground black pepper, to taste
- 4 slices cheese (your choice, e.g., cheddar, American, Swiss)
- 4 burger buns, lightly buttered and toasted
Instructions
- Preheat Oven: Heat your oven to broil (high) and place the oven rack in the upper-middle position to ensure optimal distance from the heat source.
- Prepare Pan: Line a cast iron grill pan or baking sheet with aluminum foil to prevent sticking and facilitate easy cleanup.
- Form Patties: Divide the ground beef into four 4-ounce portions. Gently shape each portion into a loose ball, then press each ball into a disc approximately ½ to ¾ inch thick on a flat surface. Create a slight indentation or “moat” around the edges of each patty to prevent it from puffing up during cooking.
- Season Patties: Generously season both sides of each burger with kosher salt and freshly ground black pepper, enhancing the flavor of the meat.
- Broil First Side: Place the burgers on the prepared pan and broil for about 4 minutes. Broiling will brown and slightly char the top surface to develop a flavorful crust.
- Flip and Continue Broiling: Flip the patties over carefully and broil for another 3 to 4 minutes or until the internal temperature reaches 155°F, ensuring the burgers are cooked through but still juicy.
- Add Cheese: Place a slice of cheese on each burger and continue cooking just until the cheese melts, adding a creamy texture and rich flavor.
- Rest Burgers: Transfer the cooked burgers to a cooling rack and tent them with foil. Allow them to rest until the internal temperature rises to 160°F, the recommended safe temperature for ground beef.
- Assemble and Serve: Serve the burgers on the toasted buns and add your favorite condiments and toppings to complete the meal.
Notes
- For juicier burgers, avoid overworking the meat when forming patties.
- The indentation around burger edges helps prevent puffing and ensures even cooking.
- Resting the meat after cooking allows juices to redistribute for a moist burger.
- Use a meat thermometer to ensure safety and preferred doneness.
- Customize with your favorite cheese or bun varieties.
