
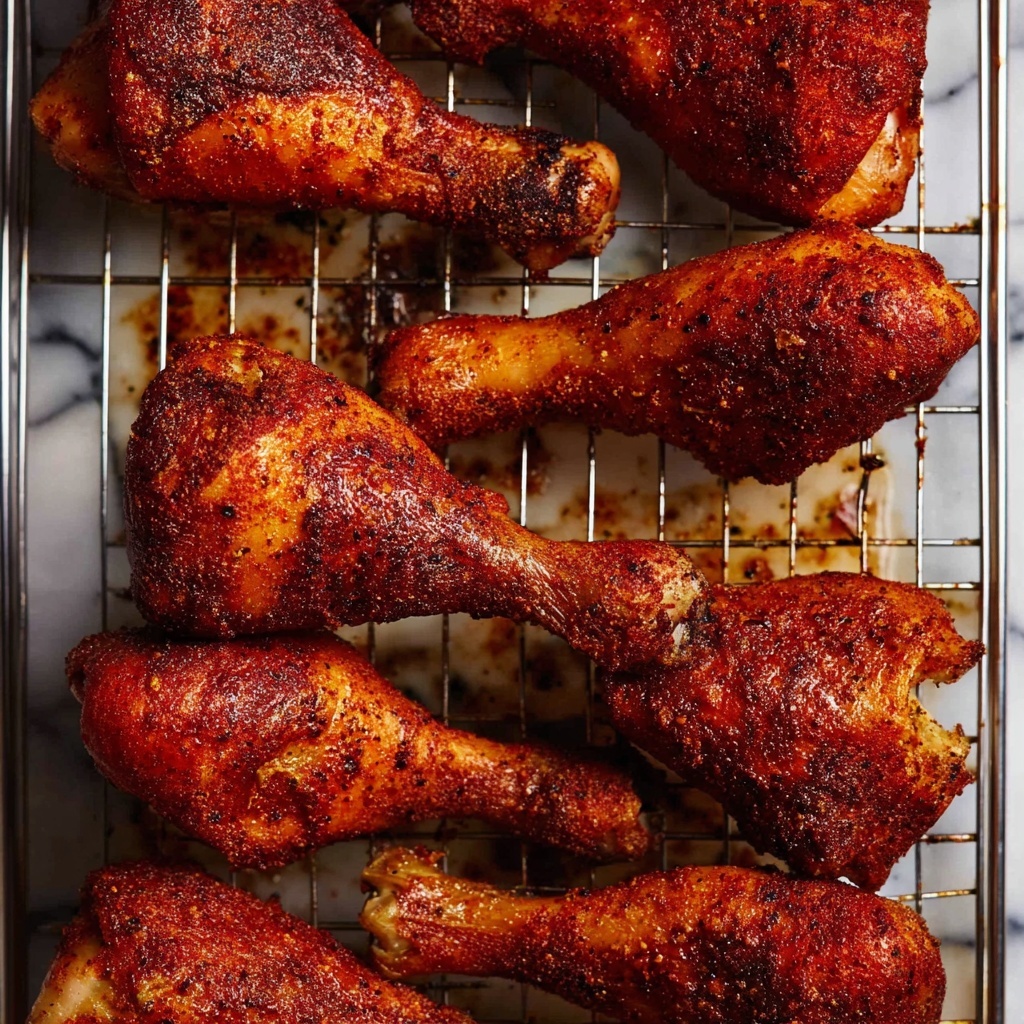
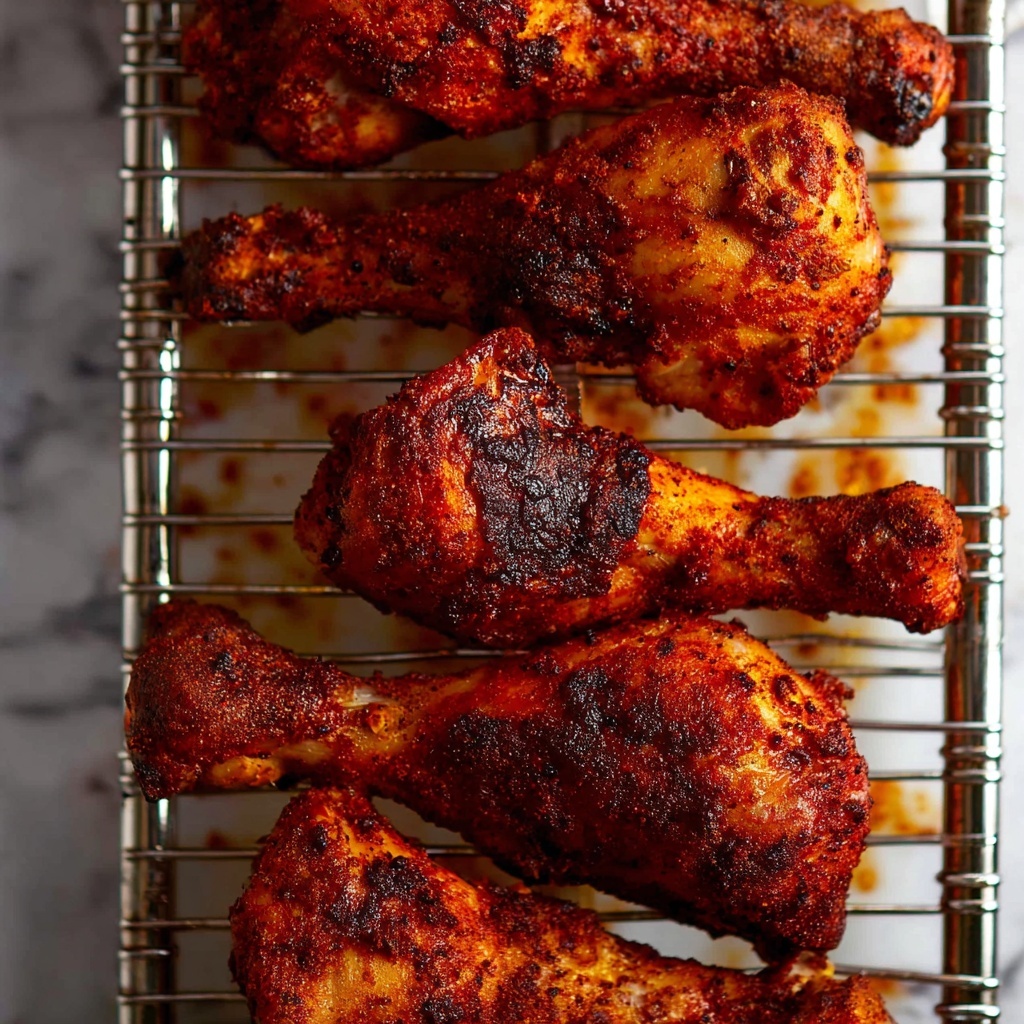
If you’ve been searching for the ultimate crowd-pleaser, look no further than this Crispy Baked Chicken Drumsticks Recipe. Picture perfectly golden, irresistibly crunchy chicken skins that give way to juicy, tender meat inside. The secret is in a perfectly balanced blend of spices and that magical baking powder trick, creating a crisp unlike any other baked chicken. Whether it’s a family dinner or a weekend gathering, this dish promises simplicity, amazing flavor, and a texture that everyone will rave about. Get ready to fall in love with baking chicken all over again!
Ingredients You’ll Need
These ingredients might seem straightforward, but each plays a key role in crafting that signature crispy crust and deep flavor. From the smoky paprika that gives a subtle warmth, to the baking powder that helps achieve extra crunch, every element is essential for success.
- 12 chicken drumsticks: Choose pieces with skin on for that unbeatable crunch and juicy bite.
- 2 tbsp extra virgin olive oil: Helps the seasoning stick and promotes crisping of the skin.
- Oil spray: For an even, light layer of oil that enhances crispness without greasiness.
- 3 tsp garlic powder: Adds a tender, savory depth to the seasoning mix.
- 3 tsp onion powder: Balances the flavors with a subtle sweetness and earthiness.
- 5 tsp smoked paprika: Delivers that iconic smoky, rich flavor that makes the chicken pop.
- 2 tsp black pepper: Gives a gentle heat and spice contrast.
- 1 1/2 tsp cooking/kosher salt: Essential for flavor enhancement and moisture balance.
- 4 1/2 tbsp plain/all-purpose flour: Helps create the crispy coating when baked.
- 3 tsp baking powder: The secret weapon for extra crunch, do not substitute with baking soda!
How to Make Crispy Baked Chicken Drumsticks Recipe
Step 1: Prepare Your Oven and Rack
Start by preheating your oven to 200°C/390°F, or 180°C fan-forced if your oven has that setting. Line a baking tray with foil for easy cleanup, then place a wire rack on top. This setup is crucial because it allows air to circulate under the drumsticks, ensuring the bottoms crisp up beautifully rather than steaming.
Step 2: Mix Your Seasoning Blend
In a shallow bowl, combine garlic powder, onion powder, smoked paprika, black pepper, salt, flour, and baking powder. This dry mixture forms the flavorful, crunchy coating on every drumstick. The careful balance of spices delivers a punch of flavor without being overpowering.
Step 3: Oil the Drumsticks
Toss the drumsticks in the extra virgin olive oil, making sure every piece is well-coated. Then, gently stretch and pull the skin away from the bone so that the seasoning can really cling to the flesh beneath, increasing flavor and crispiness.
Step 4: Coat the Chicken in Seasoning
One by one, dredge each drumstick through your seasoning bowl. Shake off any excess so the coating isn’t clumpy but evenly distributed. Place each coated drumstick carefully on the wire rack, spaced apart to promote even baking.
Step 5: Oil Spray Finish Before Baking
Spray the drumsticks generously with oil spray. This extra step adds a lovely golden finish and boost of crispiness without sogginess, helping the flour and baking powder mix bake up perfectly.
Step 6: Bake to Crispy Perfection
Bake the drumsticks for 30 minutes, making sure to rotate the tray halfway so all sides brown evenly. After 30 minutes, crank up the oven temperature to 220°C / 430°F (or 200°C fan) and bake for another 15 minutes. This high heat blast is the magic moment for ultimate crispiness. Once done, the skin should be golden, crackling, and downright irresistible.
How to Serve Crispy Baked Chicken Drumsticks Recipe
Garnishes
Simple garnishes like fresh chopped parsley, cilantro, or a squeeze of lemon add brightness to each drumstick, cutting through the smoky spices with fresh acidity. A sprinkle of flaky sea salt just before serving also elevates the crunch and flavor explosion.
Side Dishes
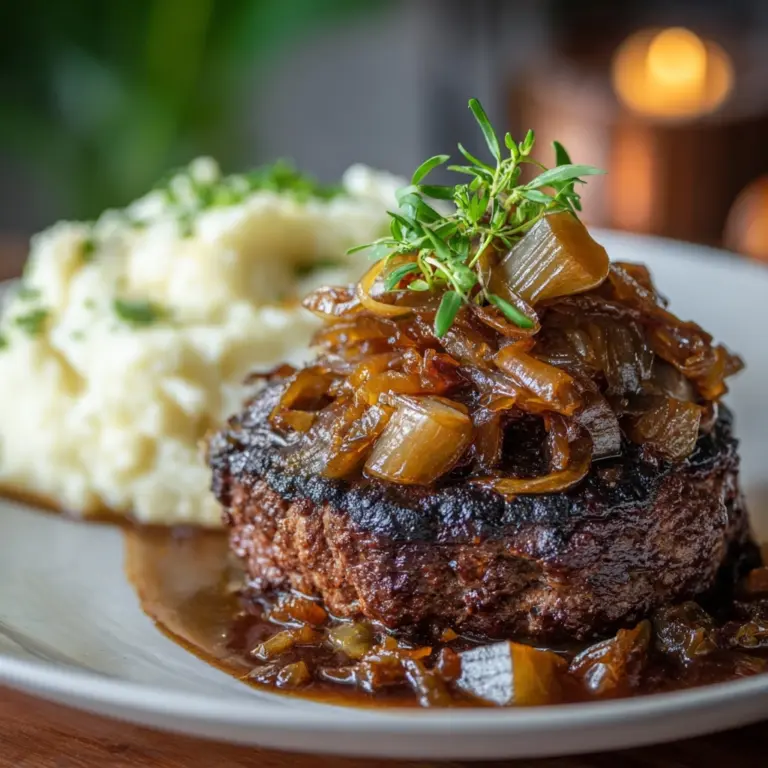
This Crispy Baked Chicken Drumsticks Recipe pairs wonderfully with a variety of sides. Think creamy mashed potatoes, crispy roasted vegetables, or a light, crisp garden salad to balance the hearty chicken. For a barbecue vibe, coleslaw or corn on the cob are classic companions.
Creative Ways to Present
Serve the drumsticks on a large wooden board for a rustic feel, alongside dipping sauces like ranch, honey mustard, or spicy buffalo for a party platter. Stacking them in a basket lined with parchment paper works great for casual gatherings and keeps things fun and inviting.
Make Ahead and Storage
Storing Leftovers
Once cooled, store any leftover drumsticks in an airtight container in the refrigerator for up to 3 days. To maintain crispiness, avoid covering them tightly with plastic wrap and consider storing separately from wet sides.
Freezing
These chicken drumsticks freeze well, making them a great make-ahead meal. Wrap each piece individually in plastic wrap, then place in a freezer bag. Freeze for up to 2 months for best quality. Thaw overnight in the fridge before reheating.
Reheating
To bring back that coveted crisp, reheat leftovers in a preheated oven at 190°C/375°F on a wire rack for 10–15 minutes. This helps the skin regain crunchiness without drying out the meat, unlike microwaving.
FAQs
Can I use skinless chicken drumsticks for this Crispy Baked Chicken Drumsticks Recipe?
You can, but the skin is essential for that perfect crispy texture. Without the skin, the coating won’t crisp up the same way, and the meat may dry out faster. For best results, keep the skin on.
Why is baking powder used instead of baking soda?
Baking powder contains acids that help break down proteins on the chicken skin, encouraging a crispier finish. Baking soda on its own can leave an unpleasant metallic taste and may not crisp the skin as effectively.
Can I marinate the drumsticks before baking?
Absolutely! If you want extra flavor, marinate the drumsticks in olive oil and spices for a few hours or overnight. Just remember to pat dry before coating with the flour and baking powder mixture to ensure maximum crispiness.
Is it necessary to use a wire rack during baking?
Using a wire rack elevates the drumsticks off the tray, allowing hot air to circulate around all sides for even cooking and crisping. Without a rack, the bottoms may become soggy from sitting in their own juices.
How do I know when the chicken drumsticks are fully cooked?
The safest way is to check the internal temperature with a meat thermometer. They should reach 75°C/165°F. The juices should run clear, and the meat should feel firm but juicy when pierced with a fork.
Final Thoughts
I can’t recommend this Crispy Baked Chicken Drumsticks Recipe enough for a fuss-free, flavor-packed meal that feels both comforting and special. The golden crunchy skin paired with juicy chicken is addictive and easy to pull together any day of the week. Once you try it, I’m sure these drumsticks will earn a permanent spot in your dinner rotation. Happy cooking and even happier eating!
Print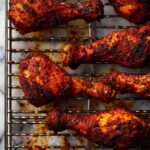
Crispy Baked Chicken Drumsticks Recipe
- Prep Time: 10 minutes
- Cook Time: 45 minutes
- Total Time: 55 minutes
- Yield: Serves 5 to 6 people
- Category: Dinner
- Method: Baking
- Cuisine: American
Description
This recipe for Crispy Baked Chicken Drumsticks delivers juicy, tender chicken with irresistibly crispy skin. Seasoned with a flavorful blend of garlic, onion, smoked paprika, black pepper, and a touch of baking powder to enhance crispiness, these drumsticks are oven-baked to perfection on a rack for maximum crunch. Perfect for a crowd or family dinner, they’re easy to prepare and satisfy cravings for crispy fried chicken without the added oil and mess.
Ingredients
Chicken Drumsticks
- 12 chicken drumsticks
Seasoning Mix
- 3 tsp garlic powder
- 3 tsp onion powder
- 5 tsp smoked paprika
- 2 tsp black pepper
- 1 1/2 tsp cooking/kosher salt
- 4 1/2 tbsp plain/all-purpose flour
- 3 tsp baking powder (ensure it is baking powder, not baking soda)
Other Ingredients
- 2 tbsp extra virgin olive oil
- Oil spray (for spraying drumsticks before baking)
Instructions
- Preparation: Preheat the oven to 200°C (390°F) or 180°C fan-forced. Line a baking tray with foil and place a wire rack on top. This setup allows air circulation to crisp the underside of the drumsticks for a perfect texture.
- Seasoning: In a shallow bowl, combine garlic powder, onion powder, smoked paprika, black pepper, salt, flour, and baking powder. Mix thoroughly to create the seasoning blend.
- Coat in Oil: Place the drumsticks in a large bowl and toss with the extra virgin olive oil until evenly coated. Gently stretch and pull the skin on each drumstick to expose and cover as much of the flesh as possible with the oil, which helps the seasoning stick better and the skin crisp up.
- Coat in Seasoning: One at a time, roll each drumstick in the seasoning mix, coating thoroughly. Shake off any excess seasoning to avoid clumping. Arrange the seasoned drumsticks spaced apart on the wire rack.
- Spray with Oil: Generously spray the coated drumsticks with oil spray. This step encourages further browning and crispiness during baking.
- Bake: Place the tray in the preheated oven and bake for 30 minutes. Halfway through baking, rotate the tray for even cooking. After 30 minutes, increase the oven temperature to 220°C (430°F) or 200°C fan and bake for an additional 15 minutes until the skin is deeply golden and crispy. Serve hot and enjoy!
Notes
- Note 1: Use fresh drumsticks for the best texture and flavor.
- Note 3: Use baking powder, not baking soda, to ensure crispy skin without off-flavors.
- Note 4: Using a wire rack elevates the chicken, allowing hot air to circulate and crisp the underside.
- You can serve these drumsticks with a variety of sides such as salads, roasted vegetables, or mashed potatoes.
