If you’re searching for a delightful, mesmerizing activity that combines simple kitchen ingredients with a dash of science magic, look no further! The Easy DIY Lava Lamp: Spark Joy with This Fun Project Recipe is exactly what you need. This project doubles as both a creative craft and a soothing visual treat, perfect for sparking curiosity and wonder in kids and adults alike. Watching the vibrant blobs gracefully float and fall inside your very own homemade lava lamp is fascinating—and best of all, it’s super simple to make using everyday items you probably already have on hand.
Ingredients You’ll Need
Gathering your ingredients is a breeze, and each component plays a key role in bringing your lava lamp to life. These simple supplies ensure a colorful, bubbly spectacle that’s both safe and satisfying to observe.
- Clear plastic bottle or glass jar: A transparent container lets you fully enjoy the colorful bubbling action.
- 3/4 cup water: Provides the base liquid that interacts with the food coloring and oil.
- 1 cup vegetable oil or baby oil: Creates the floating effect because oil and water don’t mix.
- 10 drops of food coloring (any vibrant color): Brings the lamp to life by coloring the water in eye-catching hues.
- 1 Alka-Seltzer tablet (broken into smaller pieces): Reacts with water to produce exciting bubbles that create movement in your lamp.
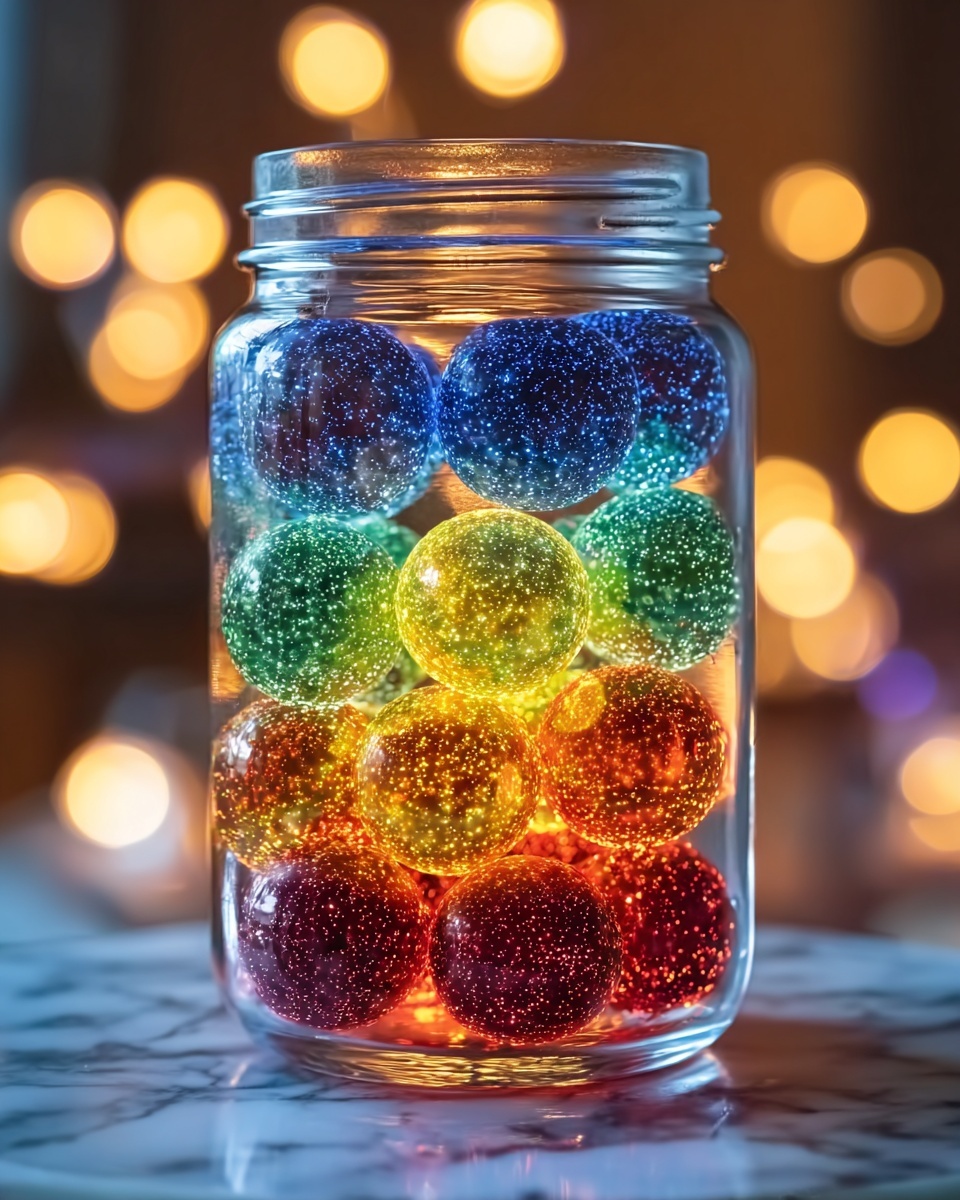
- Optional: Glitter or small glow beads for visual effect: Adds sparkle and flair to your lava lamp for an extra magical look.
How to Make Easy DIY Lava Lamp: Spark Joy with This Fun Project Recipe
Step 1: Fill Up the Bottle with Water
Start by filling your bottle or jar with water until it’s about one quarter full. This forms the essential watery base that will react with the Alka-Seltzer and carry the color through the lamp.
Step 2: Add the Oil Slowly
Next, gently pour in your vegetable or baby oil until the bottle is nearly full. Let it sit for a minute and marvel as the two liquids form distinct layers without mixing, setting the stage for the bubbling motion.
Step 3: Add Vibrant Food Coloring
Drop ten vibrant drops of your chosen food coloring into the bottle. Watch in delight as the color trickles down through the oil and mingles with the water below, creating mesmerizing streaks of tinted liquid.
Step 4: Sprinkle in Optional Sparkle
If you want to add some extra dazzle, toss in some glitter or small glow beads. These tiny extras catch the light and elevate the fun factor of your DIY lava lamp dramatically.
Step 5: Drop in the Alka-Seltzer
Break the Alka-Seltzer tablet into two or three smaller pieces. Drop the first piece into the bottle and prepare to watch bubbles fizz and rise, magically mimicking the classic lava lamp effect. It’s pure science meets art!
Step 6: Enjoy the Show
Take a comfortable seat and enjoy the hypnotic dance of bubbles floating up and tumbling down inside your lamp. It’s soothing and visually stunning at the same time.
Step 7: Keep the Fun Going
When the bubbly action starts to slow, just pop another piece of Alka-Seltzer in to reignite the lively movement. This easy step lets the fun last as long as you want!
How to Serve Easy DIY Lava Lamp: Spark Joy with This Fun Project Recipe
Garnishes
While garnishes might sound more like a food term, in the world of DIY lava lamps, adding glitter or glow beads works like a garnish. These additions enhance the visual appeal and make your lava lamp uniquely yours.
Side Dishes
Think of “side dishes” as complementary activities! Pair your lava lamp project with a fun science explanation, a coloring sheet themed around liquids and bubbles, or an easy DIY nightlight project to extend the creative experience.
Creative Ways to Present
Display your finished lava lamp on a windowsill where natural light can make it sparkle or place it in a darker room with a flashlight shining through the base for a glowing effect. You can even personalize the container with stickers or paint for extra charm and personality.
Make Ahead and Storage
Storing Leftovers
Your DIY lava lamp isn’t exactly a food item, but if you want to pause the bubbling fun, cover the bottle tightly to avoid spills and store it upright. Shaking or squeezing it can disrupt the layers, so handle gently.
Freezing
Freezing isn’t recommended for your lava lamp because it could cause the oil and water to expand and the container to crack or break. Plus, the bubbling effect won’t work once frozen.
Reheating
Since there’s no heat involved in this project, reheating isn’t applicable. However, letting the lamp sit at room temperature ensures the liquids separate nicely and perform their bubbly dance fully.
FAQs
Can I use any type of oil for the lava lamp?
Vegetable and baby oils work best because they’re safe and have the right density to separate cleanly from the water. Olive oil or other types may not produce the same effect and can have strong aromas.
What if my lava lamp doesn’t bubble much?
Make sure you’re using fresh Alka-Seltzer tablets broken into smaller pieces to maximize fizzing. Also, don’t shake the bottle before adding the tablet, as that can prevent bubbles from forming properly.
Can I use a glass jar instead of plastic?
Absolutely! Glass jars are perfect for showcasing your lava lamp and have the added benefit of being reusable and visually appealing. Just be careful when handling to avoid breakage.
Is this project safe for kids?
Yes, this is a safe, supervised activity for children. However, kids should not ingest any ingredients and should be guided when handling the Alka-Seltzer tablets and glass containers.
How long does the bubbling effect last?
Each fizzing session usually lasts a few minutes. You can keep the mesmerising effect going by adding more Alka-Seltzer pieces when the bubbling slows down.
Final Thoughts
There’s something truly magical about creating your own piece of moving art with simple ingredients and a bit of bubbling science. The Easy DIY Lava Lamp: Spark Joy with This Fun Project Recipe is more than just a craft; it’s a joyful experience you can share with friends and family. Why not grab your supplies today and dive into this colorful, fizzing adventure? You’ll be amazed at how a few household items can spark so much happiness and wonder!
Print
Easy DIY Lava Lamp: Spark Joy with This Fun Project Recipe
- Prep Time: 5 minutes
- Cook Time: N/A
- Total Time: 5 minutes
- Yield: 1 lava lamp
- Category: DIY Science Project
- Method: No-Cook
- Cuisine: American
Description
Create a mesmerizing and fun DIY lava lamp using simple household items. This easy project blends water, oil, food coloring, and Alka-Seltzer tablets to produce vibrant, bubbling lava-like motion inside a clear bottle or jar. Perfect for a quick science experiment or a whimsical decorative piece.
Ingredients
Materials
- 1 clear plastic bottle or glass jar
- 3/4 cup water
- 1 cup vegetable oil or baby oil
- 10 drops of food coloring (any vibrant color)
- 1 Alka-Seltzer tablet (broken into smaller pieces)
- Optional: Glitter or small glow beads for visual effect
Instructions
- Fill the Bottle: Start by filling your bottle or jar with water until it’s about one-fourth full to provide the base for your lava lamp effect.
- Add Oil: Gently pour in the vegetable oil until the bottle is nearly full. Allow the liquids to separate naturally, with oil sitting on top of the water, creating distinct layers.
- Add Color: Drop 10 drops of your chosen food coloring into the bottle. The color will pass through the oil and mix with the water below creating captivating visual effects.
- Add Sparkle: For extra visual appeal, sprinkle in some glitter or small glow beads to enhance the bubbling action and give a magical touch.
- Activate the Lava Lamp: Break an Alka-Seltzer tablet into 2 to 3 pieces. Drop one piece into the bottle to start the bubbling effect as gas bubbles rise and fall, mimicking lava movement.
- Enjoy the Show: Sit back and watch the mesmerizing bubbling action that simulates a traditional lava lamp’s motion.
- Keep it Going: When the bubbling slows, add another piece of Alka-Seltzer to prolong the fun and maintain the lava lamp effect.
Notes
- Use a bottle or jar with a lid if you want to store your lava lamp and prevent spills.
- Combine the oil and water slowly to minimize mixing during pouring.
- Experiment with different colors of food coloring for varied visual effects.
- Adding glitter or glow beads is optional but enhances the visual appeal.
- This is a fun science experiment and decorative project but not intended for consumption.
- Use caution when handling Alka-Seltzer tablets and keep out of reach of small children.

