
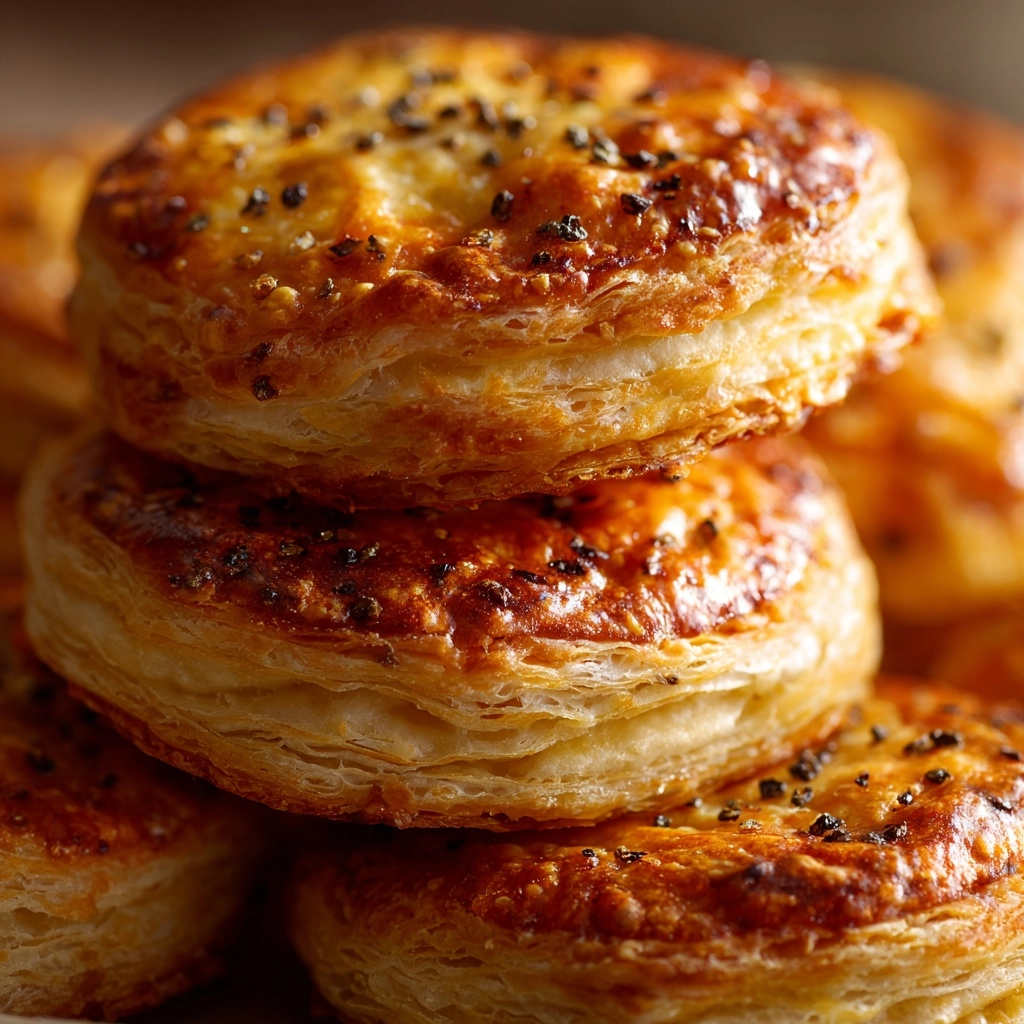
There’s just something magical about Potato Knishes: golden, crisp on the outside, pillowy and savory on the inside, with the perfect blend of comforting flavors. This classic Jewish snack has graced deli counters and family tables for generations, and for good reason — each bite is hearty, nostalgic, and absolutely irresistible. Whether you’re making them for a holiday, a cozy weekend, or just because you crave something warm and carby, Potato Knishes are the perfect pastry to share (or sneak from the kitchen before anyone else can grab one).
Ingredients You’ll Need
The beauty of Potato Knishes is that each ingredient plays a starring role, contributing to the unbeatable combination of flaky dough and rich potato filling. You truly don’t need a ton of fancy stuff — just the best of simple staples, each adding its own magic to every bite.
- All-purpose flour: This is the backbone of the dough, creating that tender, slightly chewy pastry.
- Salt: Enhances all the flavors and balances the richness of the filling.
- Baking powder: Gives the dough a little extra lift for a lighter bite.
- Vegetable oil: Used in both the dough and for brushing, it keeps everything moist and golden. You can swap for schmaltz in the filling for traditional flair.
- Warm water: Helps bring the dough together smoothly — make sure it’s just warm, not hot.
- Egg: Adds richness and structure to the pastry.
- White vinegar: A splash sharpens the dough and keeps it tender — don’t skip it!
- Russet potatoes: The classic filling, they mash up fluffy and soak up all the flavors.
- Yellow onion: Sautéed until golden, they give a sweet, aromatic touch to the filling.
- Salt and black pepper: Classic seasonings that bring out the best in potatoes.
- Garlic powder: Infuses the filling with a gentle warmth and extra savoriness.
- Onion powder: Layers in a mellow, caramelized onion vibe throughout each bite.
- Fresh parsley (optional): For color and fresh herbal flavor; totally up to you if you want that fleck of green.
How to Make Potato Knishes
Step 1: Make and Rest the Dough
Start by mixing the flour, salt, and baking powder in a large bowl. In a separate bowl, whisk together oil, warm water, egg, and white vinegar until the mixture looks smooth and a little creamy. Add the wet ingredients to the dry, stirring until a dough forms. Knead it briefly just until it’s smooth, then tuck it under a damp towel and let it rest for an hour. This nap is essential for making the dough easy to roll and beautifully supple!
Step 2: Cook and Mash the Potatoes
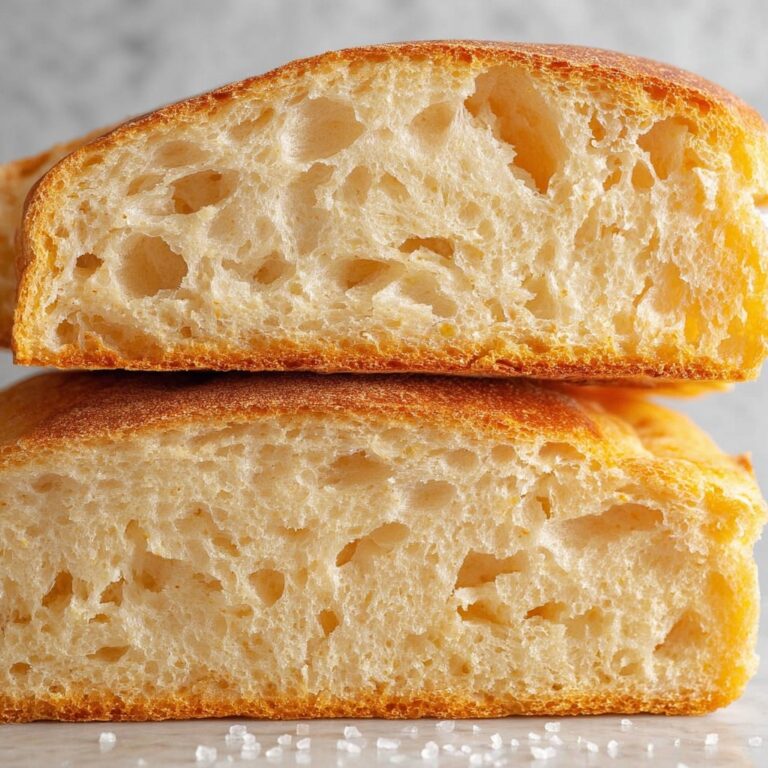
While the dough rests, peel and dice your russet potatoes, and pop them in a pot of salted water. Boil until they’re fork-tender – about 15 minutes should do it. Drain well and mash them while they’re still piping hot. You’re looking for fluffy, lump-free mash (a potato ricer works wonders here, but a good old masher is great too).
Step 3: Sauté the Onions
In a skillet, heat up 2 tablespoons oil (or schmaltz for extra richness) over medium heat. Add the finely chopped onions and sauté, stirring often, until they’re deeply golden and sweet-smelling. This should take about 10 minutes – don’t rush! Their caramelized flavor is what gives Potato Knishes their signature cozy taste.
Step 4: Combine the Filling
Scrape the sautéed onions into the mashed potatoes and add salt, pepper, garlic powder, onion powder, and parsley if you like. Stir everything together until it’s creamy, fluffy, and peppered with onions. Taste and adjust seasoning if needed – the filling should be savory and fully flavored on its own.
Step 5: Shape the Dough and Fill
After its rest, divide your dough into two pieces. On a floured surface, roll each piece into a long rectangle about 1/8 inch thick. Spoon half the potato filling in a neat line along one edge of the rectangle, then roll it up jelly-roll style, encasing all that creamy goodness. Pinch the seam to seal.
Step 6: Slice and Form the Knishes
Using a sharp knife, cut each filled log into 2-inch pieces. Carefully tuck the ends underneath each piece to create a tidy package, and set them seam-side down on a parchment-lined baking sheet. It’s okay if they look a little rustic — that’s part of the charm of homemade Potato Knishes!
Step 7: Bake Until Golden
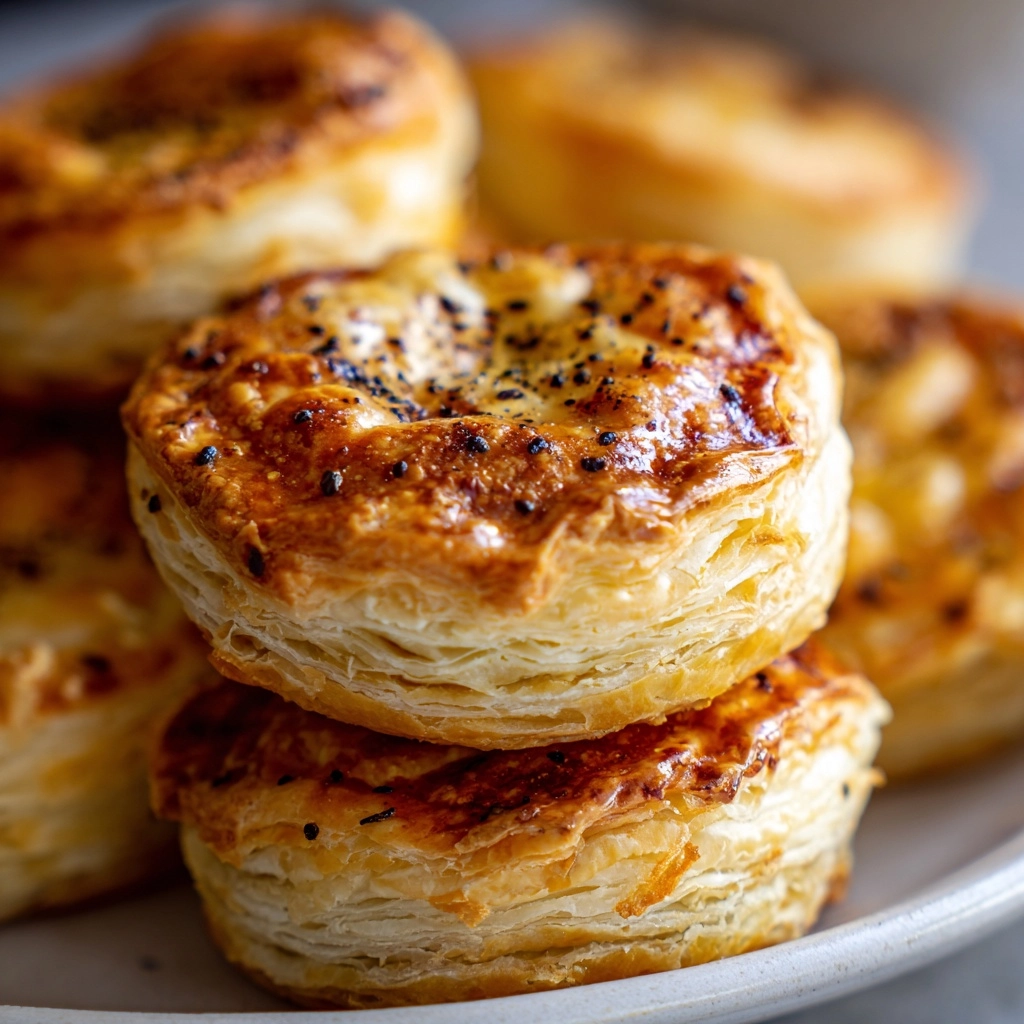
Brush the tops generously with vegetable oil for shine and crispness. Slide the baking sheet into a preheated 375°F oven and bake for about 35 to 40 minutes, until your knishes are golden brown. Cool for at least 10 minutes before serving; this final wait gives the filling time to set and the crust a perfect crunch.
How to Serve Potato Knishes
Garnishes
A sprinkling of chopped fresh parsley or dill not only adds a pop of green but also a little lift of freshness that balances the hearty potato filling. For special occasions, a dusting of flaky salt right out of the oven is outrageously delicious.
Side Dishes
These knishes shine alongside bright, crunchy salads (think cucumber and tomato or simple greens), or classic deli faves like sour pickles and coleslaw. If you want to go all-out, a bowl of hot, tangy mustard or a dollop of sour cream makes for the dreamiest dipping.
Creative Ways to Present
Potato Knishes are showstoppers all on their own, but to jazz them up for a party, arrange them on a wooden board with pickles, marinated vegetables, and small dishes of dipping sauces. For a family-style dinner, serve them nestled into a big platter – they invite everyone to dig in together.
Make Ahead and Storage
Storing Leftovers
If you have leftovers (lucky you!), let the Potato Knishes cool completely, then store them in an airtight container in the fridge. They’ll keep beautifully for up to 4 days, staying tender and flavorful.
Freezing
Potato Knishes freeze like a dream! Line up cooled, baked knishes on a tray, freeze until solid, then pop them into freezer bags. They’ll keep well for up to 3 months, ready to rescue you on a busy night.
Reheating
To recapture that fresh-baked crunch, reheat knishes in a preheated 350°F oven for about 10–15 minutes from the fridge, or 20 minutes from frozen. Skip the microwave if you can — the oven keeps the crust crisp and irresistible.
FAQs
What exactly are Potato Knishes?
Potato Knishes are traditional Jewish pastries made from a light, tender dough filled with creamy mashed potatoes and sautéed onions. They’re usually baked (sometimes fried), and beloved as both street food and homemade comfort food.
Can I make Potato Knishes gluten-free?
Absolutely! Swap the all-purpose flour for your favorite cup-for-cup gluten-free blend. The dough will be a little more delicate, so handle gently, but you can still achieve fantastic results.
Do I have to use russet potatoes?
Russets are classic because they mash up fluffy and light, but Yukon Gold potatoes are a great option for a slightly creamier, richer filling. Both work beautifully, so use what you have or prefer.
Is schmaltz necessary for the authentic flavor?
Schmaltz (rendered chicken fat) is traditional and adds a deep, savory flavor, but good-quality vegetable oil makes these vegetarian without sacrificing much in taste. Either way, your Potato Knishes will be delicious.
Can I make Potato Knishes ahead of time?
Definitely! You can assemble the knishes and refrigerate them unbaked for 24 hours, or freeze the baked knishes to reheat later. This makes them fantastic for meal prep, parties, or anytime cravings strike.
Final Thoughts
Potato Knishes have earned their legendary status for a reason: they’re satisfying, endlessly adaptable, and just plain fun to make and eat. Whether you’re introducing them to friends or rediscovering a family favorite, you’ll love how these humble pastries fill your kitchen (and your heart) with warmth. Go ahead — give them a try for your next comfort food craving!
Print
Potato Knishes Recipe
- Prep Time: 1 hour 20 minutes
- Cook Time: 40 minutes
- Total Time: 2 hours
- Yield: 12 knishes
- Category: Snack
- Method: Baking
- Cuisine: Jewish
- Diet: Vegetarian
Description
Enjoy these delicious Potato Knishes, a traditional Jewish snack perfect for any occasion. These baked pastries are filled with a savory potato mixture and make a satisfying treat for vegetarians and non-vegetarians alike.
Ingredients
Dough:
- 2 cups all-purpose flour
- 1/2 teaspoon salt
- 1/2 teaspoon baking powder
- 1/3 cup vegetable oil
- 1/2 cup warm water
- 1 egg
- 2 tablespoons white vinegar
Potato Filling:
- 4 medium russet potatoes, peeled and diced
- 1 medium yellow onion, finely chopped
- 2 tablespoons vegetable oil or schmaltz
- 1/2 teaspoon salt
- 1/4 teaspoon black pepper
- 1/4 teaspoon garlic powder
- 1/4 teaspoon onion powder
- 2 tablespoons chopped fresh parsley (optional)
Instructions
- Dough: In a large bowl, whisk together flour, salt, and baking powder. In a separate bowl, whisk oil, warm water, egg, and vinegar. Combine wet mixture with flour to form a dough. Knead briefly, cover, and let rest for 1 hour.
- Potato Filling: Boil diced potatoes until tender. Mash and mix with sautéed onions, spices, and parsley.
- Preheat oven to 375°F. Roll out dough, fill with potato mixture, roll up, and bake for 35–40 minutes until golden brown.
Notes
- You can substitute russet potatoes with Yukon Gold for a creamier texture.
- Schmaltz can be replaced with oil for a vegetarian option.
- Knishes freeze well; reheat in the oven to restore crispness.
Nutrition
- Serving Size: 1 knish
- Calories: 180
- Sugar: 1g
- Sodium: 160mg
- Fat: 8g
- Saturated Fat: 1g
- Unsaturated Fat: 6g
- Trans Fat: 0g
- Carbohydrates: 24g
- Fiber: 2g
- Protein: 3g
- Cholesterol: 10mg


