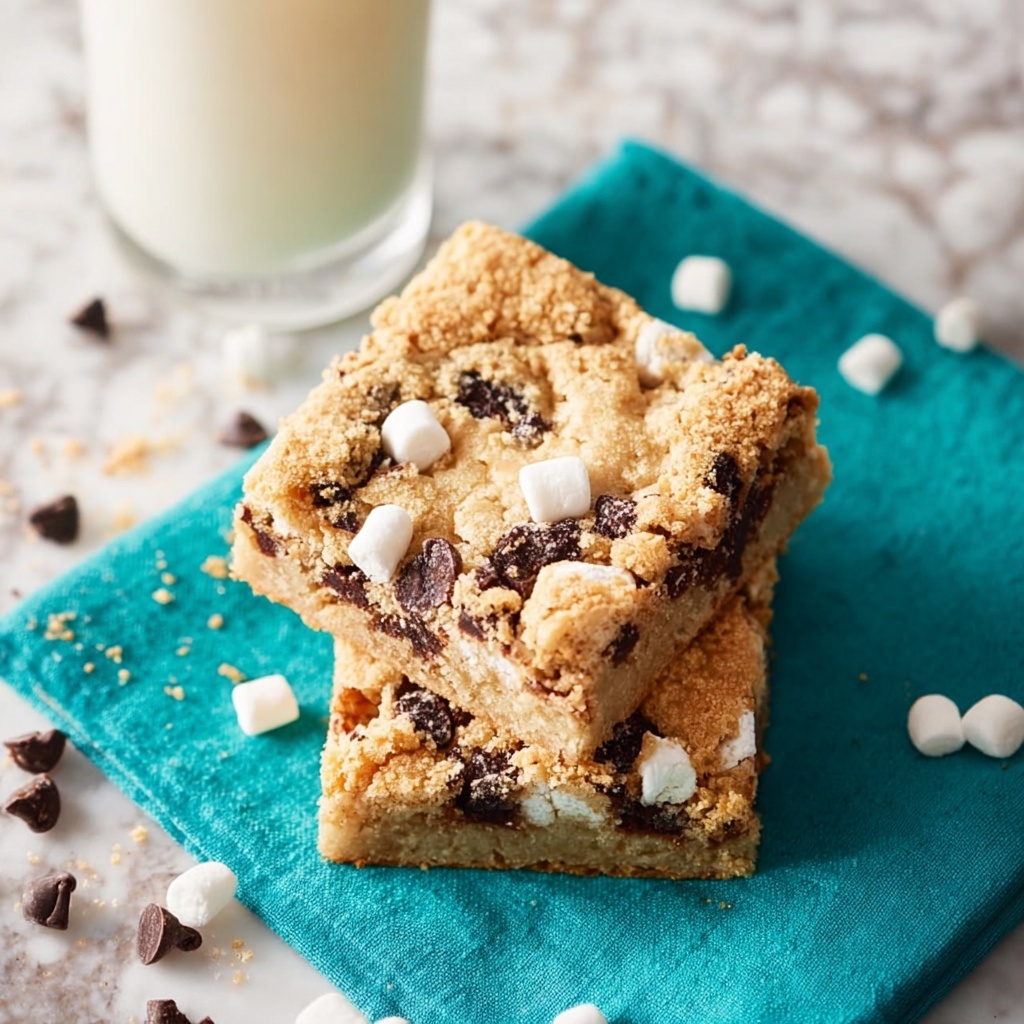
If you’ve been dreaming about cozy campfire treats but don’t want to brave the night air, then this S’Mores Cookie Bars Recipe is your new best friend. This dessert takes all the classic flavors of a s’more—gooey marshmallows, rich chocolate, and crispy graham crackers—and transforms them into a chewy, bar-shaped delight that’s perfect for sharing or keeping all to yourself. It’s a nostalgic treat that’s both easy to make and impossible to resist, bringing a little taste of summer fun any time of year.
Ingredients You’ll Need
Gathering your ingredients is the first joyful step toward these irresistible bars. Each ingredient plays an important role, from the creamy butter that adds tenderness to the crunchy graham cracker crumbs, creating that signature texture that makes s’mores so loved.
- 2 cups salted butter (softened): Provides rich flavor and a tender crumb for the bars.
- ½ cup granulated sugar: Adds just the right amount of sweetness and helps with browning.
- 3 cups all-purpose flour: The base that holds everything together with perfect structure.
- 1 cup graham cracker crumbs: Infuses that unmistakable s’mores crunch and flavor.
- 1 cup chocolate chunks: Melts into gooey pockets of chocolate bliss throughout each bite.
- 1 cup dehydrated marshmallow bits: Imparts classic marshmallow flavor without excess moisture.
- ½ cup mini chocolate chips: Adds extra bursts of chocolate that melt perfectly in the oven.
How to Make S’Mores Cookie Bars Recipe
Step 1: Prepare Your Pan and Oven
Start off by preheating your oven to 325 degrees F, the perfect temperature to bake these bars evenly without burning the edges. Line a 9×13-inch baking pan with parchment paper so the bars lift out easily once baked, ensuring clean slices every time.
Step 2: Cream Butter and Sugar
In a large bowl or mixer fitted with a paddle attachment, beat the softened butter and granulated sugar together until fluffy and light in color. This step traps air and creates the tender texture that turns these bars into a melt-in-your-mouth experience.
Step 3: Combine Dry Ingredients Gradually
Add the all-purpose flour and graham cracker crumbs one cup at a time, mixing just until combined after each addition. Then, boost the mixer speed for two more minutes to really bring the dough together, creating a sturdy but soft base for your s’mores flavors.
Step 4: Mix in the Goodies
Fold in the chocolate chunks, dehydrated marshmallow bits, and mini chocolate chips. These chunks and bits ensure every bite has those classic s’mores textures, from gooey chocolate to chewy marshmallow surprises.
Step 5: Press the Dough and Add Toppings
Transfer the dough to your prepared pan and use your hands to spread it evenly. If you want to dial up the indulgence, sprinkle extra chocolate chunks or marshmallows on top and gently press them into the dough for a gorgeous finish that melts perfectly when baked.
Step 6: Bake to Perfection
Bake your cookie bars for 40 minutes at 325 degrees F. When you take them out, the smell alone will have you drooling. Let the bars cool completely—this step is important to allow them to set so they cut into clean squares without crumbling.
Step 7: Slice and Enjoy
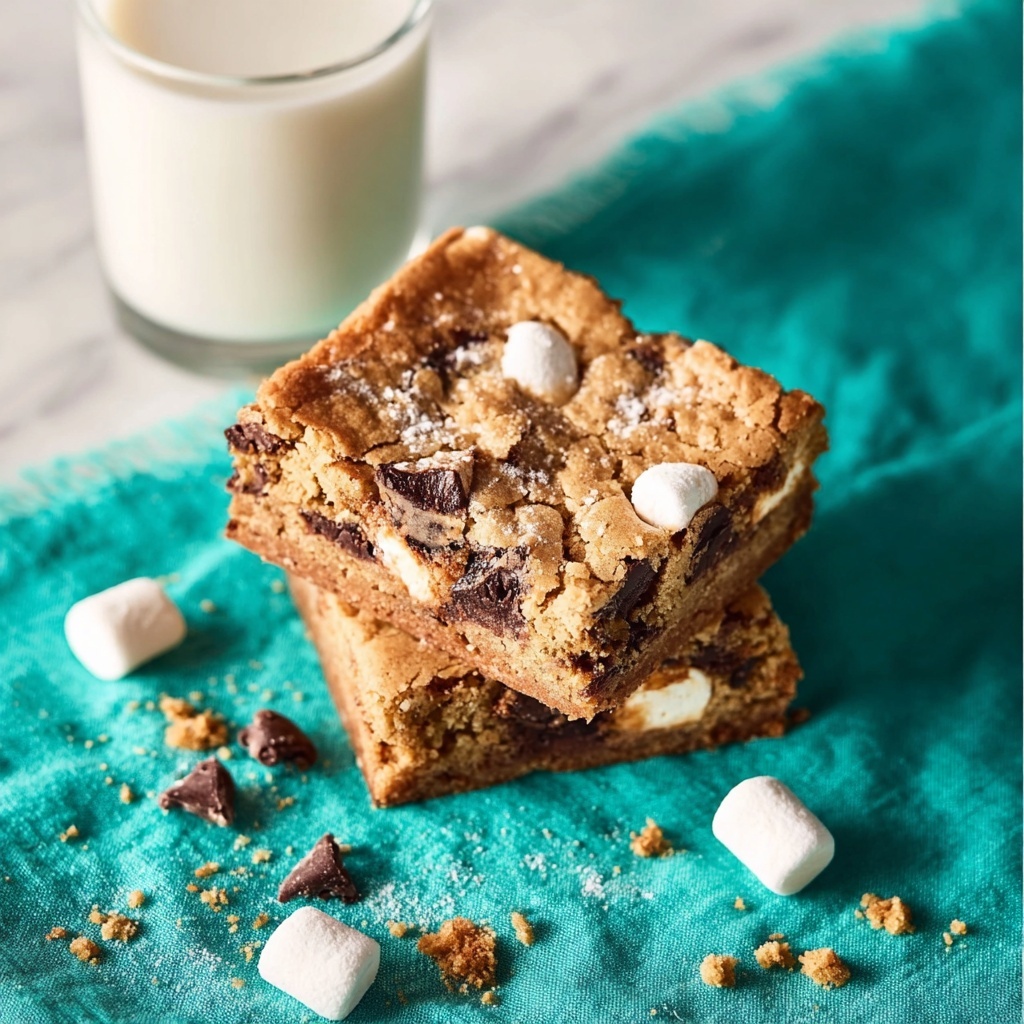
Once cooled, slice your S’Mores Cookie Bars Recipe into 15 generous pieces and serve. These bars are delicious fresh, but they also store beautifully if you want to enjoy them over several days.
How to Serve S’Mores Cookie Bars Recipe
Garnishes
Add a little extra joy by topping your bars with a light dusting of powdered sugar or a drizzle of melted chocolate. Toasted mini marshmallows on top add a festive touch that makes your dessert look as delightful as it tastes.
Side Dishes
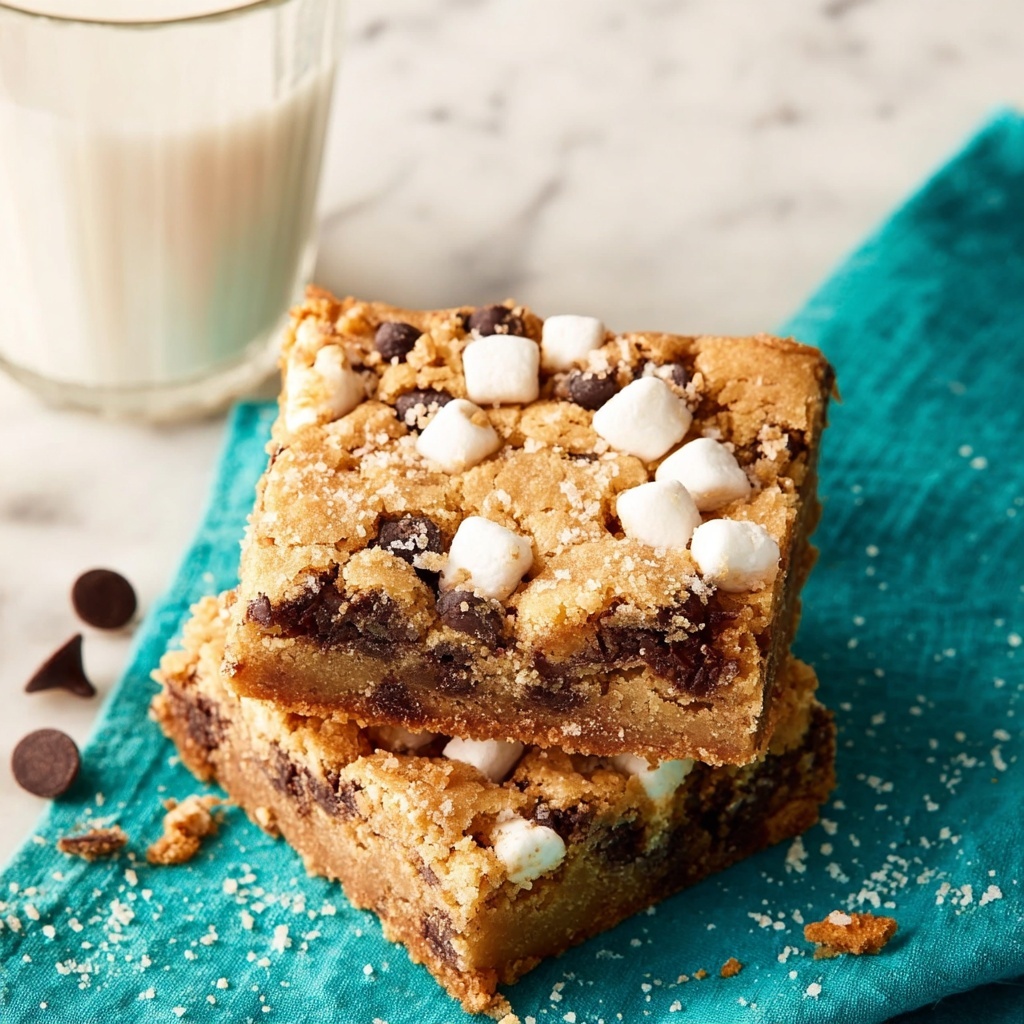
Pair these bars with a cold glass of milk or a scoop of vanilla ice cream to balance the richness. For a grown-up twist, a cup of warm coffee or hot cocoa complements the chocolate and marshmallow flavors beautifully.
Creative Ways to Present
Feeling creative? Stack the bars on a pretty platter lined with parchment paper and wrap with twine for a gift-worthy presentation. Or cut into bite-sized squares and serve alongside fresh fruit for a balanced dessert platter that’s party-ready.
Make Ahead and Storage
Storing Leftovers
Store any leftover S’Mores Cookie Bars Recipe in an airtight container at room temperature. They will stay fresh and chewy for up to two weeks, which means you can savor that campfire flavor long after baking day.
Freezing
Want to hold on to these bars for even longer? Wrap individual bars or the whole pan tightly with plastic wrap and then aluminum foil before freezing. They freeze well for up to three months without losing their texture or flavor.
Reheating
To bring back that fresh-baked warmth, simply microwave an individual bar for 15 to 20 seconds. The chocolate will soften and the marshmallows will become delightfully melty again, making each bite feel like it just came out of the oven.
FAQs
Can I use regular marshmallows instead of dehydrated marshmallow bits?
You can, but since regular marshmallows contain more moisture, it might affect the texture of the bars slightly. Dehydrated marshmallow bits help keep the bars stable while still delivering that classic s’mores flavor.
Is it possible to make these bars gluten-free?
Absolutely! Substitute the all-purpose flour with a gluten-free flour blend and ensure that your graham cracker crumbs are gluten-free as well. The bars will still turn out deliciously chewy and packed with flavor.
Can I add nuts to the S’Mores Cookie Bars Recipe?
Yes, chopped nuts like pecans or walnuts add a wonderful crunch and nutty flavor that complements the chocolate and marshmallows beautifully. Just fold them in along with your chocolate chunks and marshmallow bits.
Why do I need to cool the bars completely before slicing?
Cooling allows the bars to firm up, making them easier to cut without crumbling or falling apart. If you slice them too soon, the texture might be too soft and gooey to hold shape properly.
Can these bars be made in a different sized pan?
They can, but cooking times may vary. Using a smaller pan will produce thicker bars that take longer to bake, while a larger pan will create thinner bars that bake faster. Keep an eye on them to avoid over- or under-baking.
Final Thoughts
There’s something truly special about the way this S’Mores Cookie Bars Recipe captures the spirit of a campfire treat while being so easy to bake at home. Whether you’re treating yourself or sharing with friends, these bars bring that warm, nostalgic comfort wrapped up in every chewy, chocolate-filled bite. Be sure to give them a try—you might just find your new favorite dessert to make all year round.
Print
S’Mores Cookie Bars Recipe
- Prep Time: 15 minutes
- Cook Time: 40 minutes
- Total Time: 55 minutes
- Yield: 15 bars
- Category: Dessert
- Method: Baking
- Cuisine: American
Description
Delight in these irresistible S’Mores Cookie Bars that combine buttery, graham cracker-infused cookie dough with melty chocolate chunks, dehydrated marshmallow bits, and mini chocolate chips. Baked to golden perfection in a 9×13-inch pan, these bars capture the nostalgic flavors of classic s’mores in an easy-to-make, shareable treat perfect for any occasion.
Ingredients
Cookie Dough
- 2 cups salted butter, softened
- ½ cup granulated sugar
- 3 cups all-purpose flour
- 1 cup graham cracker crumbs
Mix-ins
- 1 cup chocolate chunks
- 1 cup dehydrated marshmallow bits
- ½ cup mini chocolate chips
Instructions
- Preheat and prepare pan: Preheat your oven to 325 degrees F (163 degrees C). Line a 9×13-inch baking pan with parchment paper, ensuring some overhang for easy removal, and set aside.
- Cream butter and sugar: In a large bowl or using a stand mixer fitted with a paddle attachment, beat the softened butter and granulated sugar together on medium speed until light, fluffy, and well combined, which should take about 2 minutes.
- Add dry ingredients: Gradually add the all-purpose flour and graham cracker crumbs, one cup at a time, mixing gently between additions to combine. Once all flour and crumbs are incorporated, increase the mixer speed to high and beat the dough for an additional 2 minutes to ensure uniform texture.
- Incorporate mix-ins: Fold in the chocolate chunks, dehydrated marshmallow bits, and mini chocolate chips evenly throughout the dough using a spatula or spoon.
- Transfer and level dough: Transfer the dough into the prepared baking pan and use your hands to evenly press and spread the dough to cover the entire pan surface. Optionally, sprinkle extra chocolate chunks or marshmallows on top and gently press them into the dough for an enhanced topping.
- Bake: Place the pan in the preheated oven and bake for 40 minutes, or until the edges are golden and the top appears set.
- Cool and slice: Remove the pan from the oven and allow the cookie bars to cool completely in the pan. This cooling step helps the bars firm up for clean slicing.
- Serve or store: Once cooled, use the parchment paper overhang to lift the bars from the pan. Slice into 15 bars and serve immediately, or store in an airtight container at room temperature for up to 2 weeks.
Notes
- For best results, ensure the butter is softened, not melted, before creaming with sugar to achieve the proper texture.
- You can substitute salted butter with unsalted butter and add a pinch of salt if preferred.
- Dehydrated marshmallow bits help avoid excessive melting during baking for better texture. If unavailable, regular mini marshmallows can be used but may melt more.
- For an extra gooey top, add a few mini marshmallows or chocolate chunks right before baking.
- Allow bars to cool completely before slicing to prevent crumbling.
- Store bars in an airtight container to maintain freshness and prevent marshmallows from getting hard.

