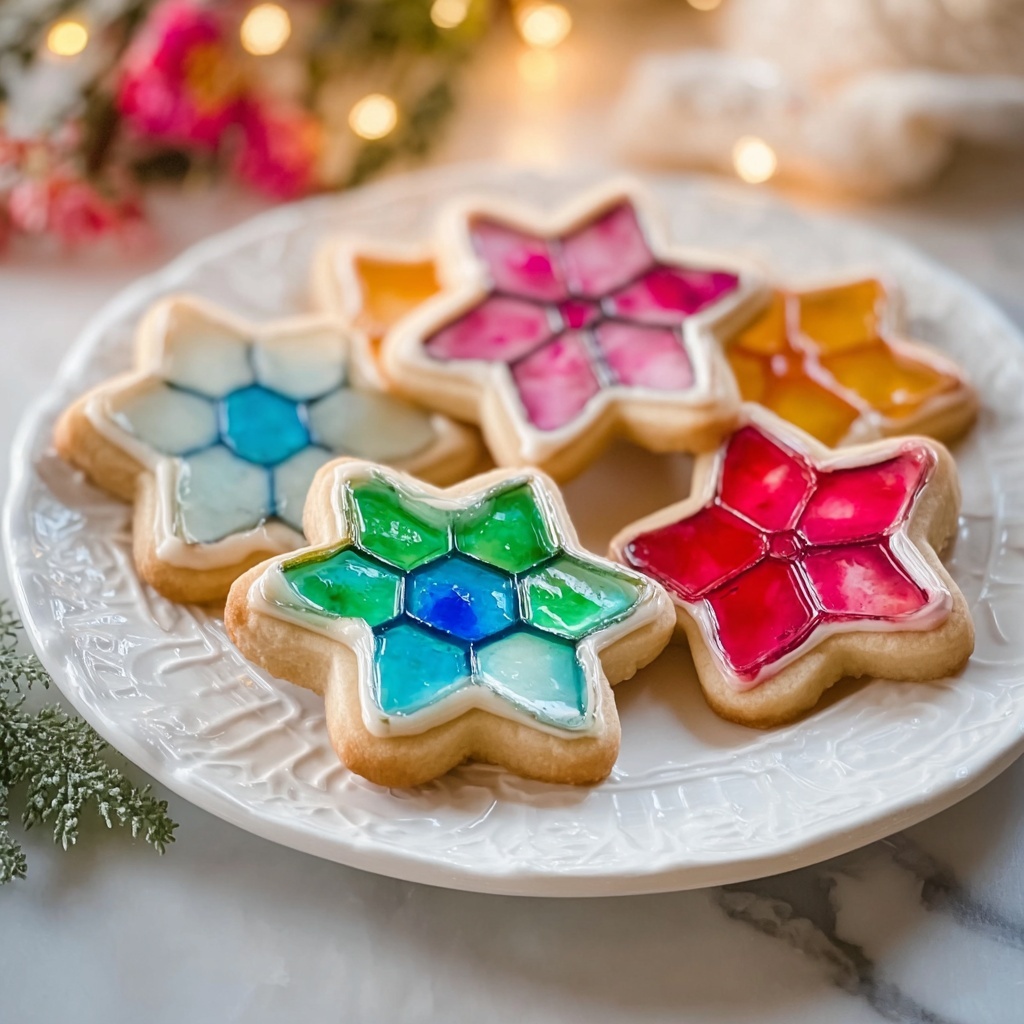
If you are hunting for a cookie that’s both a feast for the eyes and the palate, look no further than this incredible Stained Glass Cookies Recipe. These charming cookies not only deliver a perfectly buttery, sweet dough but also feature colorful, translucent centers made from melted hard candies, creating the magical effect of stained glass windows. Whether you’re baking for the holidays, a party, or just a cozy day at home, these cookies bring a joyful splash of color and a touch of whimsy to any occasion, guaranteed to delight kids and adults alike.
Ingredients You’ll Need
The beauty of this Stained Glass Cookies Recipe starts with simple, everyday ingredients, each carefully chosen to build a cookie that’s tender, flavorful, and visually stunning. From the richness of the butter to the sparkle of crushed candies, every component plays a crucial role.
- 1 cup unsalted butter, softened: Provides the cookie’s tender texture and rich flavor.
- 1 cup granulated sugar: Adds sweetness and helps the cookies achieve a slight crisp edge.
- 1 large egg: Binds everything together and adds moisture for the perfect crumb.
- 1 teaspoon vanilla extract: Infuses a warm, aromatic depth that enhances the dough.
- 3 cups all-purpose flour: The backbone of the cookie, giving structure and chewiness.
- 1/2 teaspoon salt: Balances the sweetness and deepens the flavor profile.
- 1/2 teaspoon baking powder: Lightens the dough so cookies aren’t too dense.
- 1 cup crushed hard candies (like Jolly Ranchers): The star ingredient that melts to form the gorgeous stained glass centers.
How to Make Stained Glass Cookies Recipe
Step 1: Prepare Your Oven and Dough Base
Start by preheating your oven to 350°F (175°C), making sure it’s at the perfect temperature to bake your cookies evenly. In a large bowl, cream the softened butter and granulated sugar together until the mix is silky smooth and light in color. This creates the ideal base for a soft yet slightly crisp cookie.
Step 2: Add Egg and Vanilla for Moisture and Aroma
Beat in the egg and vanilla extract into the creamed butter and sugar mixture. This step adds essential moisture and brings a lovely fragrant quality to the dough that will shine through after baking.
Step 3: Combine the Dry Ingredients
In a separate bowl, whisk together the all-purpose flour, salt, and baking powder. Whisking is key here to ensure even distribution of leavening so your cookies rise slightly and maintain a tender crumb.
Step 4: Mix Dry Ingredients into Wet Mixture
Gradually stir the dry flour mixture into the wet batter, mixing just until combined. Overmixing can toughen the dough, so stop as soon as the flour disappears to keep your cookies tender and flaky.
Step 5: Roll Out the Dough and Cut Shapes
Lightly flour your surface and roll the dough to about 1/4 inch thick. Use cookie cutters to create your desired shapes for the cookie frames. Then, take a smaller cutter to cut out centers from each shape, turning them into delightful “windows” for the stained glass effect.
Step 6: Assemble with Crushed Candies
Place your cookie frames on a prepared baking sheet and fill each center with crushed hard candies. These candies will melt during baking to create colorful, glass-like centers. Make sure to press the candies gently into the dough to prevent spreading but don’t overfill to avoid spills.
Step 7: Bake to Perfection
Bake for 8 to 10 minutes until cookie edges turn a soft golden hue and the candy centers are fully melted and glossy. Keep an eye on them, as the candy can burn if left too long.
Step 8: Cool Completely Before Removing
Once baked, allow the cookies to cool on the baking sheet completely. This cooling step lets the candy centers harden into that beautiful stained glass effect and ensures the cookies keep their shape when you transfer them.
How to Serve Stained Glass Cookies Recipe
Garnishes
For a festive touch, sprinkle some finely chopped nuts or edible glitter around the edges before baking. A light dusting of powdered sugar after cooling can also enhance the look without overshadowing the lovely stained glass centers.
Side Dishes
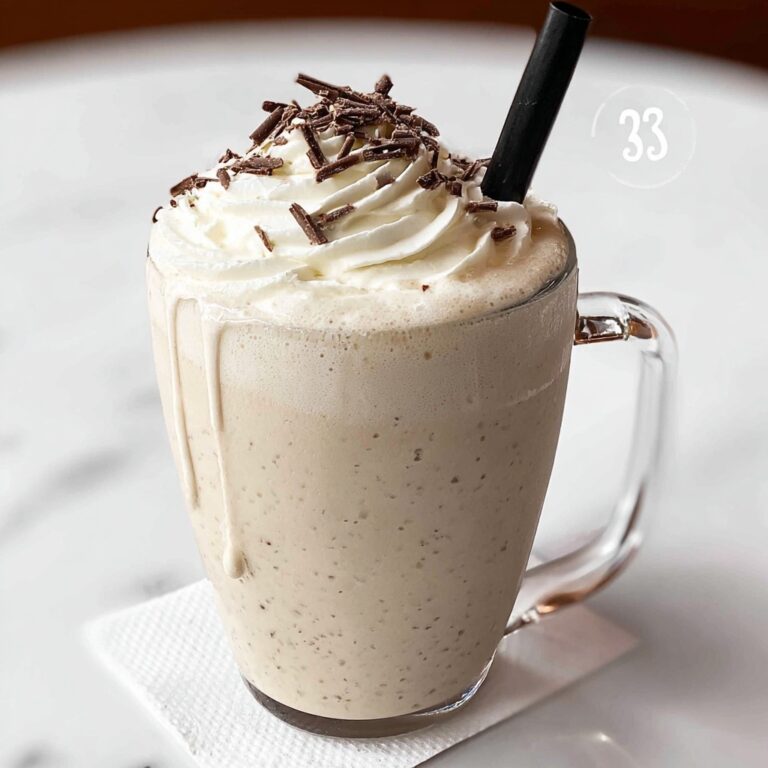
Serve these cookies alongside a warm cup of tea, rich hot chocolate, or a fresh glass of milk. Their sweetness and colorful centers make them an irresistible partner for any cozy beverage, elevating your snack or dessert time.
Creative Ways to Present
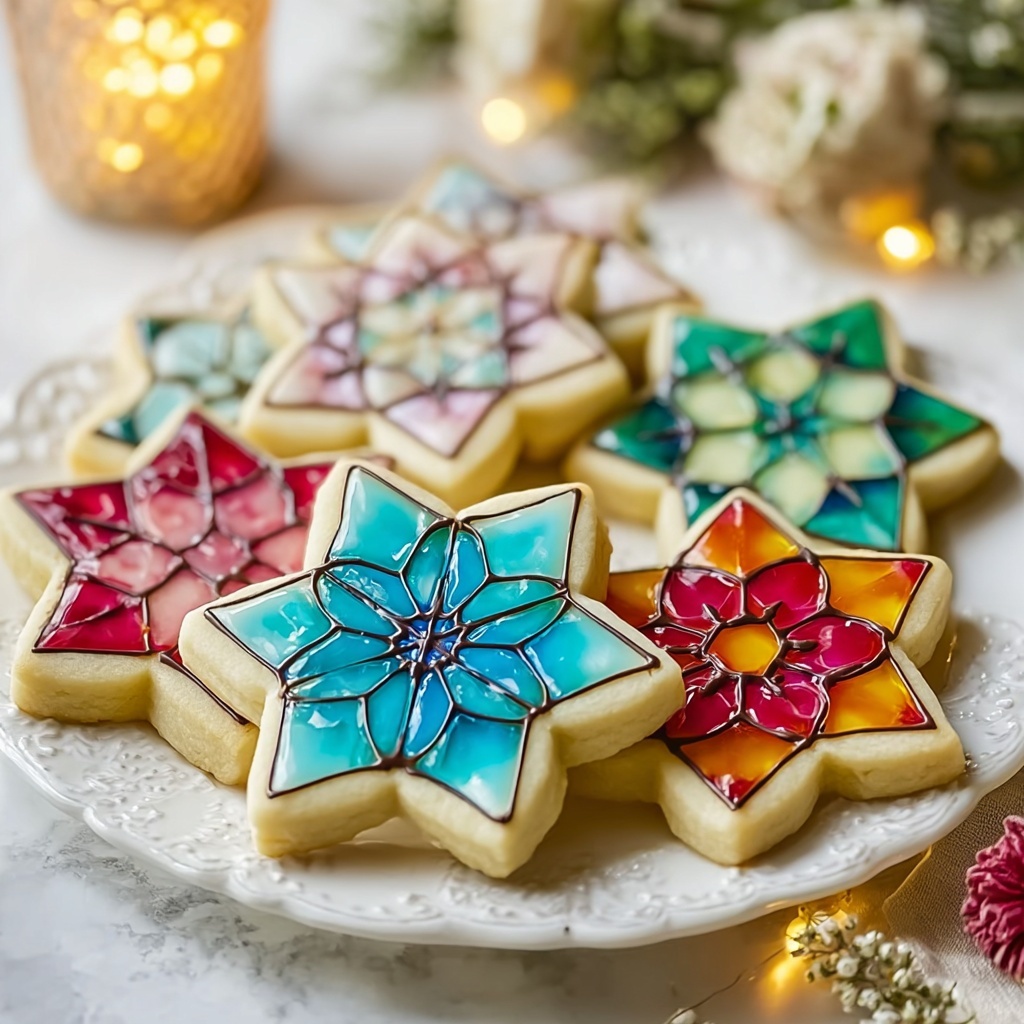
Arrange your stained glass cookies on a tiered serving tray to showcase their translucent colors catching the light from different angles. You can also string them with ribbon (using small holes in the dough before baking) to create edible garlands that are perfect for holiday décor or party displays.
Make Ahead and Storage
Storing Leftovers
Store your leftover stained glass cookies in an airtight container at room temperature for up to one week. Keeping them separate from very soft or moist cookies helps maintain their crisp edges and the clear candy centers.
Freezing
If you want to save them longer, you can freeze these cookies in a single layer on a baking sheet, then transfer to a zip-top bag once solid. Properly sealed, they keep well for up to three months. Thaw completely before serving to preserve that lovely stained glass effect.
Reheating
Reheat the cookies slightly in a warm oven (around 300°F or 150°C) for a few minutes if you want them to regain some fresh-baked warmth, but avoid overheating which can soften the candy centers and dull their vibrant colors.
FAQs
Can I use different types of hard candies for the stained glass centers?
Absolutely! Jolly Ranchers are popular, but any clear, hard candy that melts well and comes in various colors works beautifully. Just avoid candies with fillings or sugar coatings that don’t melt smoothly.
What if my candy centers are too soft after cooling?
This usually means the candy didn’t harden fully, often from storing in humid conditions. Make sure to cool completely at room temperature and store in a dry place. Refrigeration can sometimes cause the candy to get sticky instead of hard.
Can I make these cookies gluten-free?
You can substitute a gluten-free all-purpose flour blend in equal amounts, but results may vary slightly in texture. Be sure your baking powder is gluten-free as well for best outcomes.
What’s the best way to crush candies without making a mess?
Place the candies in a sturdy zip-top bag and gently crush with a rolling pin or meat mallet. This confines the shards and makes cleanup easier while achieving perfectly sized pieces for melting.
Is it necessary to pre-bake the cookie frames before adding candy?
For this recipe, no—you add the crushed candy directly before baking so it melts into the cut-out centers. Pre-baking the frames means the candy won’t fuse as well, and the stained glass effect won’t form properly.
Final Thoughts
Making the Stained Glass Cookies Recipe is a joyful experience that combines creativity with classic baking comfort. Their glowing, jewel-like centers spark smiles and fill the room with delicious aroma. Trust me, once you see the magic of these cookies, you’ll want to make them again and again for every special moment. So grab your cutters and colorful candies and get baking—these charming cookies are sure to brighten up any table and heart.
Print
Stained Glass Cookies Recipe
- Prep Time: 20 minutes
- Cook Time: 10 minutes
- Total Time: 30 minutes
- Yield: 24 servings
- Category: Dessert
- Method: Baking
- Cuisine: American
Description
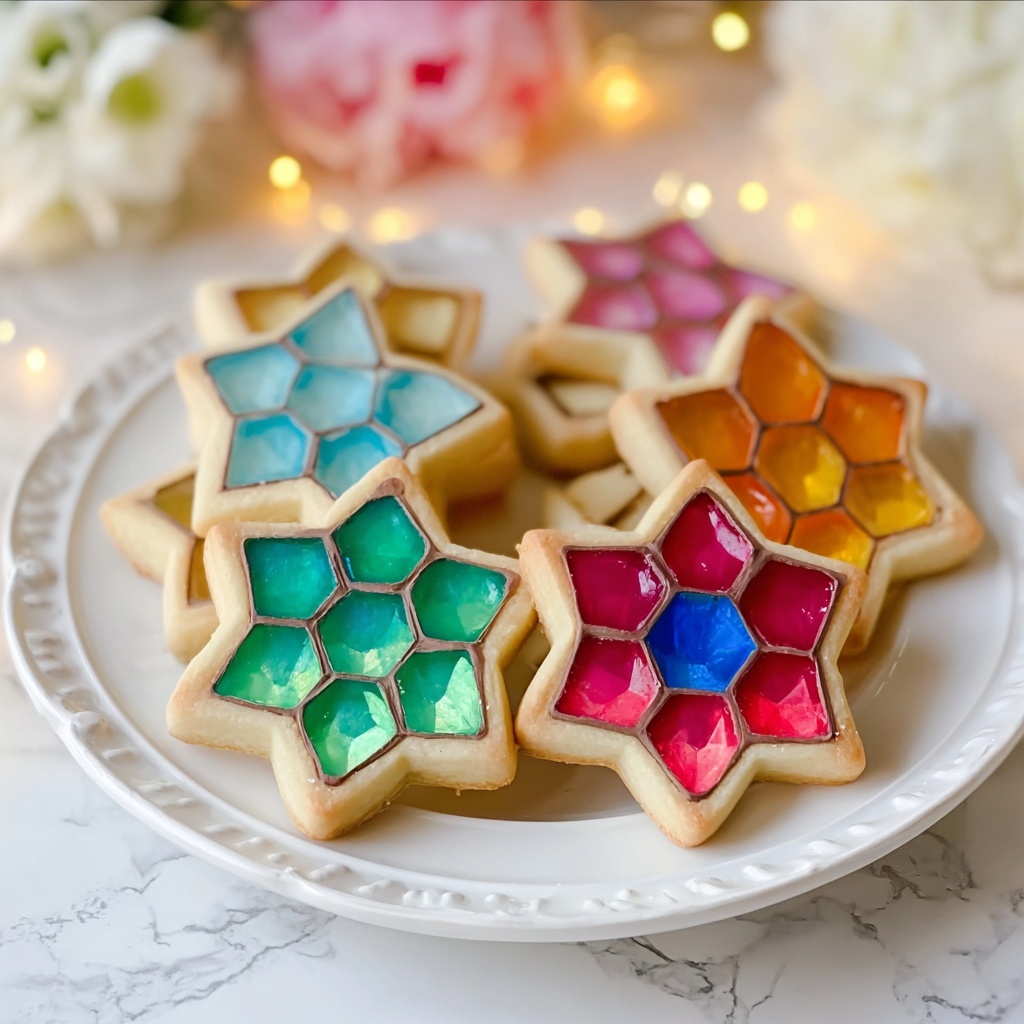
Delight in these charming Stained Glass Cookies, perfect for adding a splash of color and sweetness to any occasion. Soft buttery cookie frames encase vibrant melted hard candies, creating a festive and eye-catching treat that sparkles in the light.
Ingredients
Cookie Dough
- 1 cup unsalted butter, softened
- 1 cup granulated sugar
- 1 large egg
- 1 teaspoon vanilla extract
- 3 cups all-purpose flour
- 1/2 teaspoon salt
- 1/2 teaspoon baking powder
Fillings
- 1 cup crushed hard candies (like Jolly Ranchers)
Instructions
- Preheat Oven: Preheat your oven to 350°F (175°C) to ensure it reaches the perfect baking temperature.
- Cream Butter and Sugar: In a large bowl, cream together the softened butter and granulated sugar until the mixture is smooth and fluffy, forming the base of your cookie dough.
- Add Egg and Vanilla: Beat in the egg along with the vanilla extract until everything is well incorporated and the dough takes on a creamy texture.
- Mix Dry Ingredients: In a separate bowl, whisk together the all-purpose flour, salt, and baking powder to evenly distribute the raising agents and seasoning.
- Combine Mixtures: Gradually stir the dry ingredients into the butter mixture until you have a homogeneous dough, being careful not to overmix.
- Roll and Cut Dough: Lightly flour your surface and roll out the dough to about 1/4 inch thickness. Use cookie cutters to cut out your desired shapes.
- Create Cookie Frames: Using a smaller cookie cutter, cut out the centers of the shapes to create a frame for your stained glass effect.
- Fill Centers: Place the framed cookies on a baking sheet and carefully fill the center holes with the crushed hard candies to create the colorful stained glass design.
- Bake Cookies: Bake the cookies for 8-10 minutes, or until the edges are a light golden brown and the candy centers have melted completely.
- Cool and Remove: Allow the cookies to cool completely on the baking sheet so the candy hardens again, then gently remove the cookies to avoid breakage.
Notes
- Use a variety of different colored hard candies to create a vibrant stained glass effect.
- Make sure to crush the candies finely so they melt evenly and fill the cookie centers smoothly.
- Cool cookies thoroughly before handling to ensure the candy centers are set and less fragile.
- Store cookies in an airtight container at room temperature to maintain freshness and prevent candy centers from becoming sticky.
- For easier cutting, chill the dough briefly before rolling out.


